Acura MDX: How to Install Roof Rails
Installing roof rails allows you to make use of the space on the Acura MDX's roof. Learn how to install some here.
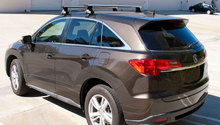
This article applies to the Acura MDX.
Installing roof rails is a great way to make use of your Acura MDX's roof. If you like to go camping, you know how frustrating it can be to cramp up everything you need inside the car. Roof rails can enhance the way you travel. You can store and transport almost any item up there within reason, like bikes, luggage, and other travel items. The process isn't hard, and not going to a dealership for the installation is a wise decision. If you decide to save the hundreds of dollars and install the roof rails on your own, then read on to learn how to do it at home.

Materials Needed
- Dremel saw
- Socket
- Roof rails
Step 1 – Mark the covers
Before removing the covers that line the sides of the roof, make sure you know exactly where you will cut them. Place the roof rails on top of the covers to see where the part that bolts onto the car goes. Mark right around it, just enough for it to go around the cover.
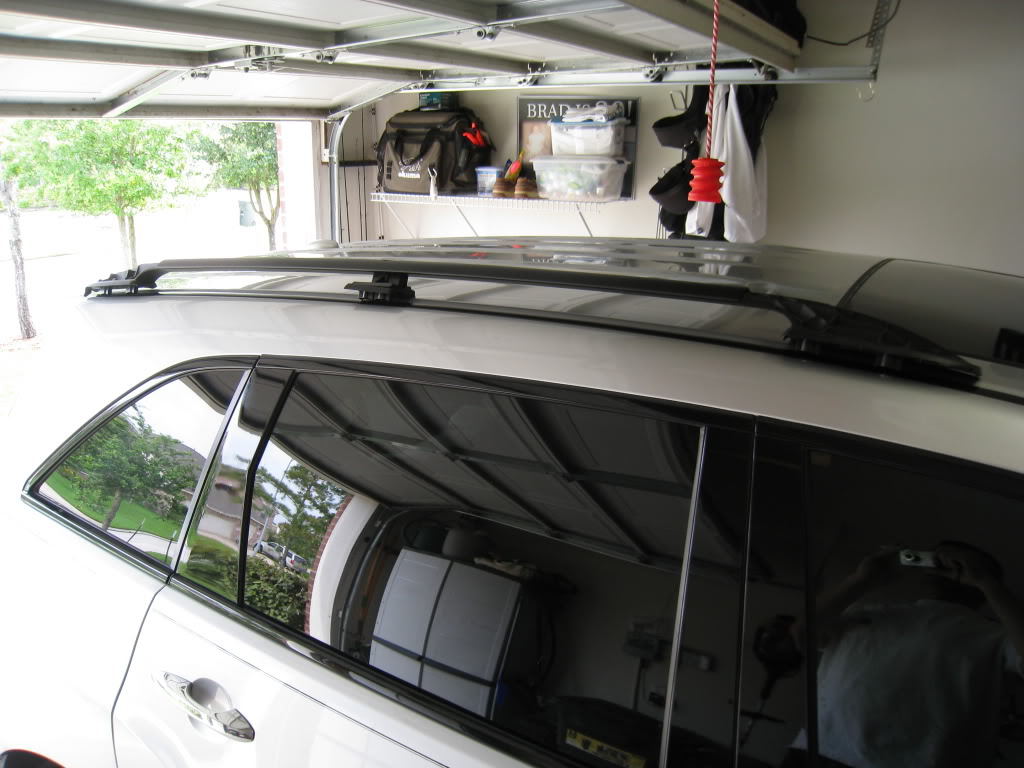
Figure 1. Place the roof rail on top of the cover for reference. 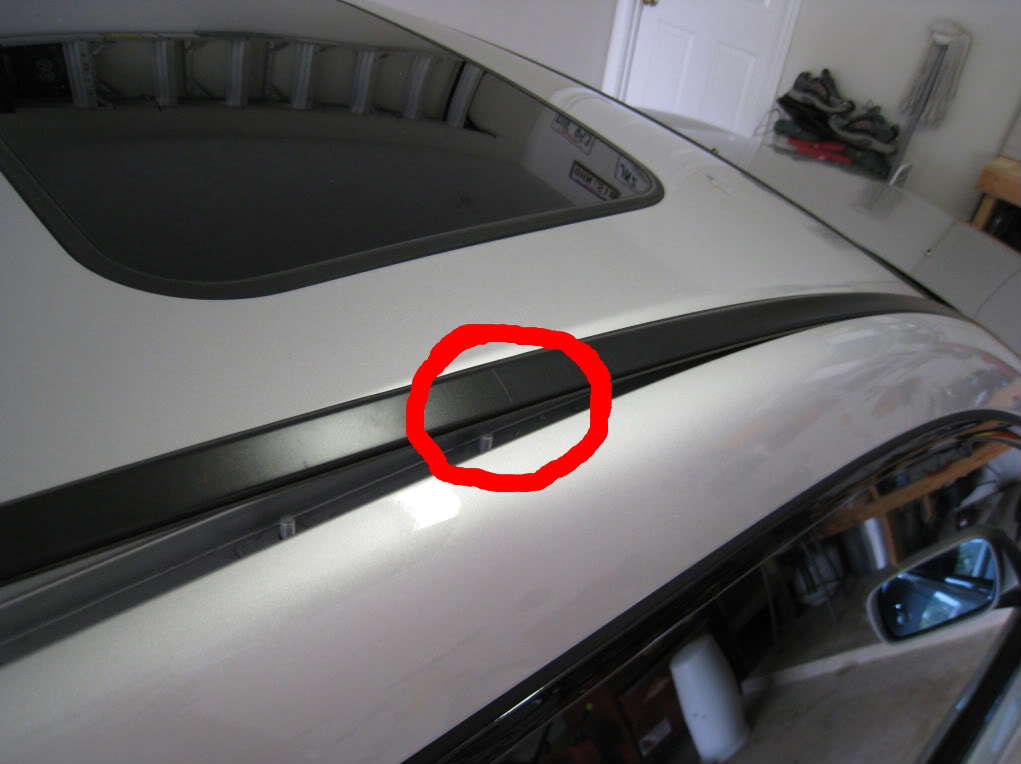
Figure 2. Mark the rail where you will cut it.
Step 2 – Remove and cut the covers
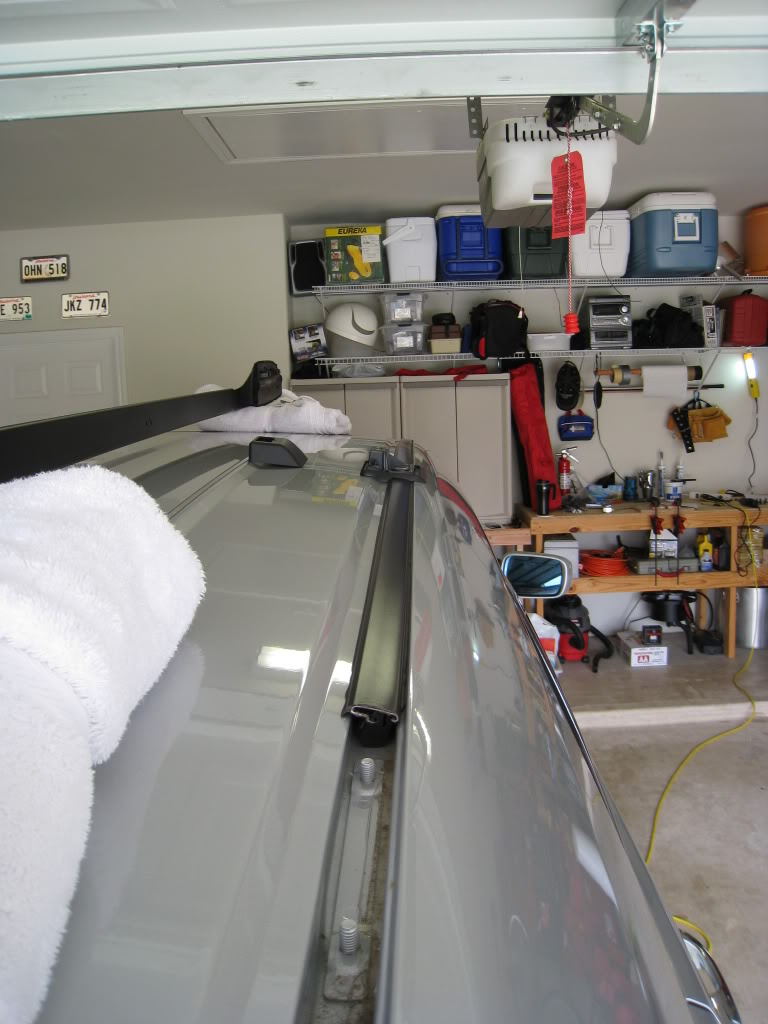
With the trunk open, gently start prying off the cover, starting from the rear. It's held in place by a series of clips, so you need to pop it off of them.
- Cut the areas you marked using a Dremel. There should be cuts for three parts on each side, each part of the rail will be held in place by two studs, which are already there under the cover. Using a Dremel tool or other air saw is your best bet to capture a clean cut.
- Remove the caulk in the channel at the stud locations. Remove the caulk at least two inches on each side of the studs.
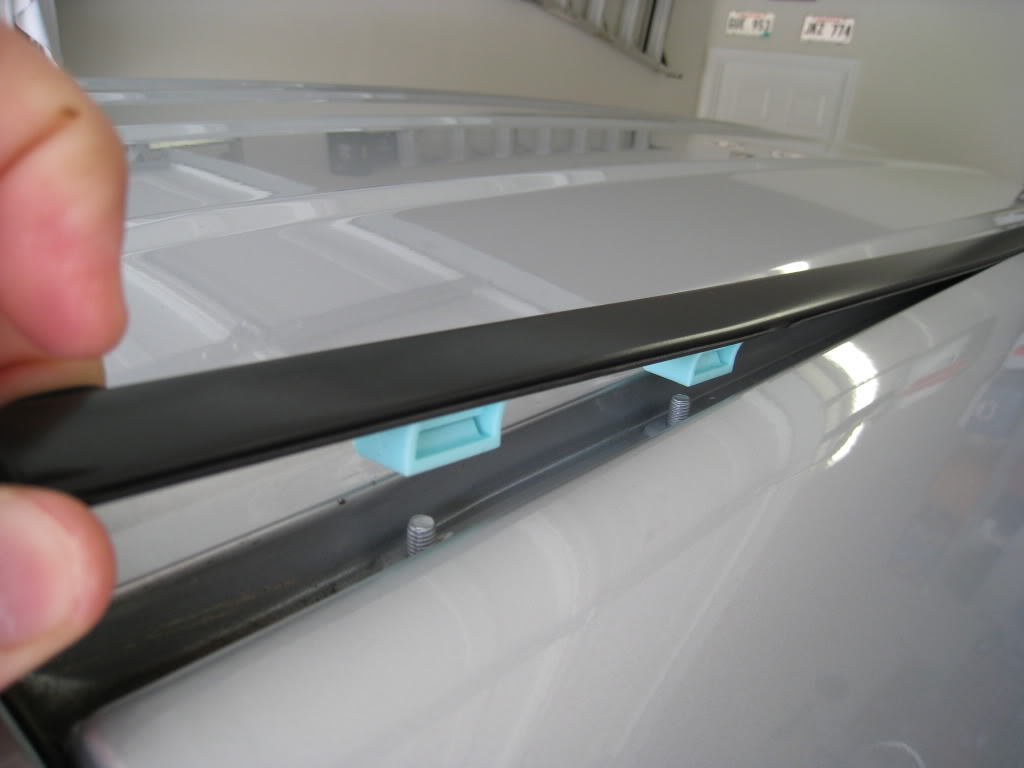
Figure 3. Remove cover. 
Figure 4. Cut the cover where you marked. 
Figure 5. Remove the caulk near the studs.
- When you're done cutting, install the cover back in place, and push it into its clips to secure it.
Step 3 – Install roof rails
Install the roof rails in place, then tighten the nuts from the top. There are a series of nuts on each side of the roof rail. After tightening the nuts in place, install the roof rail covers; they just clip into place.
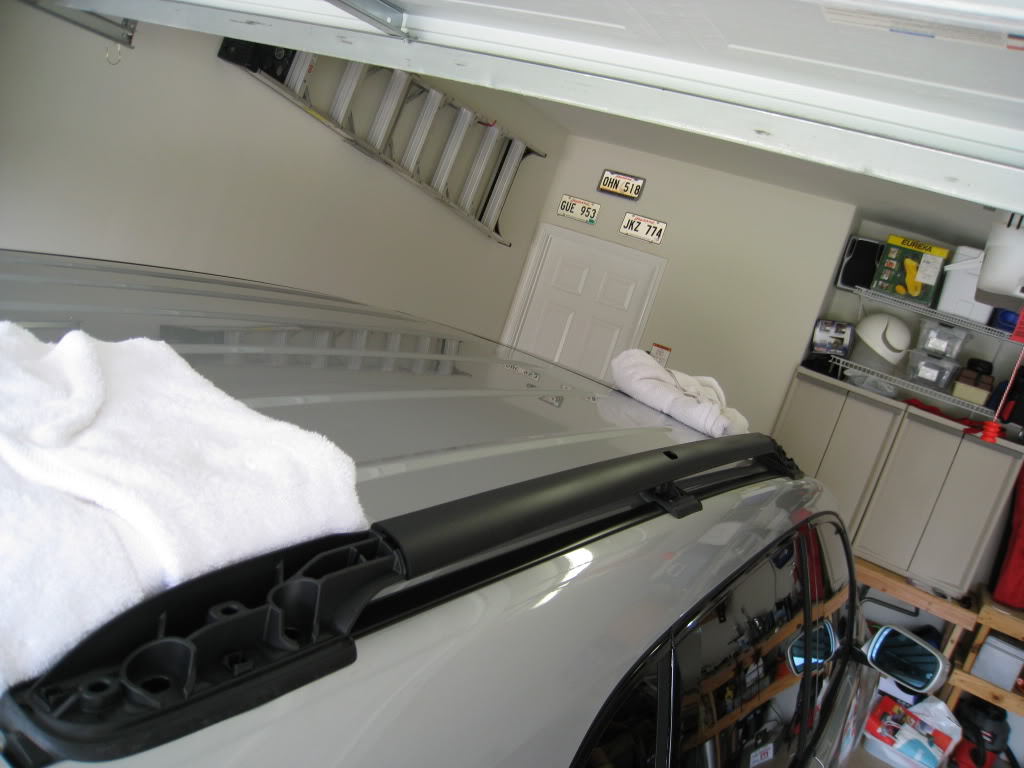
Figure 7. Install roof rails. 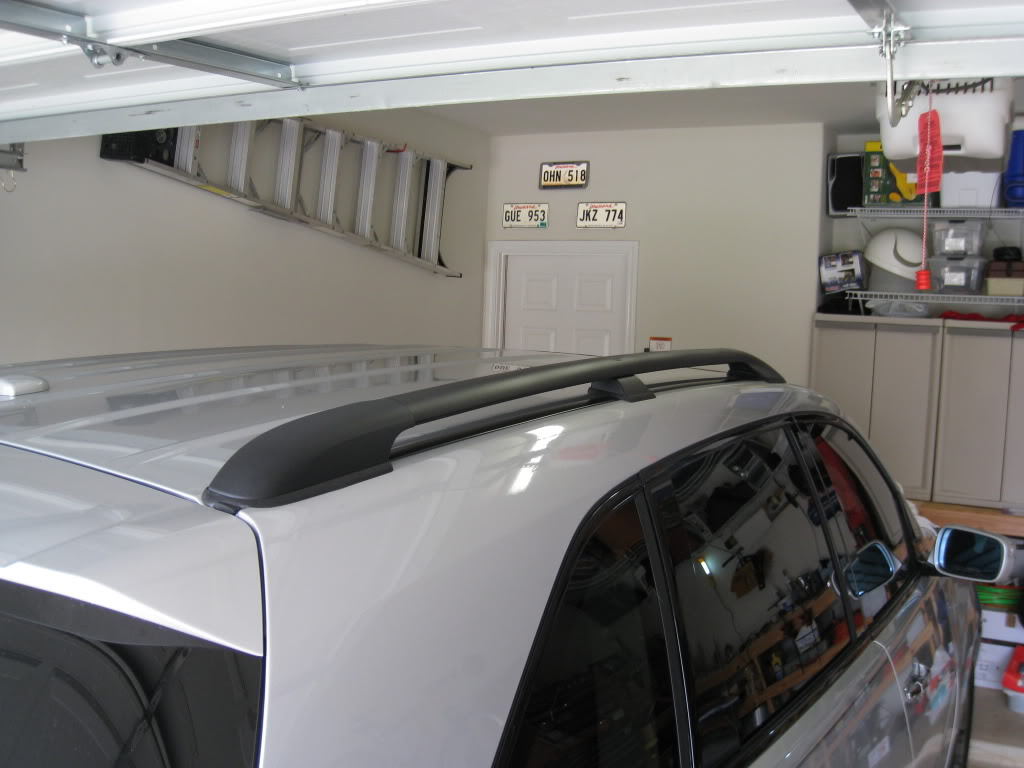
Figure 8. Install roof rail covers.
Related Discussion
- Roof Rails Self-install - Acurazine.com