Acura MDX: How to Replace Transmission Pressure Sensors
If you are having some harsh up and downshift issues with your MDX transmission, the problem may be resolved with new transmission pressure sensor switches. Fortunately, this is much easier and less expensive than rebuilding your tranny.
This article applies to the Acura MDX (2001-2013).
Your transmission fluid pressure is maintained using pressure sensor switches. These parts wear out over time and normally much sooner than your transmission's gears. This is good news for those of us on a tight budget and are now dealing with some hard shifting issues. Fortunately, swapping these parts out is not a labor intensive task that cannot be handled in our own garages. You need not go to a pro to do this work, and if you tackle this DIY, you will be extremely happy that you didn't have to fork over a lot of money. All you need is some time and patience and you'll be completely satisfied that you accomplished this on your own.

Materials Needed
- Ratchet and 22mm deep well socket
- Flathead screwdriver
- Oil catch pan
- Shop rags
- Hydraulic floor jack and stands (not required)
- Replacement ATF fluid
The 2001-2002 MDX will only have a single 3rd gear switch, while the 03+ model years will have an additional 4th gear pressure switch. The procedure is just the same with only an additional process for swapping out the 4th gear switch in the later models. We'll start by replacing the 4th gear switch from above. Skip the first two steps if you do not have a 4th gear pressure sensor switch in the earlier models.
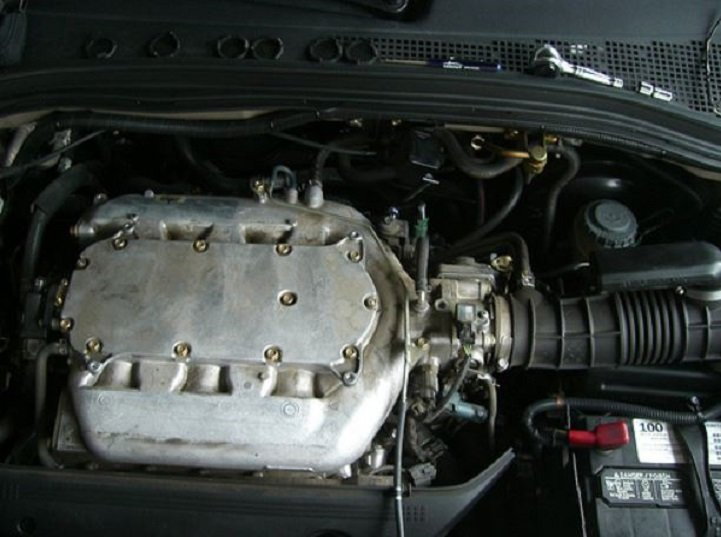
Step 1 – Remove intake tube
The 4th gear pressure switch is accessed from above, while the third gear is accessed from below. The 4th is more involved to get to, and we'll start by removing the engine cover which should pop right off rather easily.
You may want to unbolt the air cleaner housing first to give you some extra room, but it isn't required. Remove the air intake tube by loosening the throttle body clamp and then the spring clip on the intake pipe. The intake tube should be able to pull right off from either end; set that aside.
Step 2 – Remove and replace the pressure sensor switch
You might want to remove the battery to give yourself more room to get to the switch, but it is not necessary. Disconnect the wiring harness connector that is on top of the pressure switch. The connector itself is standard, just push in on the clip and it will pop right off. You should now have clear access to the switch in order to get your 22mm deep-well socket on top of it. Remove the switch and set it aside.
Make sure you don't get any debris or dirt into the exposed bung hole. You may want to clean the area around the hole before installing the new switch. Replace the switch and torque it to no more than 14 foot/pounds. There is a gasket that goes on first and you may need, and probably should, replace this gasket if a new one was not supplied with your new switch.
Once the new switch is installed, go ahead and replace the intake tube, as well as the air box housing and the battery if you removed them for space.
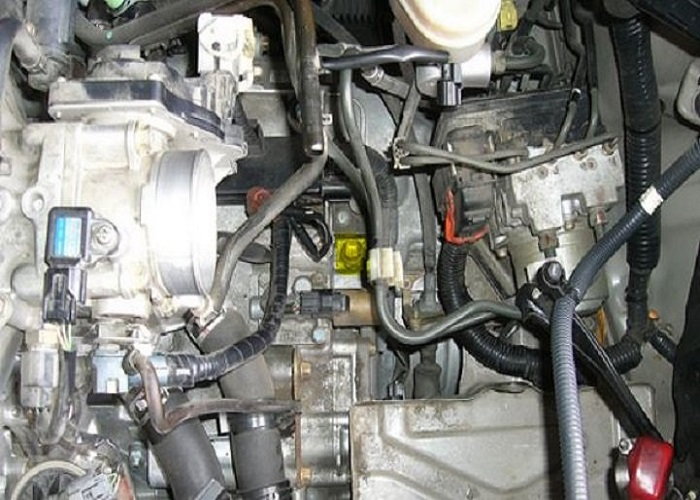
Figure 2. 4th gear switch ready to come out. 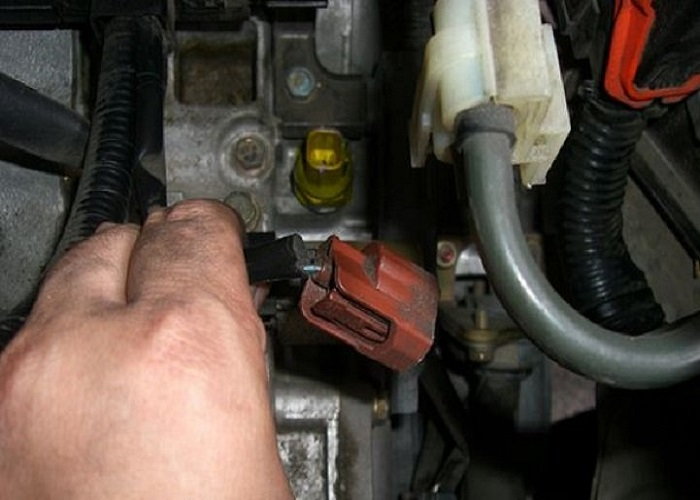
Figure 3. Close up of location with connector out of the way. 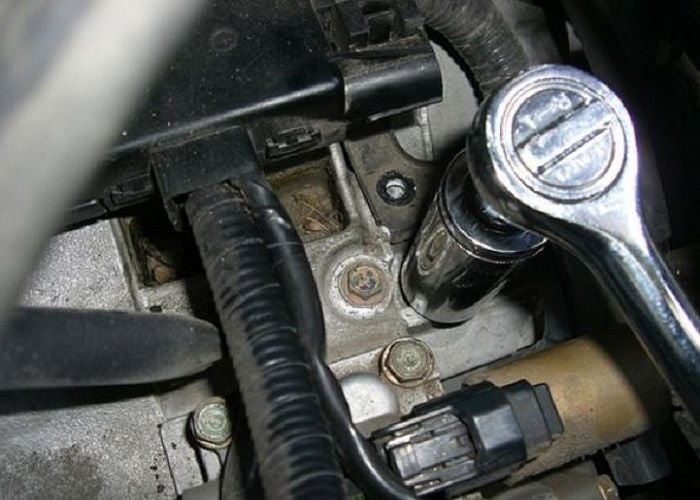
Figure 4. Use a 22mm deep well to remove the switch. 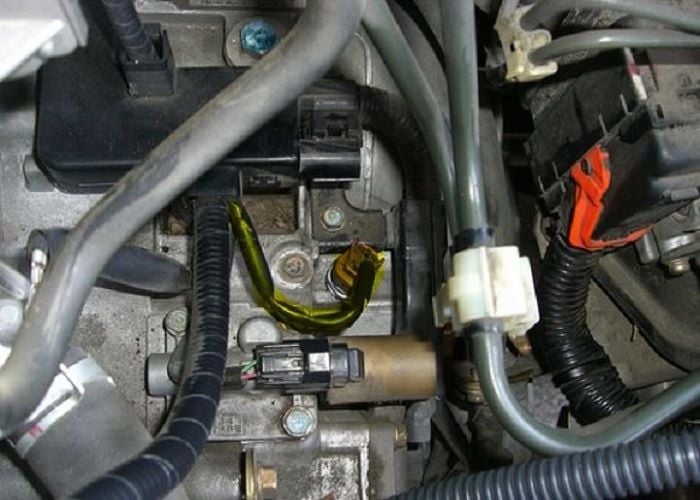
Figure 5. New 4th gear switch installed and connected. Do not over-tighten!
Step 3 – Get under your car
You may want to jack up the front driver's side and place on a jack stand if you need the space to crawl under your car. This is completely optional, but it may make things easier for you.
- Have some replacement clips or plastic rivets on hand as these things break rather easily.
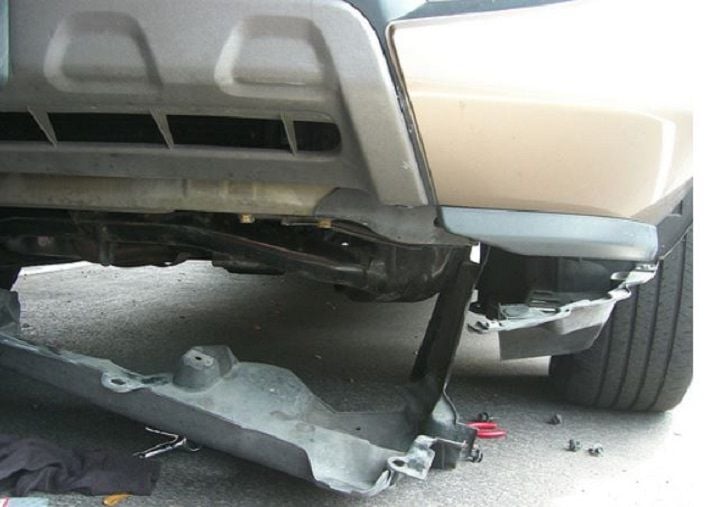
- Use a flathead screwdriver to pop out the plastic rivets that hold the plastic skid plate or splash guard in place. You only need to do this on the driver's side.
- You'll need to get into the wheel well to get all of this section removed to access the gear switch.
- If you can't get the plastic out of your way, you may need to remove the entire piece from the passenger side to the driver's side and set it aside.
Step 4 – Remove and replace the 3rd gear switch
You should be able to see the gear switch behind the splash guard. When you remove this, you will have some ATF fluid leakage, so have a catch pan in place or plenty of shop rags to soak it up as it spills out.
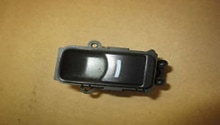
Disconnect the wiring harness by pushing in on the tab on the side of the connector and it will pull right off. Use your 22mm deep well socket to remove the switch and then pull off the gasket or washer. Replace with a new gasket and torque the new switch to no more than 14 foot/pounds.
Replace the electrical connector, button up the splash guards, and your job is done. You will want to replace the ATF that was lost in this last step. It is highly recommended to just do an ATF flush and change if it hasn't been done recently.
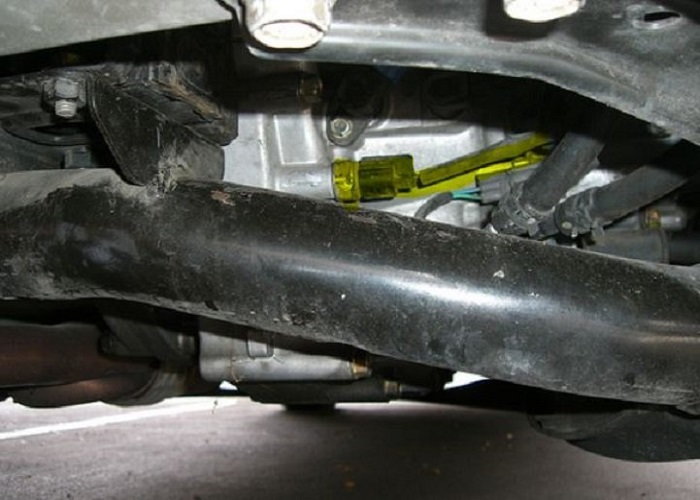
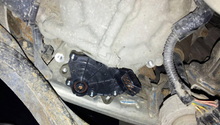
Figure 7. With splash guard removed, you can easily see and access the switch location. 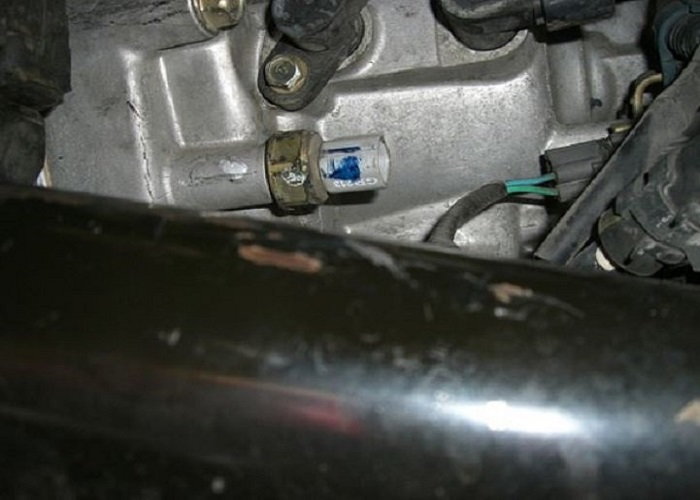
Figure 8. Close up of the switch with connector removed. 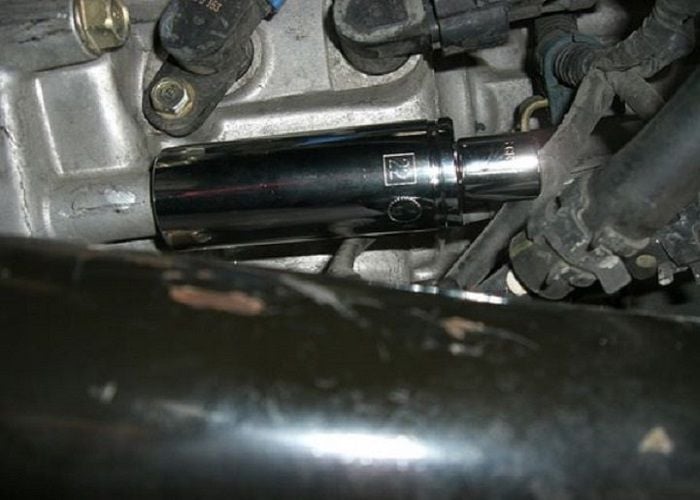
Figure 9. Use a 22mm deep well to remove the 3rd gear pressure sensor switch. 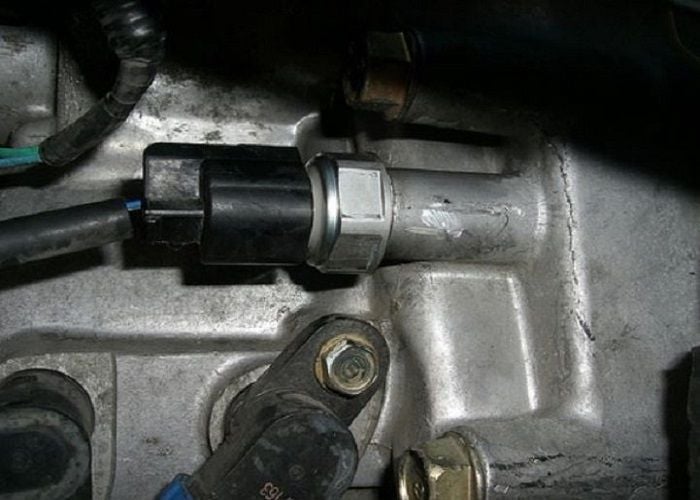
Figure 10. Use no more than 14 foot/pounds to install and replace the electrical connector.
Related Discussions
- '03 - '06 MDX 3rd and 4th Gear Transmission Sensor Switches - AcuraZine.com
- '09 MDX Showing Code P0842 / AT Switch? - AcuraZine.com
- 3rd and 4th Gear Pressure Switch Replace? - AcuraZine.com