Acura RDX: How to Install a Dash Camera
Dash cams are great for security and recording video. This article will explain everything you need to know to install one in your Acura RDX.
This article applies to the Acura RDX.
Dash cams are primarily used for recording footage of your driving experience. This can come in handy if there is ever an accident involving your car. They are not that expensive and are easy to install. Keep reading if you're interested in installing a dash cam to your Acura RDX.

Materials Needed
- Dash cam kit
- Extra wiring
- Add-a-fuse
- Electrical tape
- Plastic trim tool
- Flat head screwdriver
- Multi-meter
- Wire cutter
Whenever you're working with electrical equipment, it's always best to disconnect the battery to prevent the possibility of short circuits.
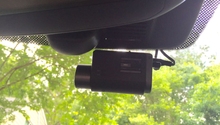
Step 1 – Mount the dash cam
This will depend on the dash cam you are installing. Some can be attached to the rear view mirror while others can be mounted using an adhesive. Just make sure that you install it out of the way so that it doesn't impede your view of the road.

Step 2 – Route the wiring to the fuse box
It's no good to have the power wires for the dash cam dangling across the front of your car. However, there is an easy and smart way to hide the power wires and make it so that the dash cam starts running as soon as you start the car.
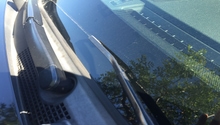
You can start by tucking the wires into the ceiling. It should pull just enough to fit the wiring. Route the wires to the driver's side A-pillar. To remove the A-pillar trim you'll need to pry up the small square cover that says "air bag." Don't worry, there's less risk of setting off the air bag with the battery disconnected. Then, you can pry the A-pillar trim from the top and bottom.
Pull your wiring down from the ceiling and drop it through the A-pillar so that it lands behind the driver's side kick panel.

Figure 2. Peel back the ceiling cover and tuck in the wires. 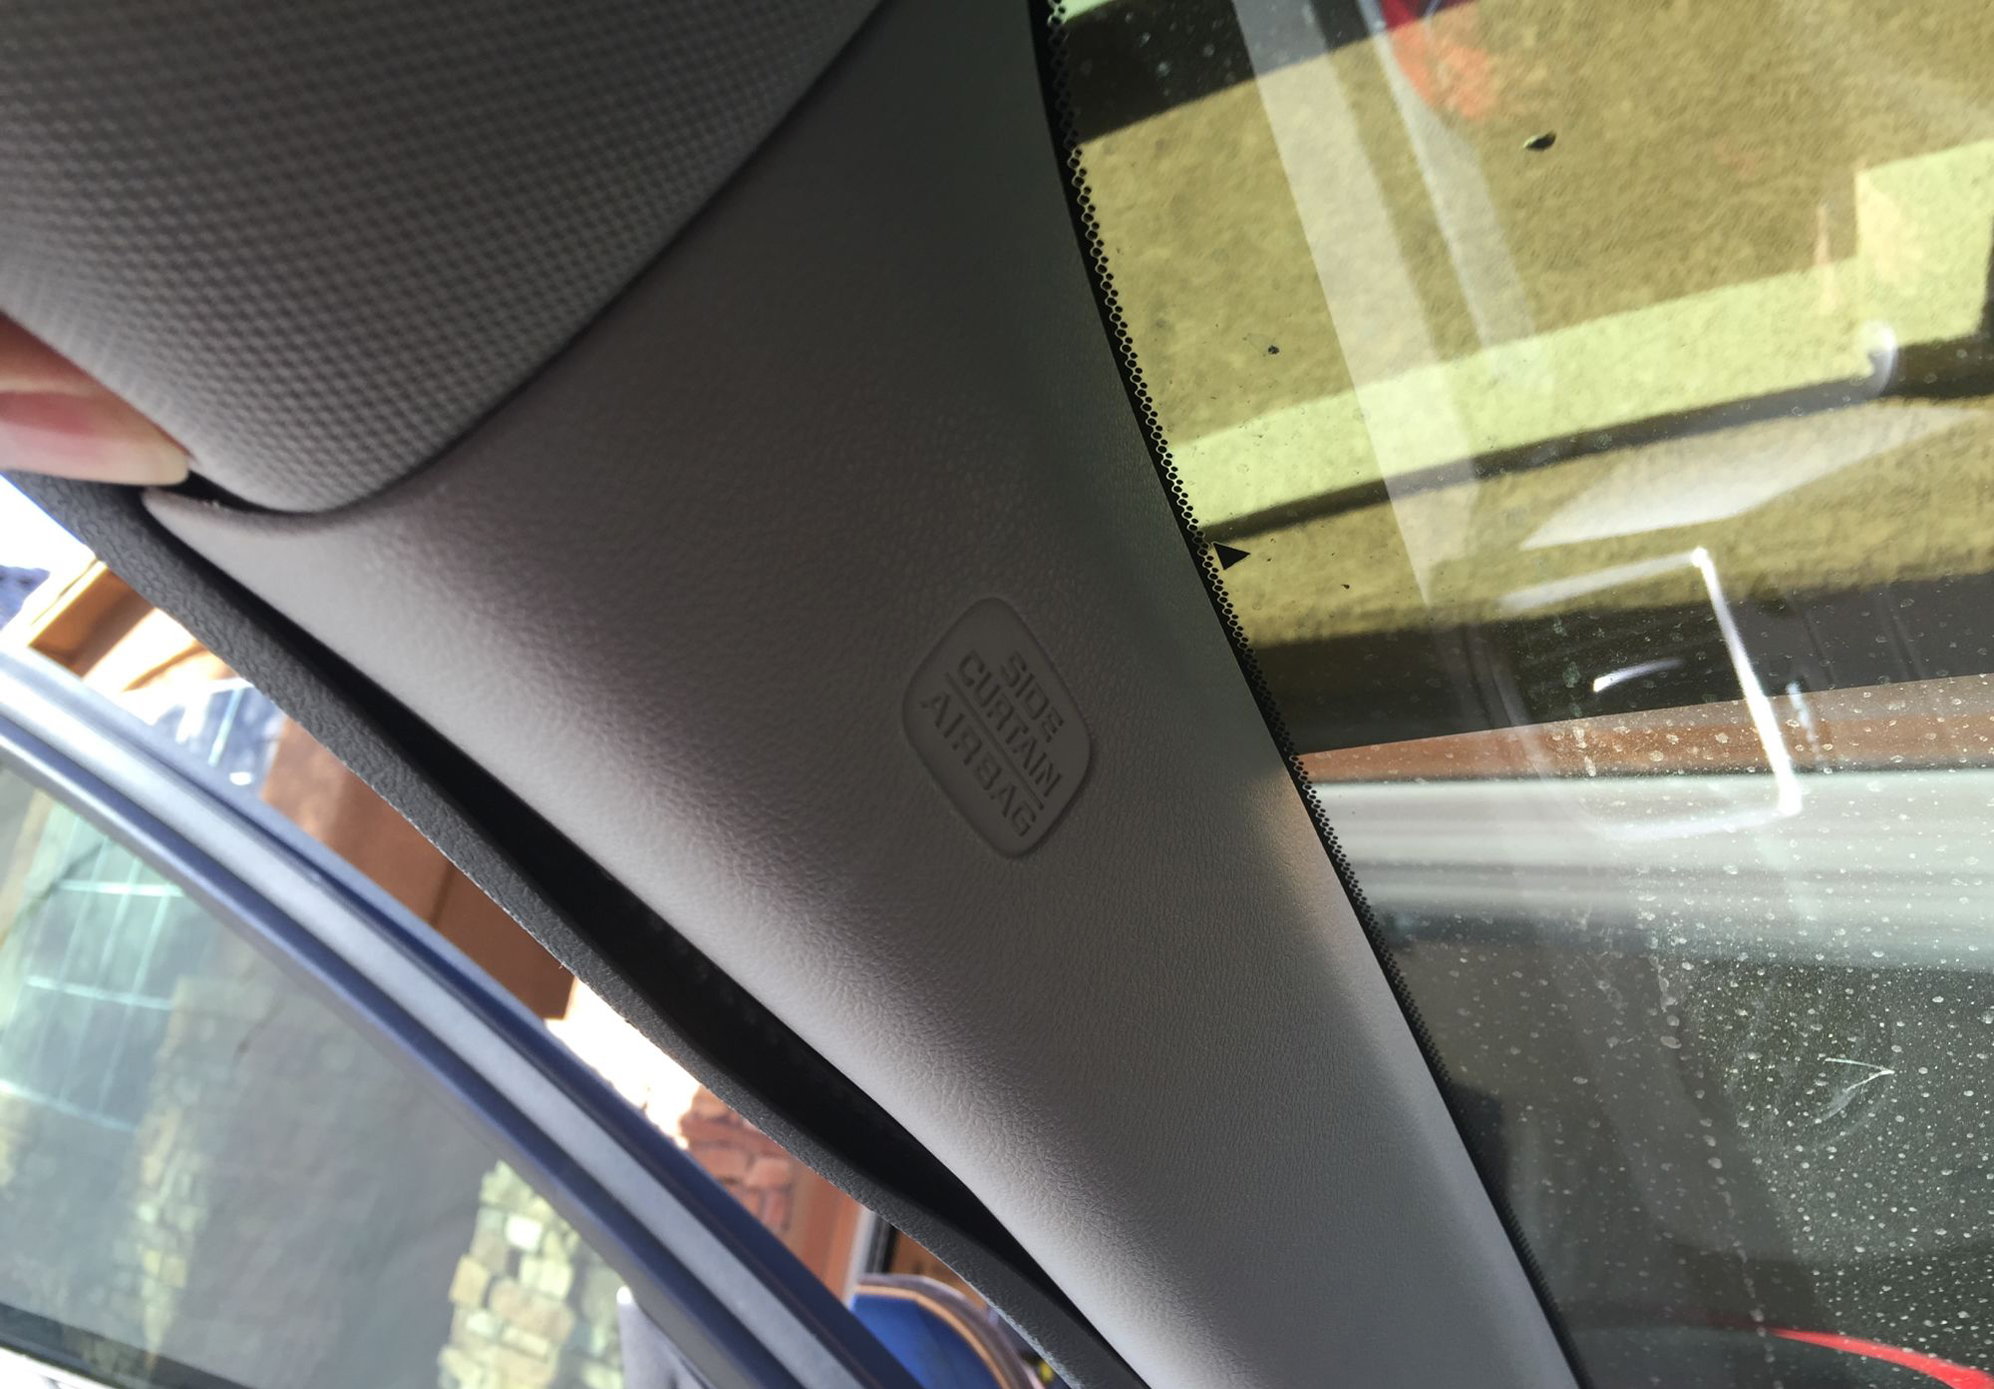
Figure 3. Pry loose the A-pillar trim.
Step 3 – Connect wiring to fuse box
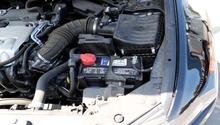
Pry out the driver's side kick panel, if you haven't already, and find the wire for the dash cam. To give the dash cam power, you're going to need to tap into a fuse. Reconnect the battery and use a multi-meter to find a fuse that receives power when the car is turned on. You'll want to find an accessory fuse. Just set your multi-meter to volts and look for the 12-volt power source.
Once you've found a fuse to tap, you're going to install an add-a-fuse. You'll need to splice the dash cam wire with the add-a-fuse. So cut the wires and splice them together, using a soldering iron for good measure. Then, wrap the connection in electrical tape. Take the fuse you're tapping and connect it to the add-a-fuse, then install the add-a-fuse to the fuse box.
Your dash cam should now receive power whenever you turn on the car's accessories. Give it a test just to make sure that it's working. Snap the kick panel and the A-pillar trim back into place and you're all done. Enjoy your dash cam.

Related Discussions
- Dash Cam? - AcuraZine.com
- Hardwiring a Dash Cam - AcuraZine.com