Acura TL 2004-2008: Why is My Battery Not Charging?
Just because the battery is dead doesn't mean it's at fault. There are several reason a battery can be weak or dead, or otherwise appear to be the same. Before taking the drastic step of changing out the battery for a new one, read this article through to discover some of the other reasons besides just a dead battery.
This article applies to the Acura TL (2004-2008).
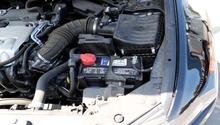
The battery is one of those necessary things for your vehicle. Without it, it doesn't start. Without it, the computer might not function correctly. Without it, you are going nowhere fast. This article will go over some of the basics of why your battery may not be charging, hopefully allowing you an opportunity to figure out if there might be an ulterior motive as to why the car you love so much may be experiencing a dead battery.

Materials Needed
- Multimeter
- Basic tool set
- Shop rags
- Wire brush
- Battery charger
- Cold cranking amps electronic battery tester
Step 1 – Check the battery
Battery may be bad.
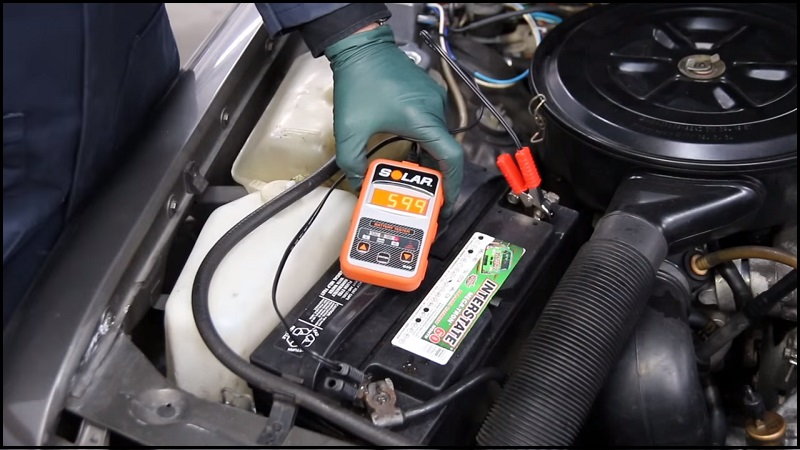
A normal battery in good shape will have about 13.1vdc at rest. If less than that, it could just need a recharge, but if bad enough, it might need to be replaced.
- With the engine off, check the battery voltage with the multimeter. The reading should be around 12.5 to 13.1vdc.
- If lower than this, fully recharge using a battery charger.
- If voltage now shows good, it's not the battery. Go to Step 2.
- If voltage will not come up above stated voltage, take the battery to a parts store and get it load tested.
- If battery is shown to be bad, replace it.

Related Video: How to Use Multimeter to Check Battery
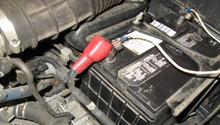
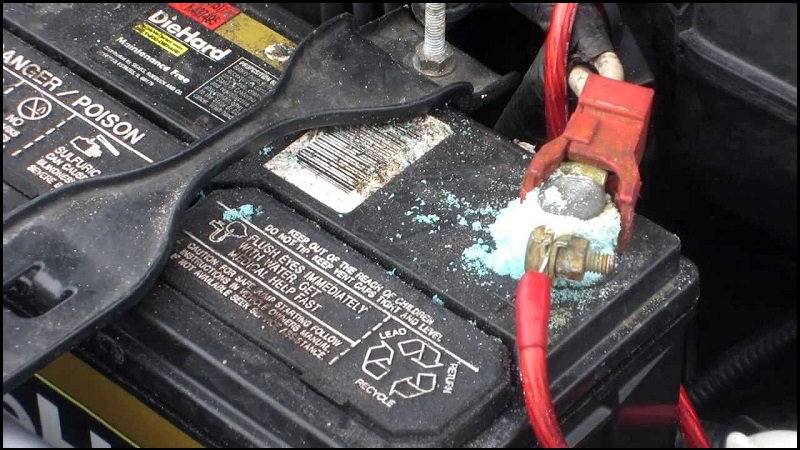
Step 2 – Check battery connections
Battery connection may be loose or corroded.
Check battery connections for corrosion and for proper connection.
- Visually observe the connections. If corrosion is present, disconnect battery and clean corrosion, then reattach connections firmly.
- Check for loose connections where the wires meet the clamps. Tighten if loose, or reattach if bad enough.
- Ensure the cables don't look fat. Corrosion can buildup inside the cables to create issues. Replacement may be necessary.
- Check end connections away from the battery for corrosion and to ensure they are tight.
Step 3 – Check battery amperage
Battery may be under performing.
The battery may be bad if it cannot perform at its given level.
- Locate the battery rated cranking amps (CA) and cold cranking amps (CCA).
- Attache tester to battery.
- Set rated CA in tester and test the battery.
- If battery significantly under performs rated CA or CCA, battery needs replacement.
Related Video: How to Tell if Battery is Really Dead
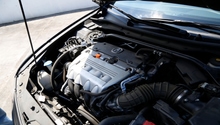
Step 4 – Check voltage with engine running
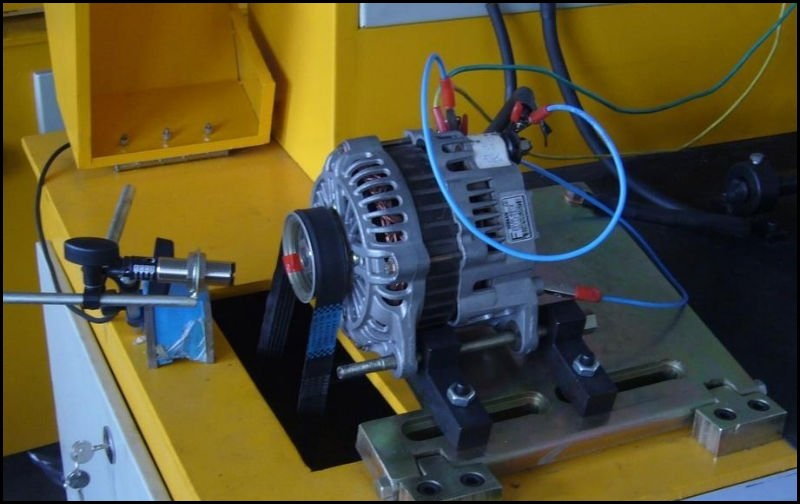
Checking the alternator output voltage.
If the alternator isn't putting out the right voltage, it will never charge the battery or may overcharge it, ruining it.
- Start the engine and check battery voltage directly at the battery.
- Voltage should be around 14.1 to 14.5vdc.
- If the voltage is below this, observe the voltage over time. If the voltage continually drops, the alternator is not recharging the battery and must be replaced.
- If the battery voltage is above 15vdc, the alternator is overcharging and will most likely require replacement. Take it to the parts store and have it bench tested to make sure.
Related Discussions
- Car Does Not Start Up Sometimes - AcuraZine.com
- Battery Drain - AcuraZine.com
- Absolutely Dead - AcuraZine.com
- Radio Wont Power After Jump Start Not Asking Code - AcuraZine.com
- Car Won't Start Just Hear Clicking Noise When I Turn the Key - AcuraZine.com