Acura MDX: How to Change Cabin Air Filter
You should replace the cabin air filter in your Acura MDX every 20,000 miles or so—it’s responsible for cleaning the air that comes in the car’s cabin through the heating, ventilation and air condition system.
This article applies to the Acura MDX.
It’s recommended that drivers change their cabin air filter once every 15,000 to 25,000 miles. At most, you can wait until 30,000 miles, though this isn’t recommended.
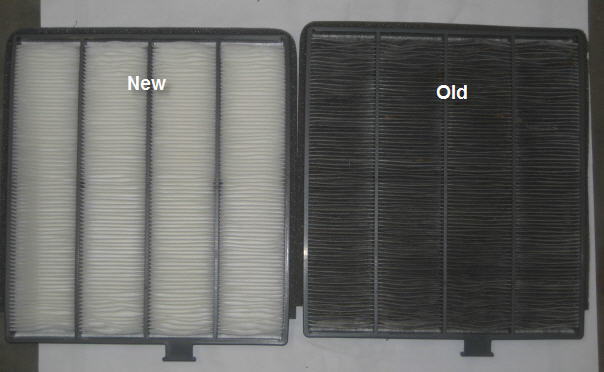
A new cabin air filter not only improves the performance of your vehicle (on a minor scale), it improves the quality of the air within the car’s cabin. This air comes in through the vehicle’s heating, ventilation and air conditioning system, and if it hasn’t been changed in a while, it can lead to the car smelling stale and/or sour.
It’s an easy enough project to do yourself in about 20 to 30 minutes. Here’s how.

Materials Needed
- New cabin air filter
- Screwdriver
- Box cutter
- 8mm socket and wrench
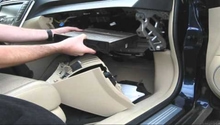
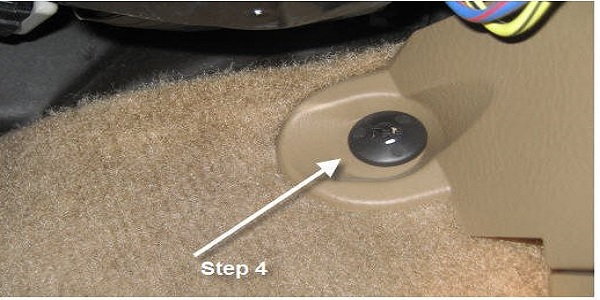
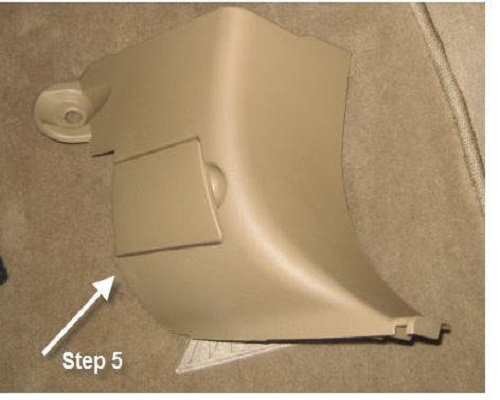
Step 1 – Empty glove box and pop it out
Pop up the two plastic stops on the inside of each side. Slide the stop forward and remove from glove box. Undo the single screw that slides in the arm on the outside right of the glove box. Unlatch the glove box.
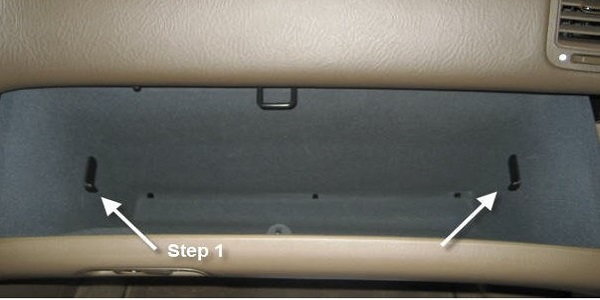
Figure 2. Remove the plastic tabs on the inside of the glove box. 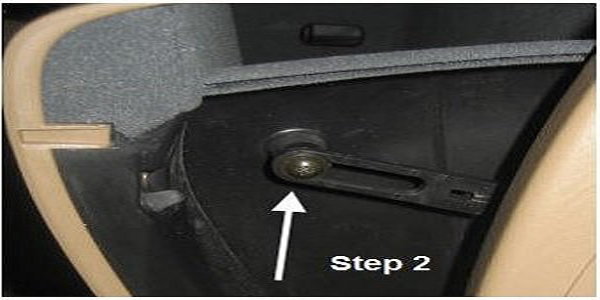
Figure 3. Glove box slider fasteners.
- Now pop up the kick plate on the passenger door side with a screwdriver and unscrew the plastic stud that hold the trim piece containing the fuse next door.
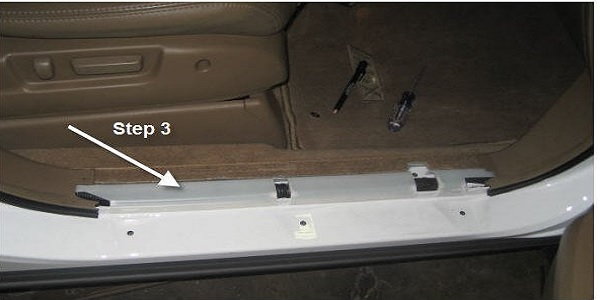
- Lift up the rubber door seal just enough to take off the trim piece. Using an 8mm socket, undo the screws holding in the hinges at the bottom of the glove box.
- Unlatch the glove box and remove it.
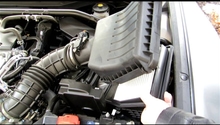
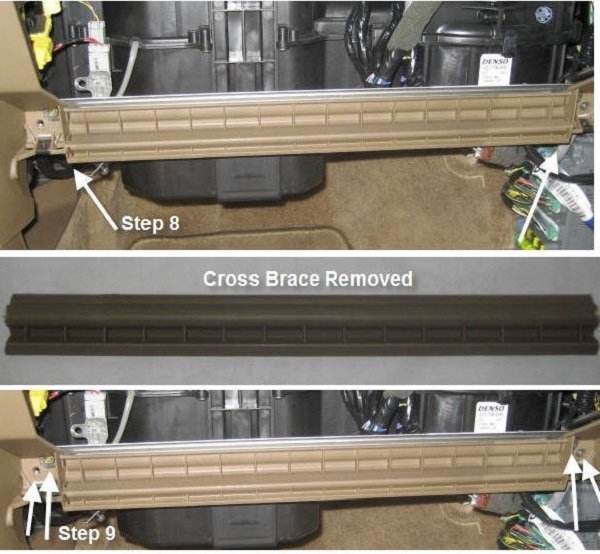
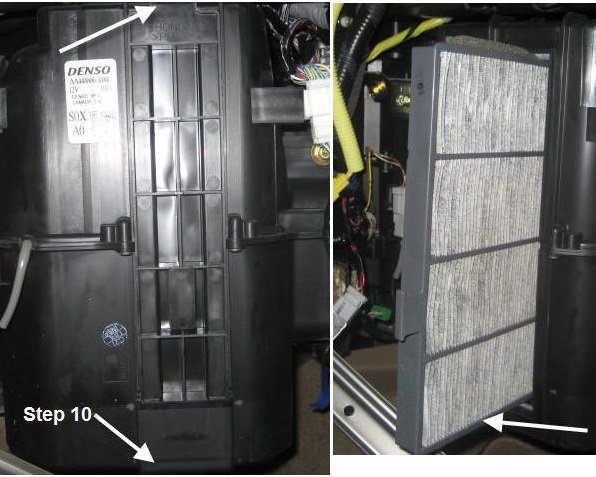
Step 2 – Access the filter
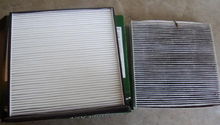
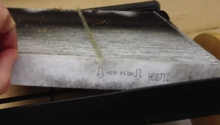
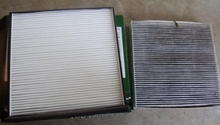
Use a box cutter to carefully cut the plastic cross brace at its ends—there are cut-outs already in place, so there’s no guess work. Unscrew the four screws holding the metal cross brace in place, unclip the filter cover, and pull out the filter.
Step 3 – Replace with new filter and reinstall
Don't replace the plastic brace—it was designed with good intentions, but is unnecessary. Re-clip the glove box and secure hinge screws. Put the trim piece back in, secure, and put the rubber seal for the door back over it. Put the kick plate back in, and re-latch the glove box—slide it back and secure with the plastic stops.
Featured Video: Cabin Filter Replacement for Acura MDX
Related Discussions
- Cabin Air Filter - AcuraZine.com
- Solution for Exhaust Smell in Cabin - AcuraZine.com
- Dust Coming From Air Vents - AcuraZine.com
- DIY for Cabin Filter Replacement - AcuraZine.com