Acura MDX: How to Replace Brake Fluid
Brake fluid is an often neglected maintenance task that many owners never pay attention to until they experience a brake system problem. With the brake system playing such a vital role in the safety of all vehicles, it is prudent that the brake fluid be replaced on a regular basis to ensure consistent brake operation.
This article applies to the Acura MDX (2000-Present).
The brake system uses hydraulic action to transfer brake pedal motion to the brake calipers via brake fluid, and subsequently slows the vehicle. In order to maintain safe and efficient brake system operation, it is recommended that the brake fluid be replaced every two to three years. Glycol-based brake fluid is hygroscopic, meaning it is able to absorb moisture through small pores in rubber hoses and seals. Over time, brake fluid will become contaminated with water molecules that reduce the boiling point of the fluid, thus leaving your brakes more susceptible to brake fade. Neglected brake fluid maintenance accounts for various brake system failures and causes thousands of accidents each year. A regular brake fluid maintenance interval will keep your brake system components working at their best. This article will outline the procedure for replacing the brake fluid on the Acura MDX.

Materials Needed
- Funnel
- DOT 3 or DOT 4 brake fluid (2 pints)
- Length of 1/4" diameter hose
- Syringe or turkey baster
- Catch bottle or catch pan
- Shop rags
- 8mm or 10mm box-end wrench
- Pressure or vacuum bleeder (optional)
- Helper (for two person bleeding method)
This job can be completed with the vehicle resting on the ground; however, some prefer to lift the vehicle and remove the wheels for easier access to the brake caliper bleed nipples.
Warning
Brake fluid is corrosive to the finish of your vehicle! Take precaution to avoid spilling any fluid. If fluid does come into contact with any painted surfaces, be sure to clean it up immediately.
Step 1 – Drain brake fluid reservoir
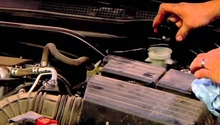
The first step in flushing the brake system on your MDX is to remove the old brake fluid from the reservoir.
-
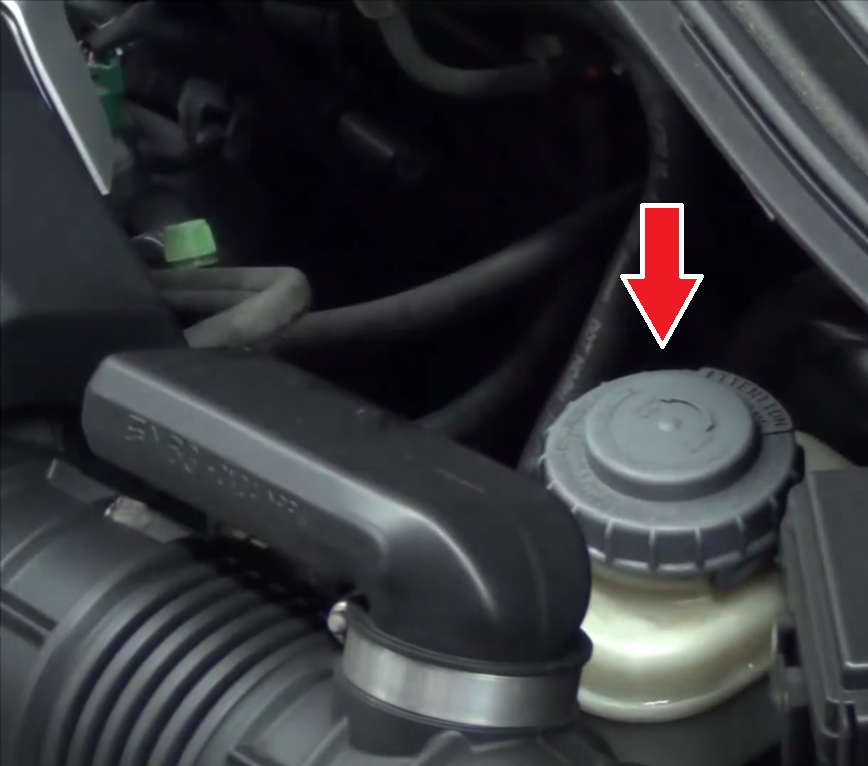
Locate the brake fluid reservoir on the driver's side firewall. Wipe any dirt and debris from the reservoir cap before removing it.
-
Using a syringe or turkey baster, siphon as much brake fluid from the reservoir as possible.
-
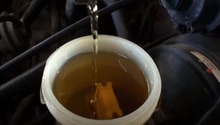
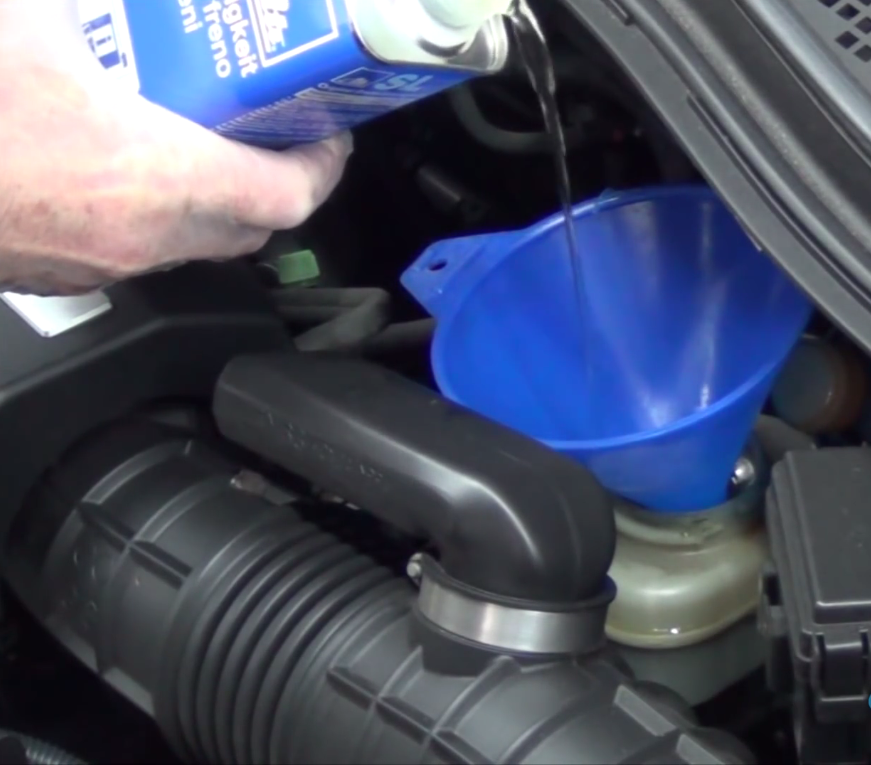
Fill the brake reservoir with fresh brake fluid.

Pro Tip
When flushing the brake system, always use a fresh, unopened container of brake fluid. Unused brake fluid from a previously opened bottle will likely have absorbed moisture and will not perform as well as brake fluid from an unopened bottle.
Step 2 – Attach pressure bleeder or vacuum bleeder (optional)
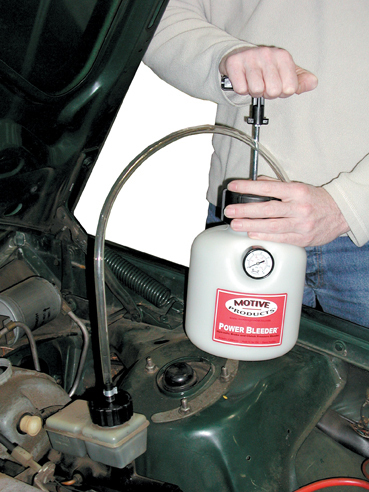
While the two-person brake bleeding procedure is still the preferred brake bleeding method for most owners, many companies are now offering relatively affordable pressure or vacuum systems to allow for easy one-man brake bleeding.
-
If using a pressure bleeder, such as the Motive bleeder tank, attach the adapter to the reservoir cap and pressurize the system to approximately 15 psi.
-
If using a vacuum bleeder, whether it be a hand operated or a compressed air vacuum unit, attach the bleeder hose to the bleeder nipple on the selected brake caliper and apply vacuum.
Step 3 – Flush fluid
With fresh brake fluid in the brake reservoir, you are now ready to begin flushing the brake system. Contrary to most other vehicles, the Acura service manual recommends that the bleeding sequence begin at the left front brake caliper.

-
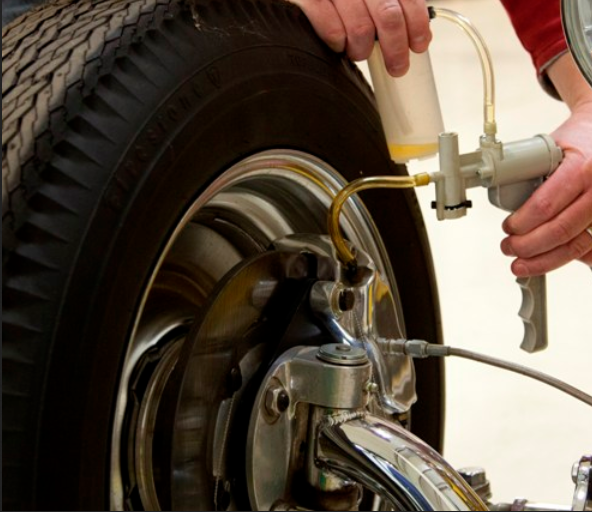
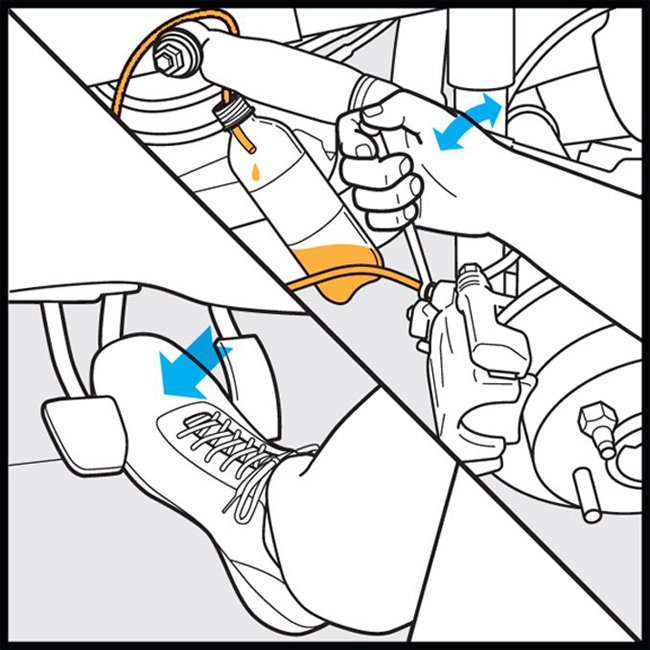
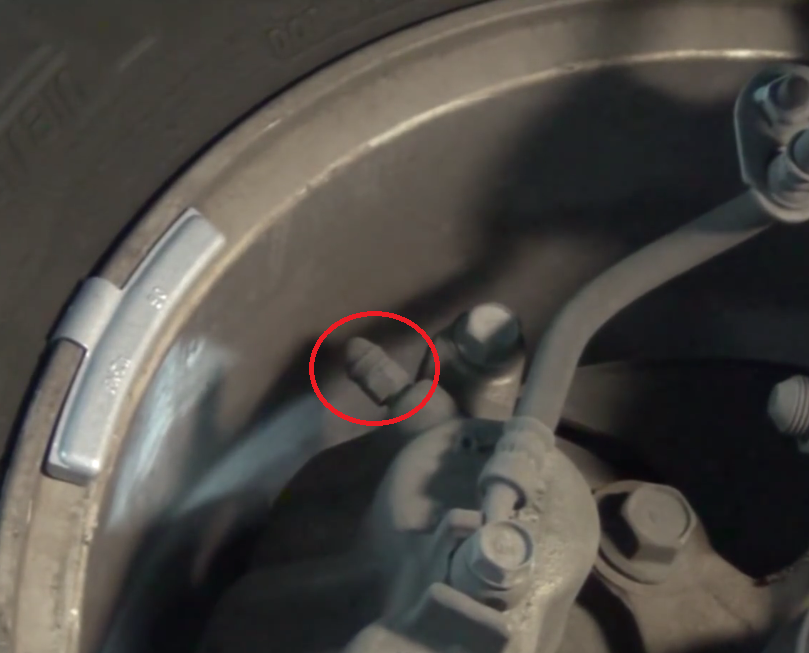
Working underneath the vehicle, remove the rubber bleeder nipple cover and place your box-end wrench over the bleeder screw.
-
Attach a length of 1/4" inside diameter hose (preferably clear) to the bleeder nipple. Route the other end of the hose into a catch bottle or catch pan.
-
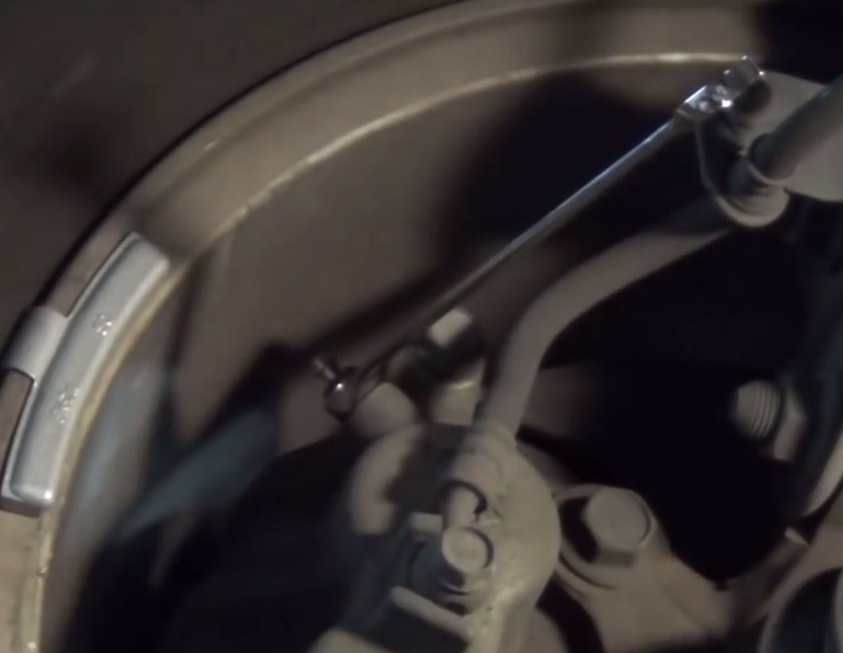
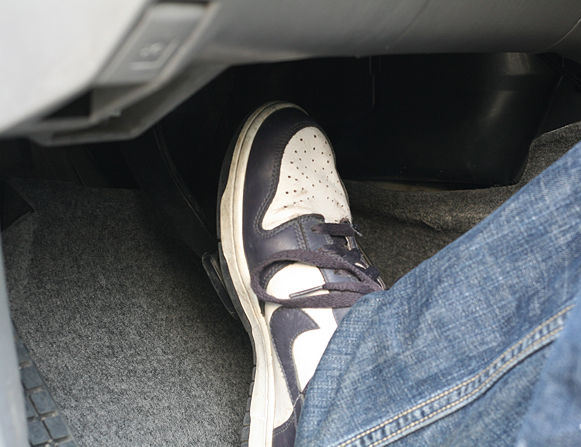
If manually bleeding the brakes with two people, have a friend pump the brake pedal a few times before holding the pedal firmly in place. Gently loosen the bleeder nipple and allow the brake fluid to drain. Tighten the bleeder nipple before your partner releases the brake pedal. Repeat this procedure until the emerging brake fluid is clean and clear with no air bubbles.
- If using a pressure bleeder or vacuum operated bleeder, simply open the bleeder nipple and allow fluid to drain until it is clear.
-
Tighten the bleeder nipple to approximately 6 ft/lbs and re-install the rubber cap. Be sure not to over-tighten the bleeders, as the threads can easily strip out.

- After completing the flush procedure at each brake caliper, top off the fluid reservoir with brake fluid. This will prevent the possibility of air being introduced into the system if the fluid level were to drop too low in between bleeding each caliper. Repeat the bleeding procedure in the sequence outlined about for the remaining brake calipers.
Pro Tip
Avoid shaking the brake fluid, as this will create air bubbles that can make their way into the brake system, causing a mushy brake pedal and reduced braking performance.
Step 4 – Top off fluid and check brake operation
After finishing up with flushing the brake system, top off the brake fluid reservoir one last time and re-install the reservoir cap. Start the car and pump the brake pedal several times to ensure it is firm and the brakes are operational.
Featured Video: Brake Fluid Flush and Bleed
Related Discussions
- Brake Bleed vs Drain and Refill Reservoir - AcuraZine.com
- Brake Bleeding Question - AcuraZine.com