Acura MDX: How to Replace Fuel Pump
A faulty fuel pump can leave you and your car stranded in a hurry. The best course of action is to catch any fuel pump related problems early and replace the unit before it goes kaput.
This article applies to the Acura MDX (2001-Present).
In any modern fuel-injected vehicle, the fuel pump is responsible for supplying adequate fuel to the engine for proper operation under all conditions. Unfortunately, many consider fuel pumps to be consumable items that will require replacement at some point during the life of the vehicle. Although a fuel pump can go out in a moments notice, they will typically provide some sort of warning, such as a loud whine while the engine is running, hard stating issues, engine surging or loss of power, and poor fuel economy. The process of replacing the in-tank fuel pump is a fairly straightforward job; however, it can be a little labor intensive tearing into the vehicle to gain access to the pump. That being said, a few hours of your time can save you hundreds compared to the local auto shop and allow you to rest assured knowing that the job was done right. This article will outline the basic procedure for replacing the fuel pump on the Acura MDX.

Materials Needed
- Socket set and ratchet
- Small pry bar or flat head screwdriver
- Utility knife
- Phillips screwdriver
- Lock ring wrench, large water pump pliers, or drift punch and hammer
- Shop rags
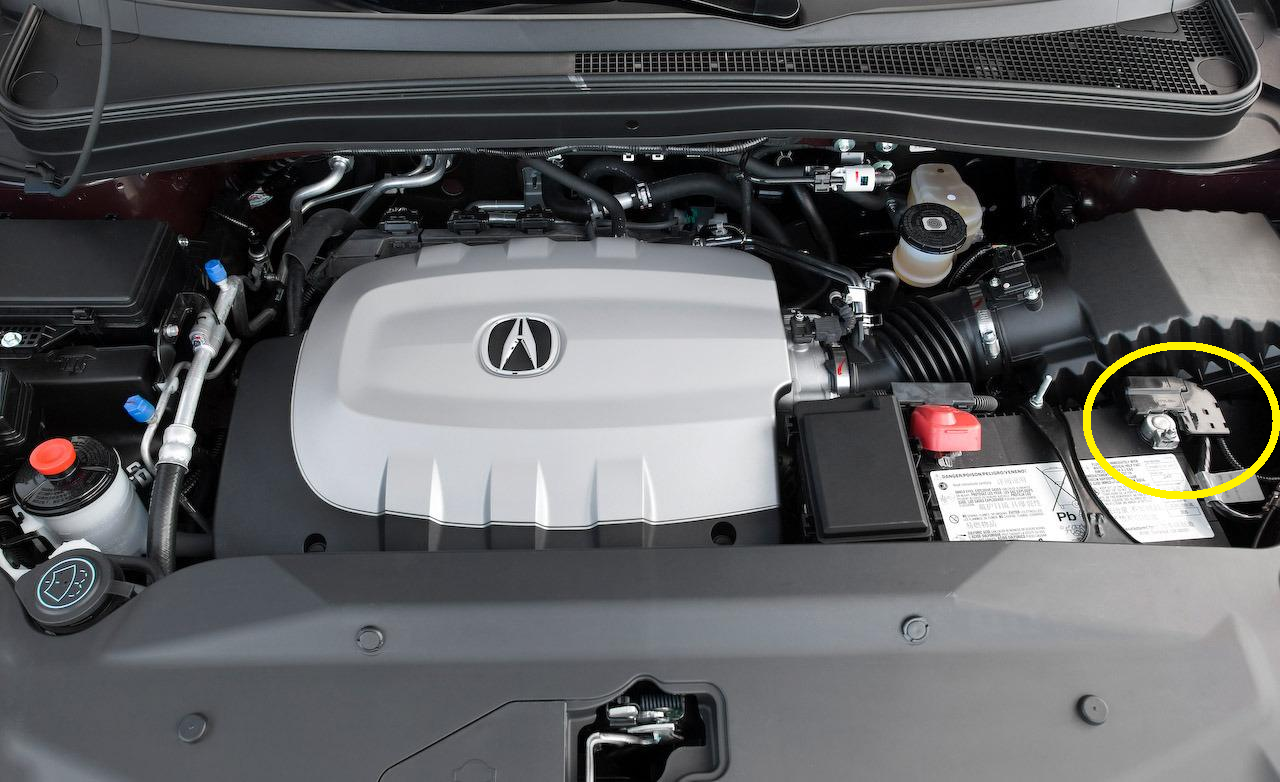
Step 1 – Disconnect battery
Anytime you are working with fuel system components, it is a good idea to disconnect the battery to prevent any electrical shorts and potential fires. Locate the battery under the hood and disconnect the negative (black) battery cable. Once disconnected, some prefer to wrap the end of the cable in a towel or shop rag to prevent accidental contact with the negative battery terminal.
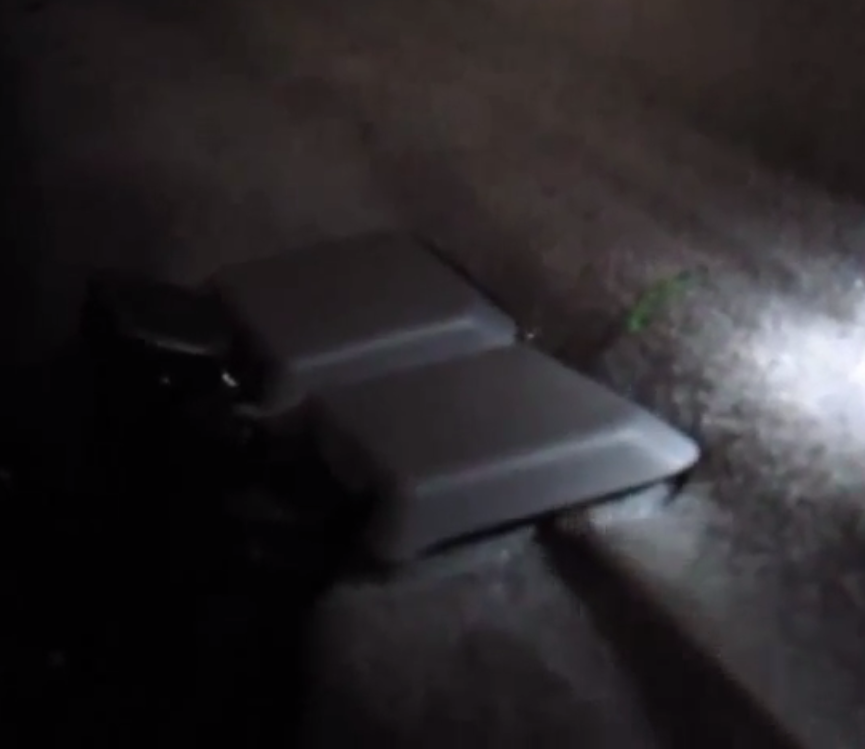
Step 2 – Remove rear seats
The fuel pump access panel is located on the floorboard underneath the rear seats.
-
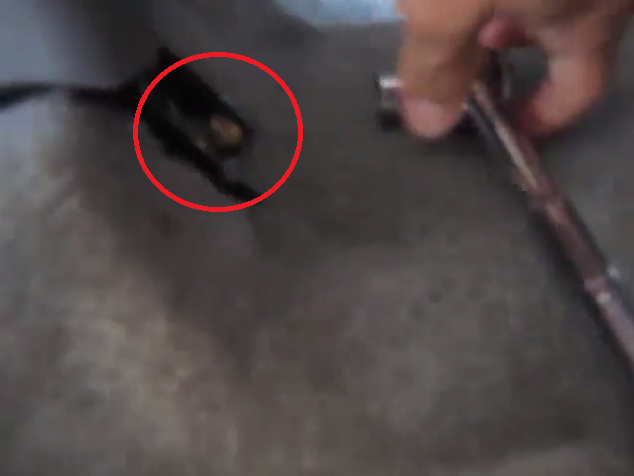
Remove any plastic trim pieces that cover the seat mounting bolts. These are easily removed by gently prying upwards with a flat head screwdriver or small pry bar.
-
Remove the seat mounting bolts from each seat frame mount using the appropriate sized socket and ratchet.
-
With the seat mounts free, lift the seat assembly and remove it from the vehicle. The helping hand of a friend can come in handy during this step.
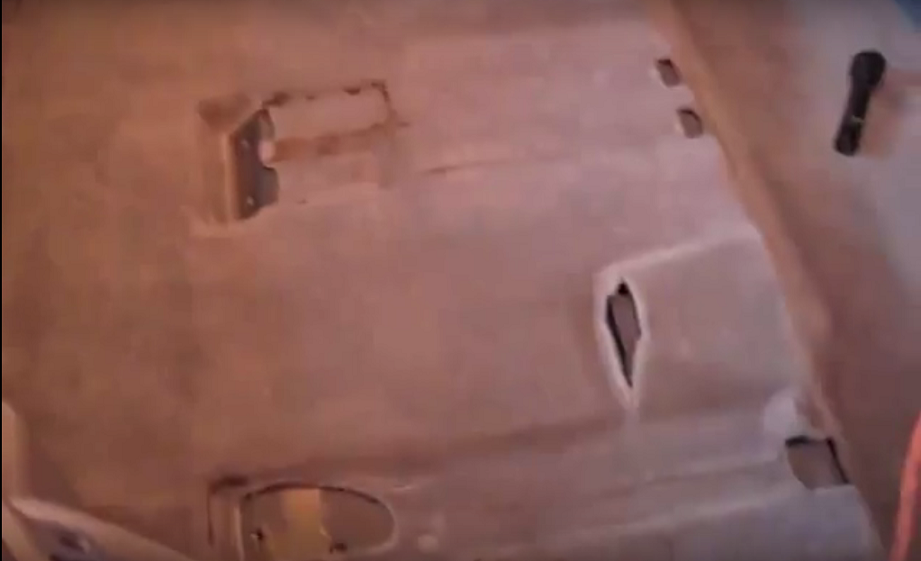
Step 3 – Remove fuel pump assembly
With the seats removed, the fuel pump can be accessed through a small flap in the carpet.
-
Fold back the carpet flap to reveal the fuel pump cover. In some cases, the carpeting will need to be cut with a utility knife along the perforated area to fully reveal the pump cover/pump.
-
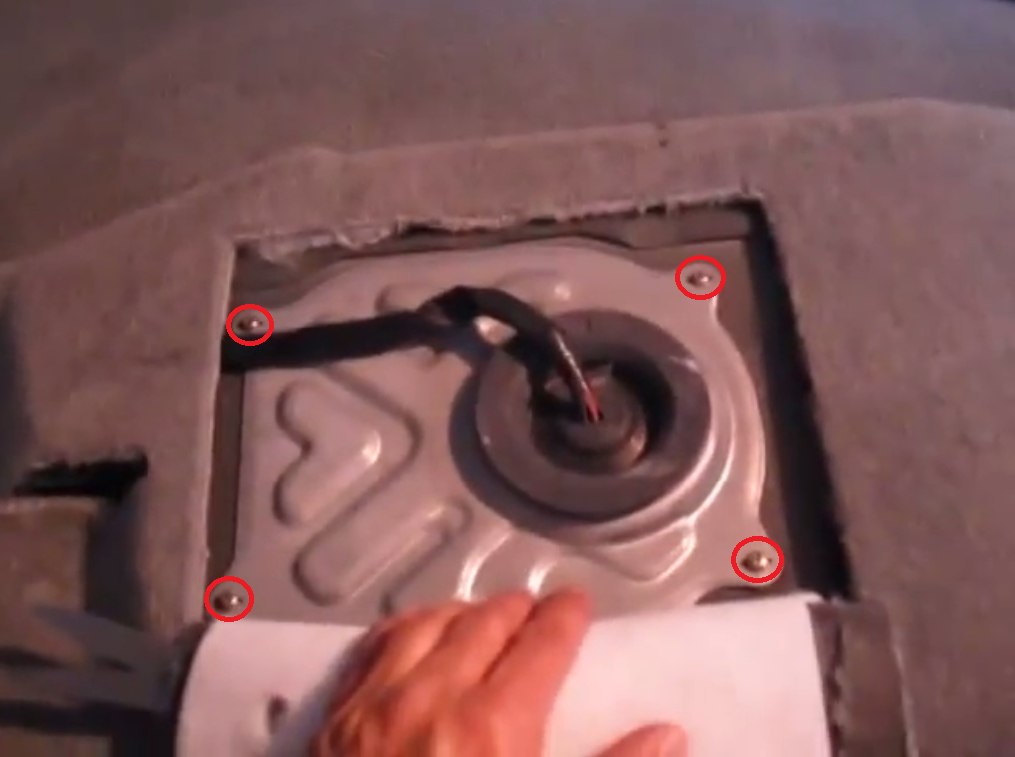
Using a Phillips screwdriver, remove the screws securing the pump cover in place. The pump cover uses an adhesive backing to keep fuel vapors out of the cab, so a small pry bar or screwdriver may be needed to pry it upwards for removal.
-
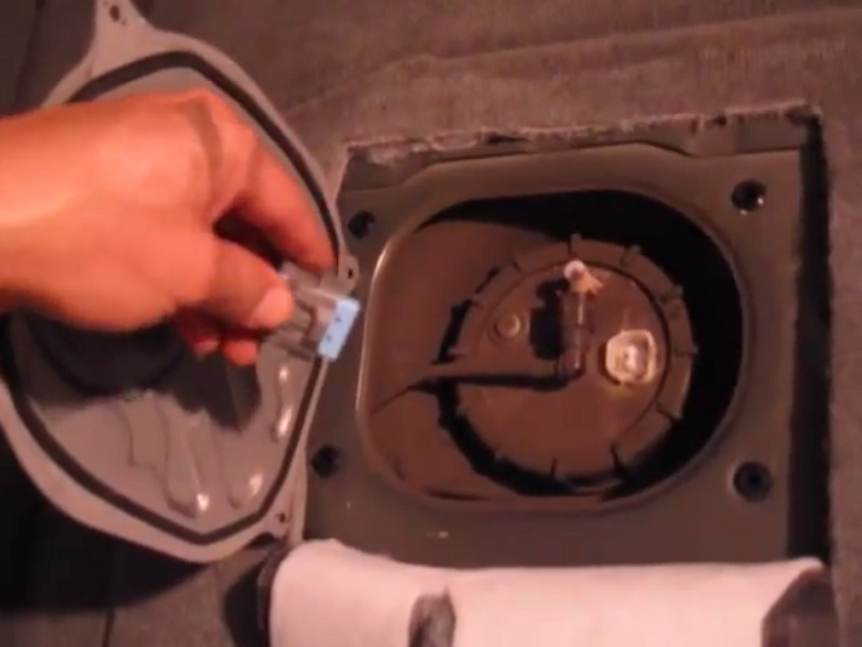
With the pump cover removed, disconnect the electrical harness plug from the fuel pump as well as the fuel line.
-
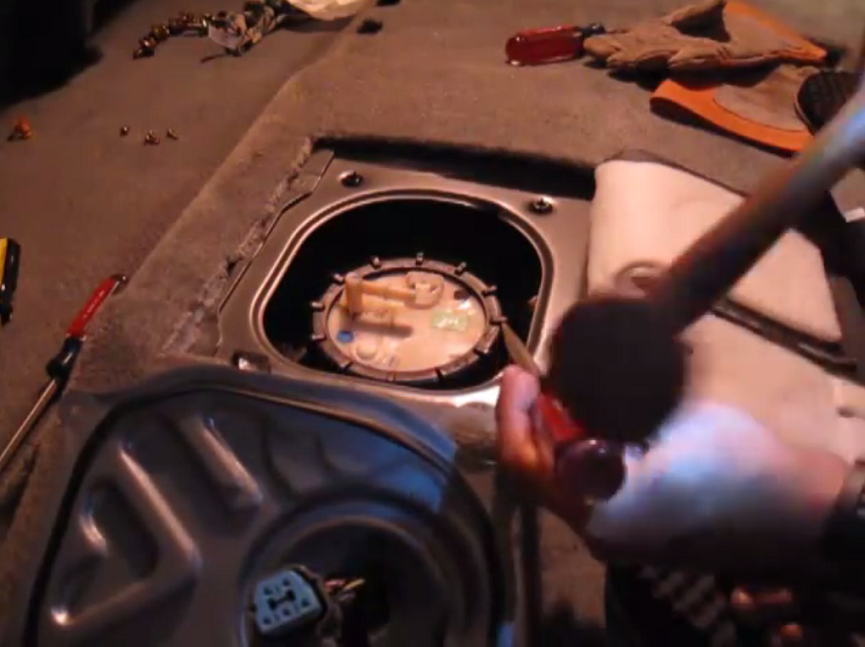
Remove the lock ring from the fuel pump. While a specialty lock ring wrench is recommended, the lock ring can also be removed using a large set of water pump pliers or a drift punch and hammer.
-
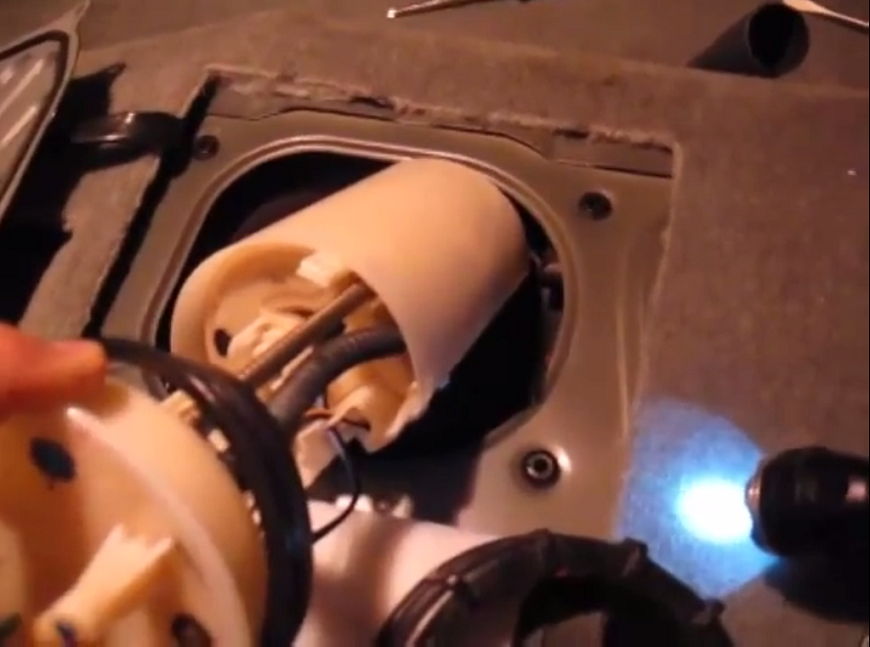
After removing the lock ring, the fuel pump assembly can be lifted from the tank. Lift up on the pump and allow any residual fuel to drain. Maneuver the pump to allow the fuel level sensor arm to clear the tank opening and remove the pump assembly from the tank.

Pro Tip
The top of the fuel pump can become quite dirty, so a good cleaning before removing the fuel pump will ensure that no dirt or debris enters the fuel tank.
Step 4 – Reassembly
-
Install the rubber sealing gasket onto the new fuel pump, then carefully slide the pump into the fuel tank to avoid damaging the fuel level sensor arm. Be sure the pump is fully seated and is properly positioned to allow the fuel line and electrical harness plug to be connected.
-
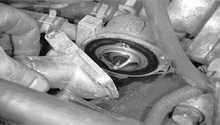
Install the locking ring. It is important that the ring is securely tightened to prevent fuel leaks.
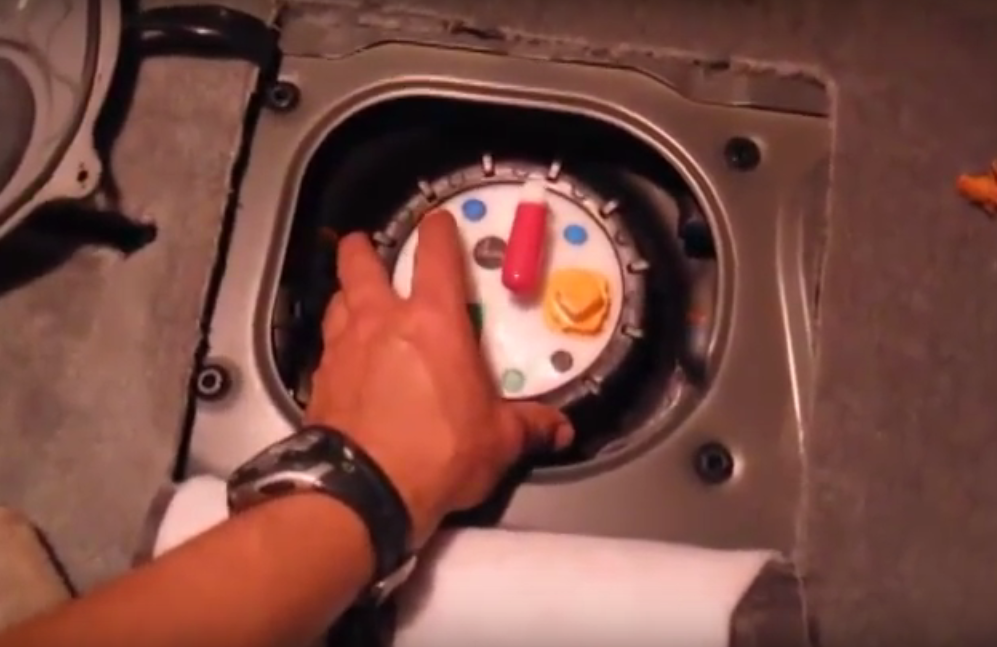
Figure 11. Lock ring in place. -
If necessary, transfer the old fuel line quick connect coupler to the new fuel pump nipple and attach the fuel line.
-
Connect the fuel pump wiring harness plug. Install the fuel pump cover and fastening screws.
- Re-install the rear seat and securely tighten the mounting bolts. Install the plastic seat mount trim covers.
- Reconnect the battery.


Pro Tip
The fuel pump can be inspected for leaks prior to installing the cover by simply starting the car and examining the pump for wetness.
Featured Video: How to Replace Fuel Pump MDX
Related Discussions
- 05 MDX Won't Start Sometimes - AcuraZine.com
- MDX Cutting Off - AcuraZine.com