Acura TL 2009-2014 and MDX: How to Replace Ignition Coils and Spark Plugs
Changing a coil or the spark plugs on a J-series engine is fairly straightforward without too much to worry about. Getting to them is easy. You need to dismantle just a few things and disconnect the coils. A few easy steps and you're done. Read this article to find out just how to handle this.
This article applies to the Acura TL (2009-2014) and MDX.
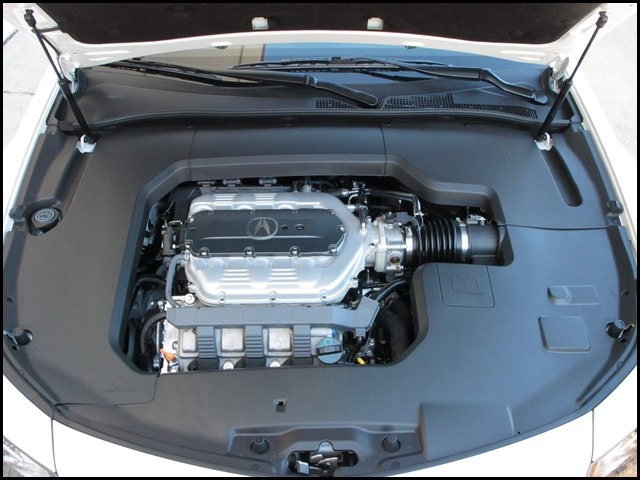
The coils and plugs in the Honda/Acura J-series engines provide the means by which the engine fires the air/fuel charge. The arrangement for these engines is called a "coil on" approach. This means the ignition coils are directly mated to the spark plugs without the need (or inconvenience) of spark plug wires. When one of the coils go bad or the plugs have reached their life expectancy, the engine will run bad or you could also be losing fuel mileage. Changing out a coil or the plugs isn't too difficult on the J motors. Finding them is half the battle, but once you remove an engine cover or two, they stare you in the face.

Materials Needed
- Metric tool set (3/8" drive set)
- (2) 3" extensions
- 3/8" universal joint
- 5/8" spark plug socket
- Torque wrench
- Flat head screwdriver
- Anti-seize compound
- Dielectric grease
- Long needle nose pliers
Step 1 – Remove engine covers
Raise the hood. If so equipped, remove the engine covers. Start with the passenger side near the fender. Move around the back of the engine bay and to the right. Remove the coil/wiring harness covers, both front and back.
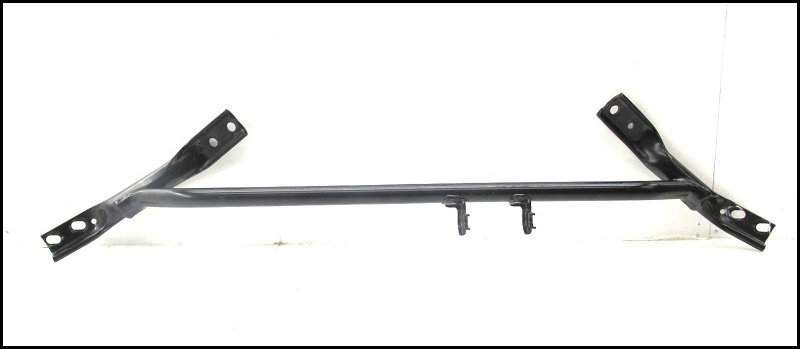
Step 2 – Remove strut tower brace
Note
This step isn't truly necessary. You can work around the strut tower brace, but it does make it easier to accomplish if the brace is out of the way. Also not needed if just replacing a single coil on the front side of the engine.
The strut tower brace may or may not get in your way. To remove it, there are four connectors on each end and then the connectors in the middle.
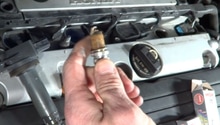
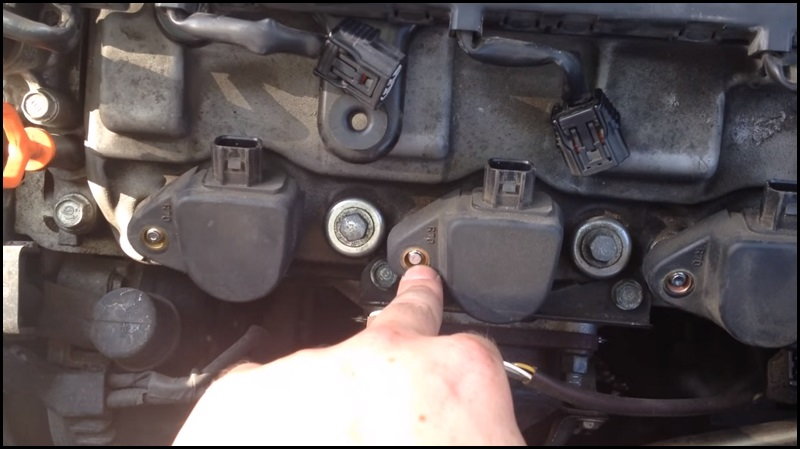
Step 3 – Remove coil(s)
If just removing a single coil for replacement, disconnect the wiring harness from the single coil by pressing the tab and pulling the connector from the coil. Do this for all coils if replacing spark plugs. Next, remove the 10mm nut which holds the coil in place. Once removed, slightly twist and pull the coil to remove it. The back side may be a little more precarious, but not much harder than the front.
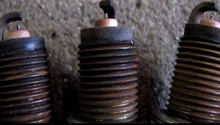
Step 4 – Replace plugs
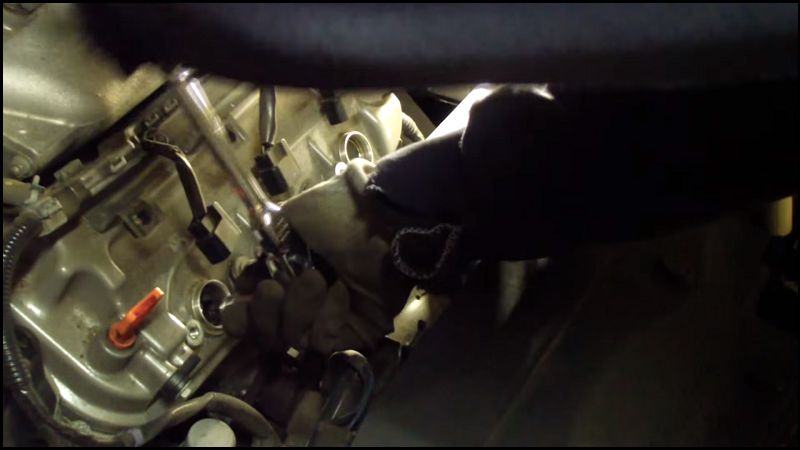
On the front three cylinders, assemble the spark plug socket, extensions, and ratchet. Place the socket down into the spark plug hole to engage the spark plug (Figure 4). If your spark plug socket no longer has the rubber insert, plan on having a set of long needle nose pliers handy to remove the plug when it has been completely backed out of the threads. A magnetic tipped telescopic wand can be used to fish the spark plugs out as well. One with a small bend at the tip comes in plenty handy, as it makes it much easier to grab the spark plug. For the back three plugs, putting a universal joint between the two extensions will greatly ease in getting the socket and extensions into the hole. It may be difficult to remove the spark plug without the rubber grommet in the spark plug wrench on the rear cylinders, so be wary.
When installing the new plugs, use a small amount of anti-seize compound on the threads. Gently thread them into the head using just the socket and extension. Tighten until hand-tight. Using a torque wrench, tighten the spark plugs to 13 lb-ft (156 in-lbs). Do not over-tighten, as this can strip the threads out of the head. Use some dielectric grease in the coil to plug boot to ensure a secure and sealed connection.
Step 5 – Re-installation
After installing all of the necessary parts, secure any tools which may be on the engine or lying about. Start the engine to ensure proper operation. When satisfied with the work, replace the strut tower brace (if removed), then the engine covers in the reverse order of disassembly.
Featured Video: How to Change Your Spark Plugs
Related Discussions
- Just Replaced Spark Plugs 100,000 Miles You Probably Should Too - AcuraZine.com
- Spark Plug Change 3.5L - AcuraZine.com
- Spark Plug Change TL - AcuraZine.com
- Spark Plugs - AcuraZine.com