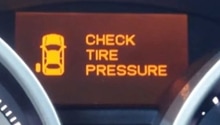
Acura RDX: Why is My Tire Pressure Light On?
The tire pressure light is designed to go on when there is an issue with your Acura RDX's tires. Read on to learn how to diagnose the possible issue.
This article applies to the Acura RDX (2007-2016).
The Acura RDX is equipped with various sensors designed to alert you when one of your components has gone bad. Typically, the tire pressure light warns you when one or more tires' pressure gets low, which doesn't necessarily mean you just need to fill it back up. Having low tire pressure requires you to perform some tests to ensure there are no serious leaks, especially if you continue to notice this light often. It's not recommended that you drive your Acura with low tire pressure, which can cause a series of problems from wearing out suspension components to affecting the car's handling. This guide will show you how to diagnose the meaning behind the tire pressure light in the Acura RDX.

Materials Needed
- Tire pressure gauge
- Soap and water in a spray bottle
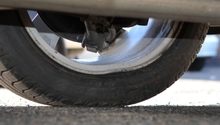
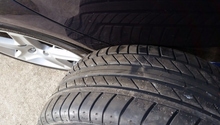
Step 1 – Check for tire punctures
Your tire(s) could be leaking.
After checking the tire pressure on all four tires, now you likely know which one is the culprit. Look around the problem tire for any wears or cracks. Your tire could be old and worn, which could cause cracking and leaks. If the tire isn't old or worn, then start checking for any objects that could've altered it, such as nails or screws. If you think your tire isn't leaking, then fill it with air and monitor it for the next few days. The weather temperature could play a role in tire inflation and deflation. For instance, the cold weather can deflate tires, while hot weather can slightly inflate them. So whenever you feel the weather has changed, there is a likely possibility your tires will too.
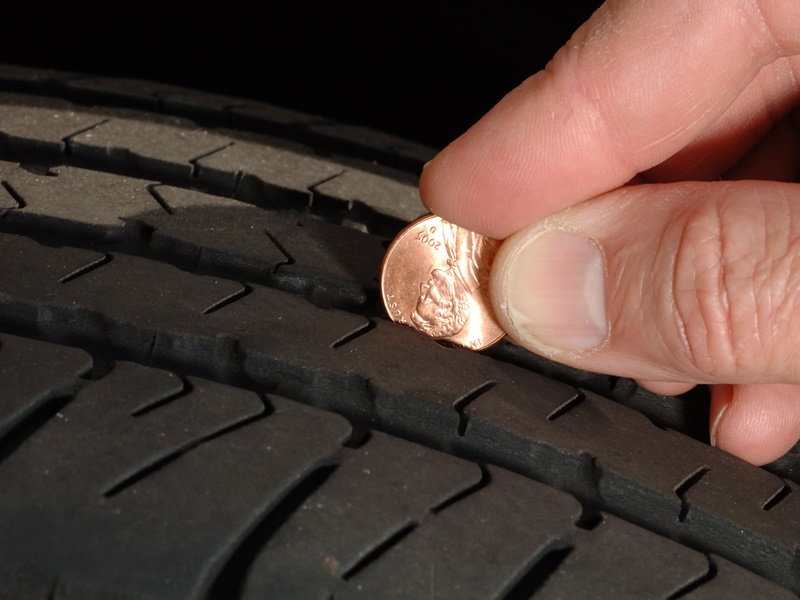
If the tires look good, proceed to Step 2.
Step 2 – Check the valve stems
They could be leaking.
If you inspect your tires and are sure none are leaking, cracking, or punctured, this doesn't necessarily conclude the possibility of air leaks. The valve stem could also be the source of the air leak. The leak could be very slow, so slow that you won't hear it. To detect the valve stem leak, spray water and soap around the valve stem. If you see any bubbles, this means you have an air leak. Keep watching, because the leak could be so slow that it takes the bubbles time to materialize. Replacing the valve stem requires you to remove the tire from the rim, which requires a special machine so you don't scratch it.
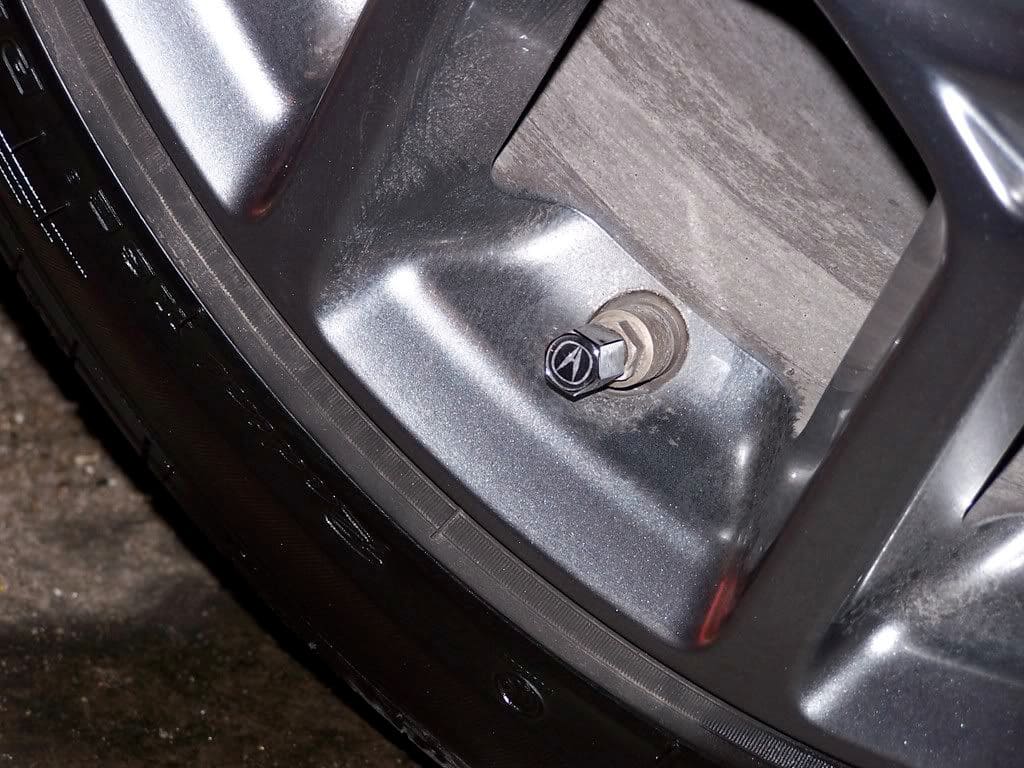
If the valve stems aren't leaking, proceed to Step 3.
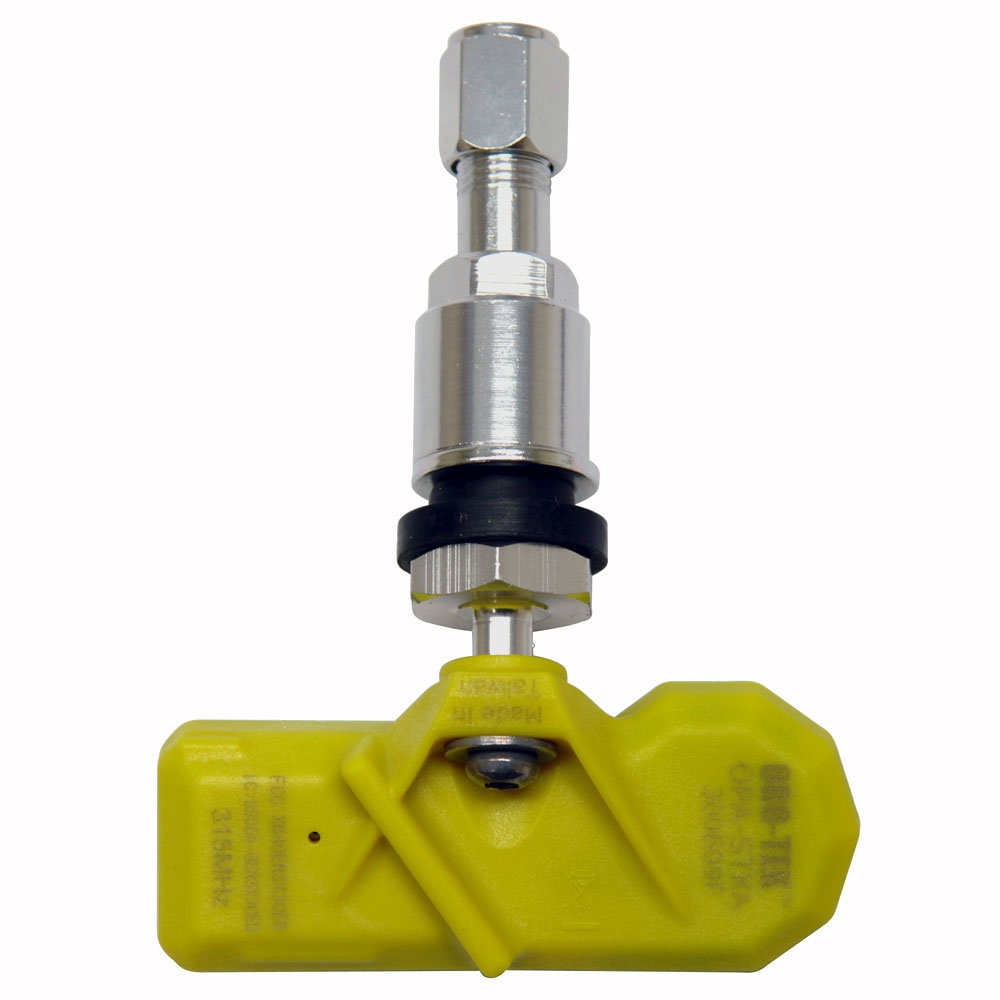
Step 3 – Check the tire pressure sensors
They could be faulty.
The tire pressure sensor is located inside the tire, attached to the valve stem. There are devices that can check the tire pressure sensor to see if it's faulty or not; however, there is a much easier way.
If your tire pressure warning light is on, and you checked your tires' pressure and added the needed air, then you have to drive the car for a few minutes for the tire pressure light to go off as it resets itself. However, if the light isn't going off and the tire pressure is appropriate, then your sensor needs to be replaced.
To replace the TPMS, you have to remove the tire from the rim, then change the sensor attached to the valve stem. It's not recommended that you remove the tire from the rim without the appropriate machine, or you could scratch the rim in the process. It's best to head to a professional repair shop for this service.
Related Discussions
- Tire Pressure Light - Acurazine.com
- Low Tire Pressure - Acurazine.com
- Reset TPMS Sensor - Acurazine.com