Acura TL 2004-2008: How to Replace HID Headlight Bulbs
HID headlights make for a nice upgrade over stock bulbs. Replacing them can be a bit labor intensive, but it's certainly do-able. If you have some spare time, take on this DIY project to give your Acura TL a great new look.
This article applies to the 3rd Gen Acura TL (2004-2008).
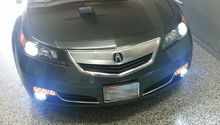
Looking to replace the HID headlight bulbs in your Acura TL? HID, which stands for high-intensity discharge, is a somewhat newer type of headlight that not only improves night time vision of the road, it also gives the car an exciting new look. Replacing your current HID bulbs with new ones is pretty straightforward, though labor intensive. Follow these steps to take on the project yourself, and save some money by not taking the car to the shop.

Materials Needed
- New HID headlight bulbs
- Torx screwdriver/flat-head screwdriver
- Gloves
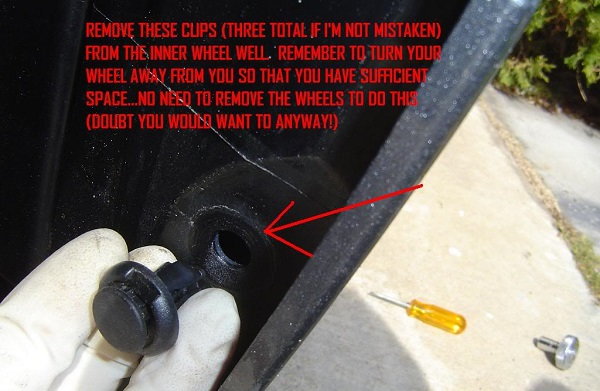
Step 1 – Remove the fenderwell
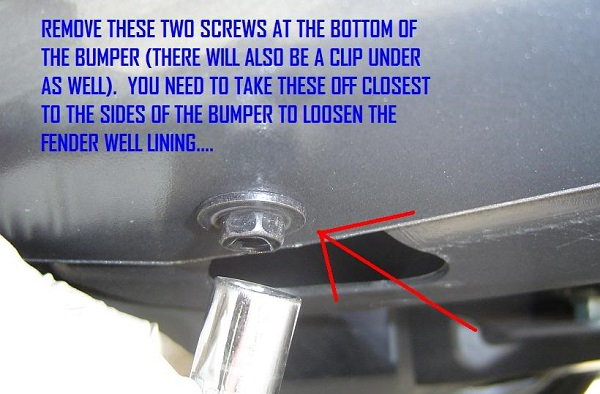
There are three clips located on the inner wheel well. To access them, turn the wheel away from the headlight so that you have enough space. Remove these clips by pulling them away.
Now unbolt the bottom bolts and unclip the clip under the bumper on both sides. Simply loosening them will allow you to pull the fender line away enough to access the headlights from the wheel well.
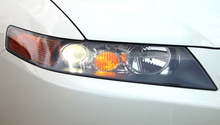
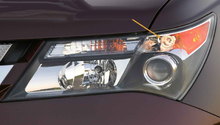
Step 2 – Access headlight
Using a Torx screwdriver, or a flat-head screwdriver if you don’t have the former tool, loosen the screw behind headlight housing unit.
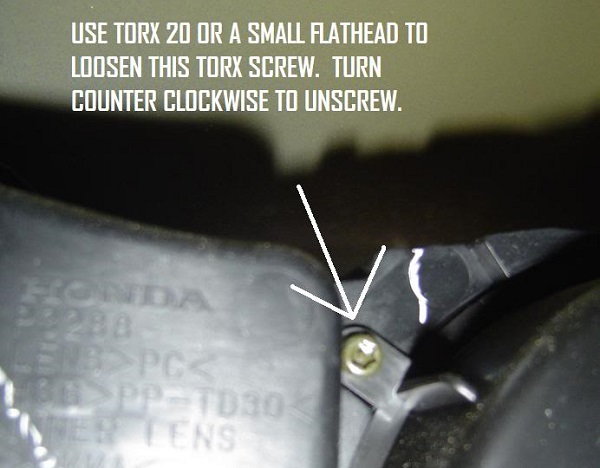
Once it’s entirely off, twist the headlight cover to reveal the HID connector and projector.
Step 3 – Undo ballast connectors
Undo the ballast connectors, which can be accessed through the engine bay — this is an important step as a lot of power goes through these lines; if not done, you risk injury.
Per this latter point, remove the engine bay cover. Then, on the driver’s side, take off the air intake cover (just two clips to squeeze and remove). You’ll be able to access the HID ballasts, at which point you undo the white connector; and on the passenger’s side, simply locate the HID ballast and unplug the white connector.
Pro Tip
The alternative to this is to undo the battery, but you risk losing saved settings in the vehicle.
Step 4 – Replace HID bulb
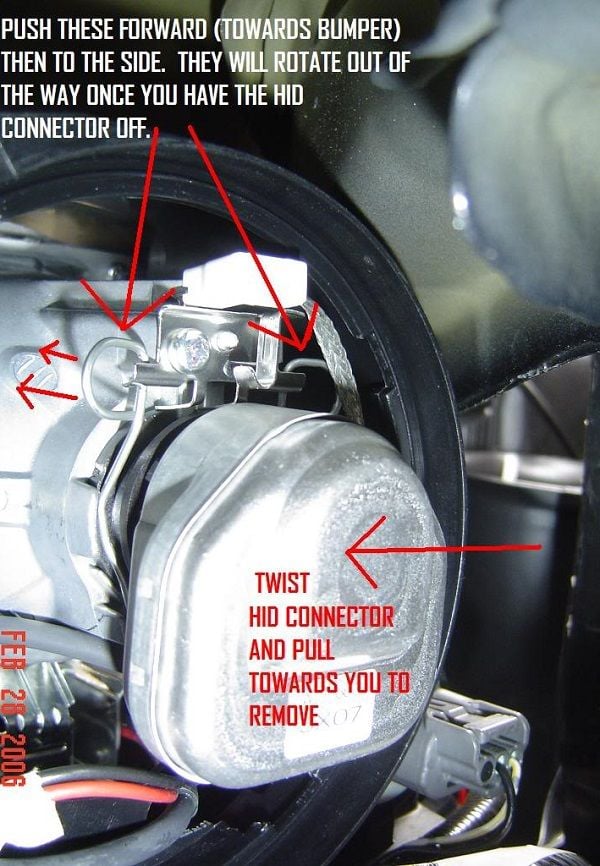
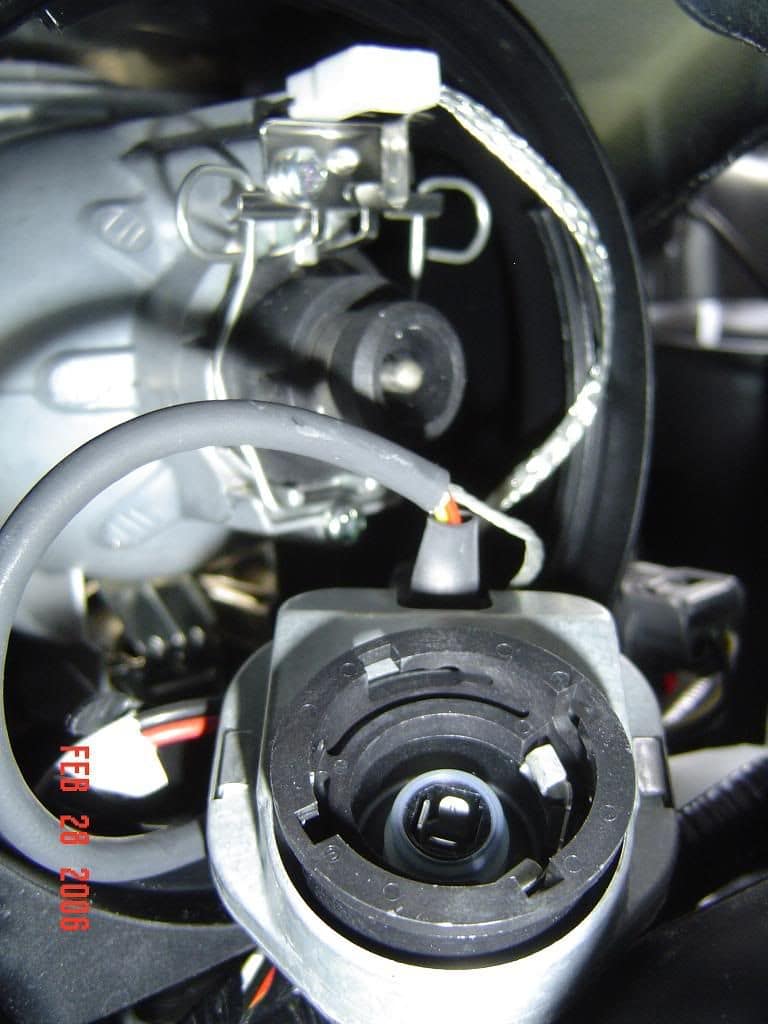
Twist the HID connector and pull towards you to remove. Undo two silver tension springs on either side of the bulb (do this by pushing towards the front of the car and at the same time to the side). When they rotate out of the way, pull out the bulb and replace with a new one (use gloves – do not touch the bulb with uncovered hands). Put the connector back into place and secure tension springs.
To finish up, replace the HID ballast connectors, secure the Torx screw, replace fenderline, and re-secure the fenderwell.
Related Discussions
- DIY HID Bulb Change w/o Bumper Removal - Acurazine.com
- 3G Acura TL Bulb Sizes List - Acurazine.com