Acura TSX 2009-2014: How to Clear the Headlights
Here's how to clear out your 2nd gen TSX's headlights.
This article applies to the 2nd Gen Acura TSX (2009-2014).
Clear headlights and tail lights have been a popular automotive upgrade for quite a few years now. You can easily drop some money and buy a set for your car, which instantly gives it a more modern and classier look. But if you own a 2nd generation TSX, you don't have to spend a dime if you want to clear out your headlights, so long as you have these common items already. With just a little bit of elbow grease, you can vastly improve the looks of your front end.

Materials Needed
- Phillips head screwdriver
- Flat head screwdriver
- 10mm socket
- Ratchet and extension
- Black or clear sealant gasket/silicone
- Chalk gun (optional, makes application of sealant easier)
- (6) clamps
- Goo Gone
- Oven and oven mitts
- Covered work area
- Putty knife
This process requires removal of the front bumper. Here is an excellent write up on how to remove your bumper if you've never done it before.
Step 1 – Remove the headlights
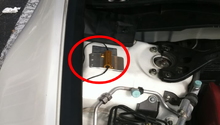
With the front bumper removed, remove the four 10mm bolts holding each headlight in place (two on the side, two on the top). Pull each headlight out and disconnect all the connectors. Take the headlights to a covered work area.
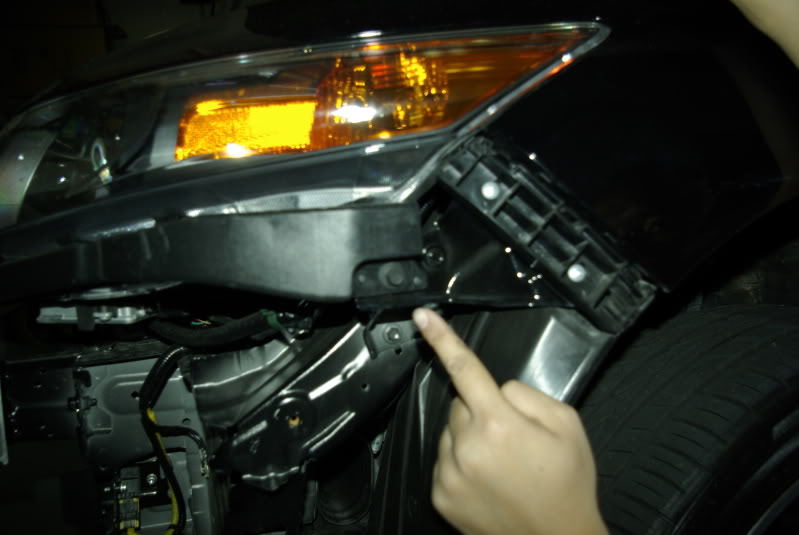
Figure 1. Remove the two bolts from the side of each headlight. 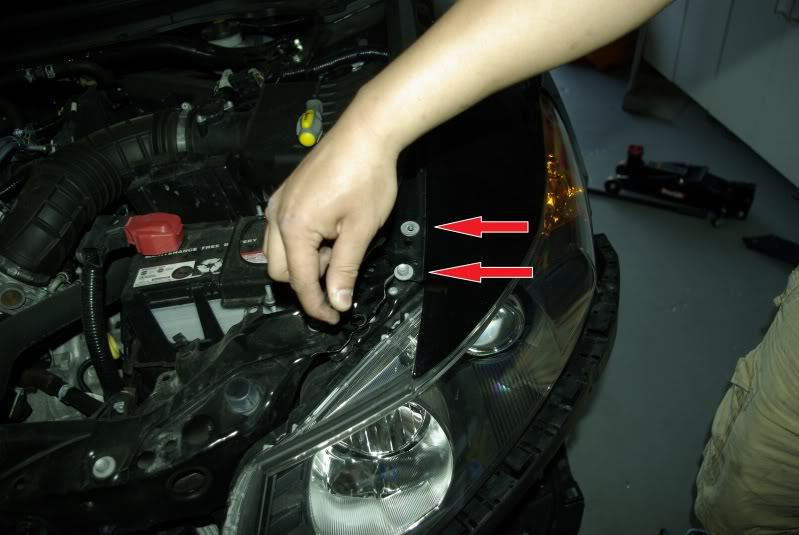
Figure 2. Remove the two bolts from the top of each headlight. 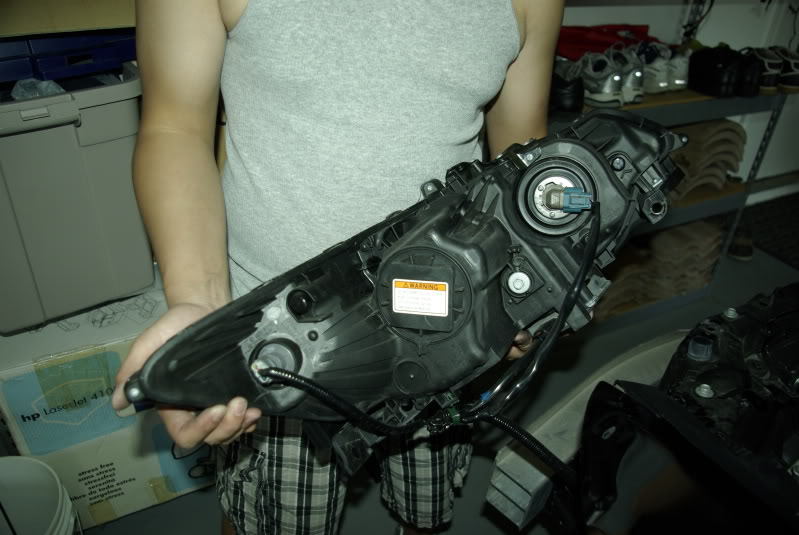
Figure 3. Disconnect the wiring harnesses and remove the headlights.
Step 2 – Disassemble the headlights
Preheat the oven to 270 degrees. Remove the center cap from the headlights by turning them to the left and pulling outward. Remove the HID bulbs by pushing back and folding down the clips. Remove all the screws from the headlight housings, taking care to note where each one goes. It's also a good idea to separate the inner and outer screws.
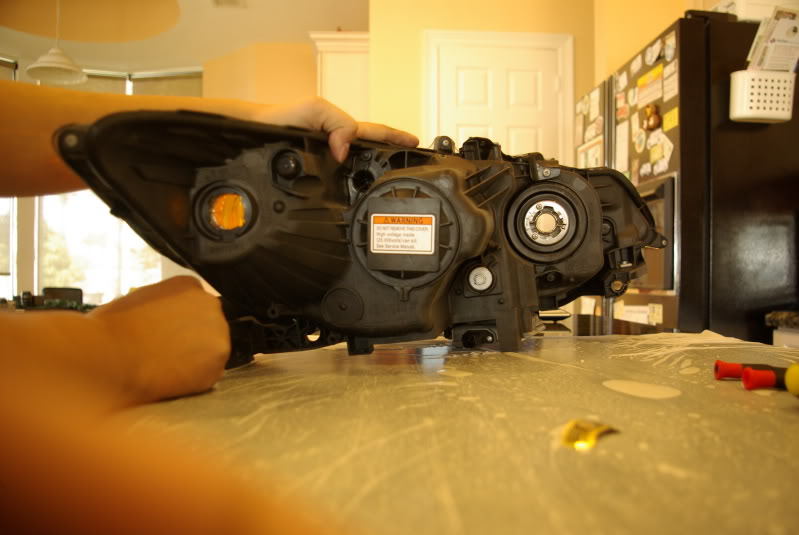
Figure 4. Twist off the cover in the center. 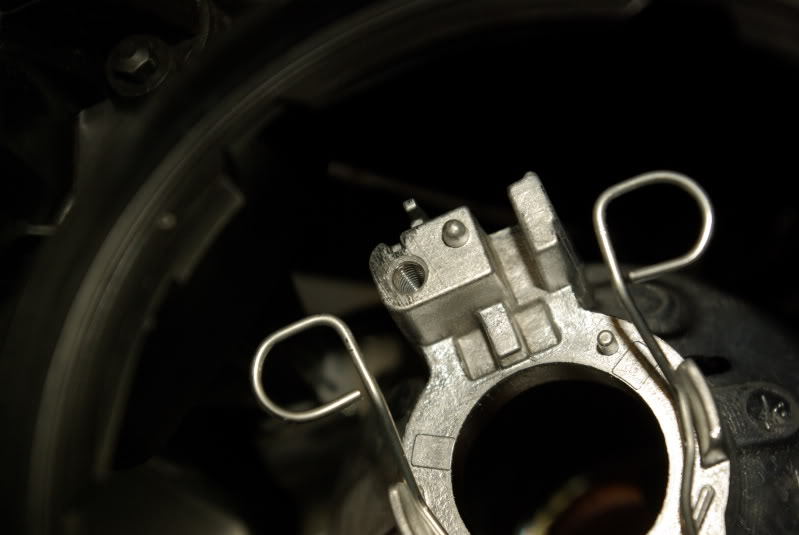
Figure 5. Remove the HID bulbs. 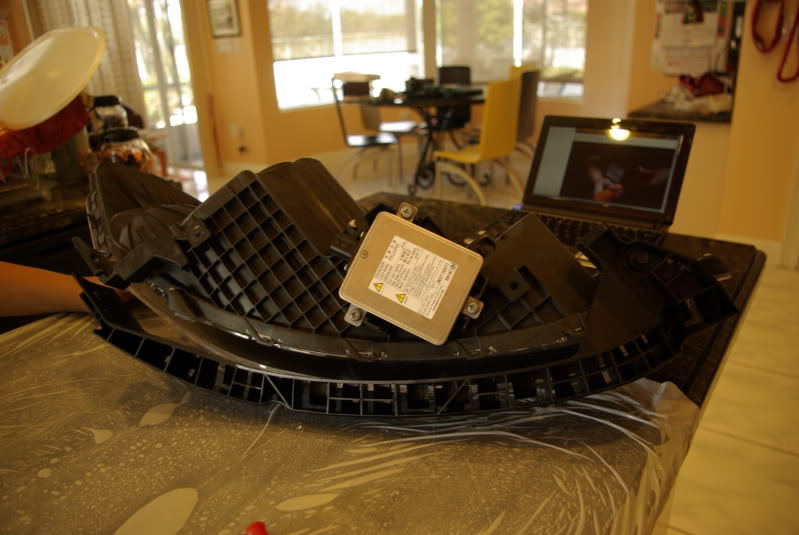
Figure 6. Remove all the screws from the headlights.
Remove the HID ballast from the headlight, then remove the bulb (being careful not to touch it). Disconnect the ballast and set it aside. Place the headlights, one at a time, in the oven for 10 minutes. Wearing gloves, remove the headlight and place it on a covered work surface. Carefully pry apart the headlight housing using a putty knife. Take your time and don't apply much pressure, or else you may crack the lens. Remove all the screws from inside the headlight and finish disassembling all the parts.
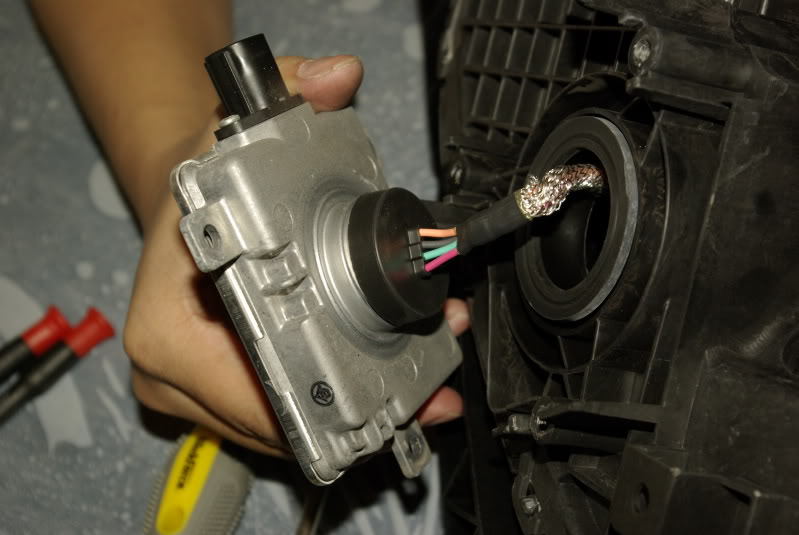
Figure 7. Remove the HID ballasts. 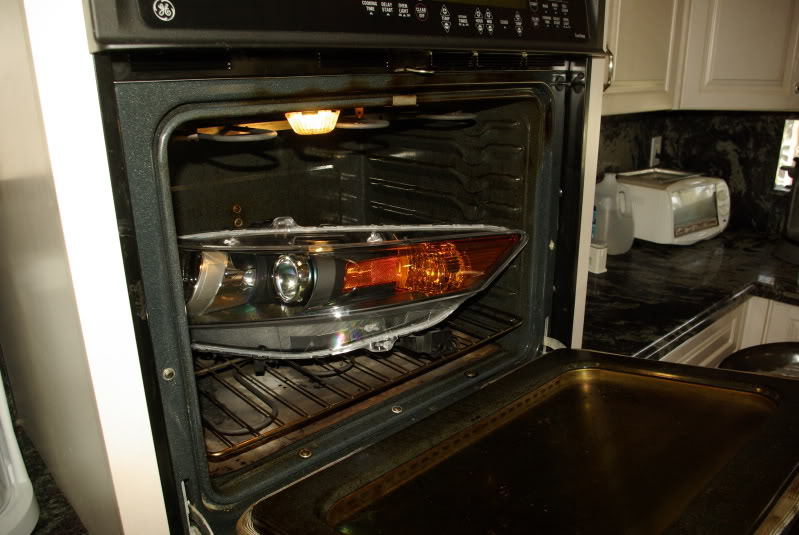
Figure 8. Place the headlight in the oven for 10 minutes at 270 degrees. 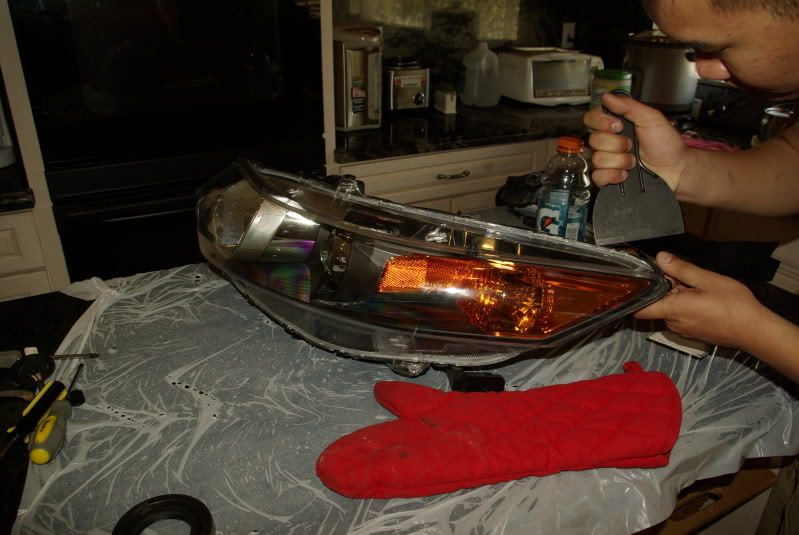
Figure 9. Carefully remove the plastic lens. 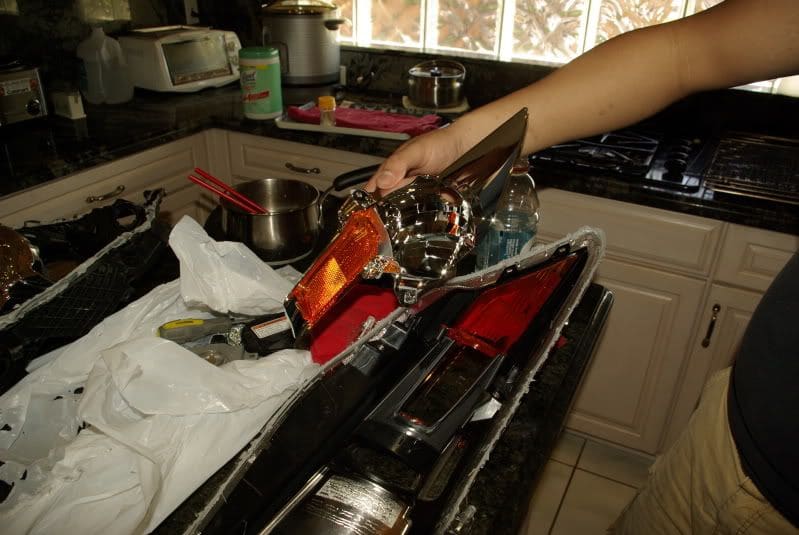
Figure 10. Remove the inner screws and disassemble the headlight.
Step 3 – Remove the amber pieces from the headlights
The outer amber piece can be removed by simply pulling it out. For the second inner piece, you simply pull the metal tab on the back side out to release it.
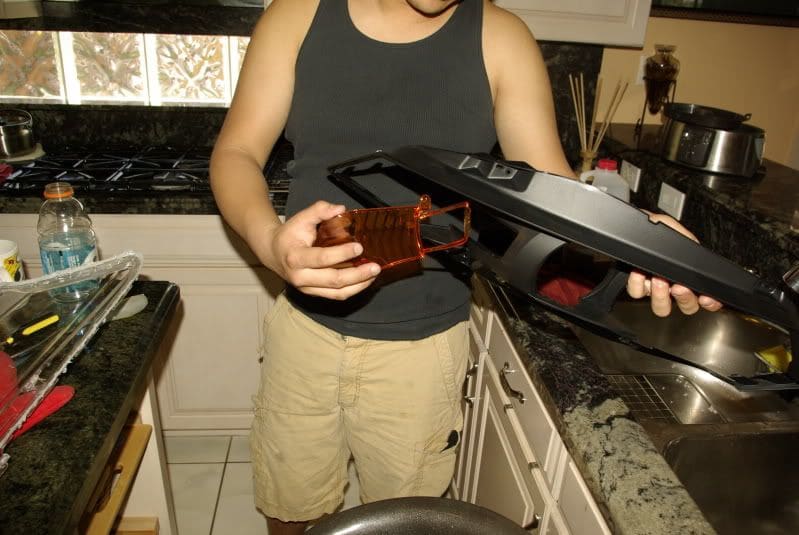
Figure 11. Pull the outer piece off. 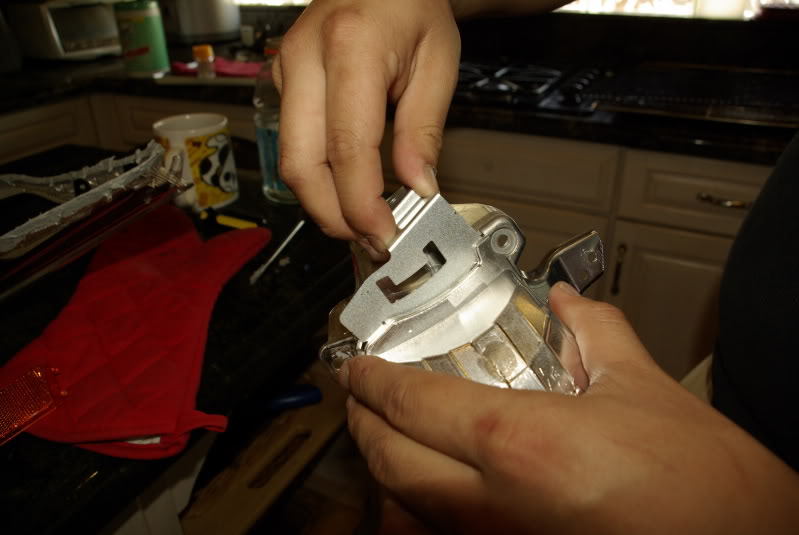
Figure 12. Pull the metal tab off to release the inner amber piece.
Step 4 – Reassemble the headlights
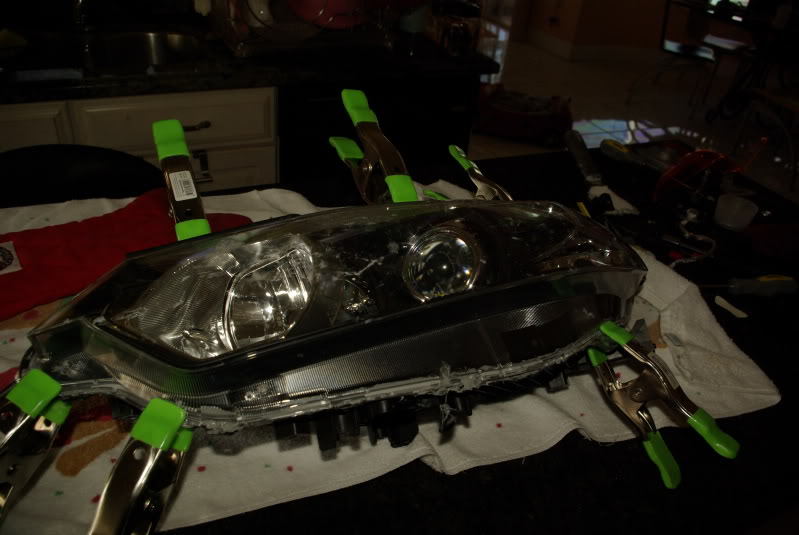
Reinstall the pieces inside the headlight and replace the screws. Feed the HID connector back into place. Put the headlight back in the oven for another 10 minutes. Carefully put the lens back on the headlight.
If your factory sealant won't hold it back in place, apply some additional sealant carefully around the edges. If you make a mess, use some Goo Gone to wipe it off while it's still warm. Reinstall the HID ballast and bulb. Place six clamps around the edge of the headlight to hold it in place until it dries. Reinstall each headlight and the front bumper.
Related Discussions
- DIY Cleared Headlights 2G - AcuraZine.com
- DIY Headlight Clearing - AcuraZine.com