Acura TSX 2009-2014: How to Install JDM Honda Type S Skirt Package
Good news - you actually don't need to ruin your rocker panels in order to install a Type S skirt. Here's what you need to know.
This article applies to the 2nd Gen Acura TSX (2009-2014).
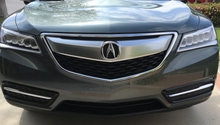
Ever since the beginning of the racing scene, there has been a large draw to make cars look more and more "raceable." This style includes the addition of lowering springs, spoiler kits and even specific paint jobs. One of the best aesthetic upgrades you can do to make your car look more aggressive is lip installation or, more specifically, the JDM Type S skirt package for your TSX. Featuring a custom rear bumper and lips that mount all around your car, this kit takes the classy styling of a stock TSX and beefs it up. Although the Type S package is fairly expensive, you can still use these instructions to mount just about any kit onto your TSX.

Materials Needed
- A friend/helper
- Screwdriver
- Ratchet
- Jack and Jack stands
- Rubbing alcohol
- Double-sided tape
- Drill
Although there are other ways to do this, this procedure teaches you how to install the skirt kit without drilling into your bumper for a clean and removable installation.
Step 1 – Secure the front spoiler
It's highly recommended to have a friend with you to help mount and secure the spoiler.
- First, peer under the front wheel wells and locate two indentations found towards the bottom (refer to Figure 1.)
- Insert two 5mm clip nuts on either side, each one covering one of the indentations.
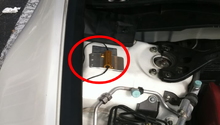
- Then make your way under the front bumper to place ten 6mm clip nuts in each of the available slots, including a hole on either side of the bumper (refer to Figure 2 and 3.)
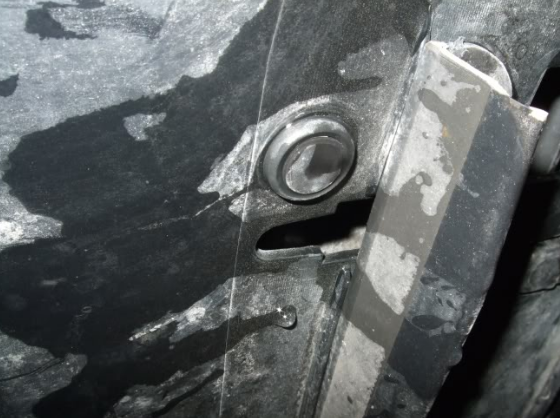
Figure 2. These are the slots located under the front bumper. 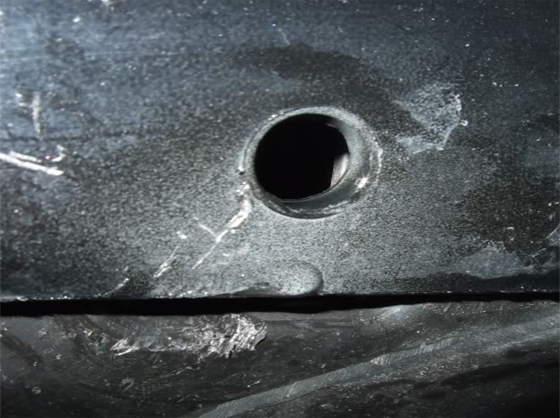
Figure 3. Hole for clip nut.
- Now grab some rubbing alcohol and begin prepping the spoiler and underside the bumper for tape. Apply some double-sided tape to the mounting face of the spoiler.
- Have your friend align the spoiler to the bumper and insert 5mm self-tapping screws to the previously installed clip nuts on the wheel wells.
- With the lip spoiler properly positioned, remove the backing on the double-sided tape, push the spoiler onto the bumper and insert ten 6mm bumper bolts into the clip nuts for extra support.
Step 2 – Install the rear bumper
This is a basic replacement procedure.
- Remove three screws from the wheel well.
- Remove the clips under the bumper.
- Open the trunk and remove the bolts hidden under the caps.
With all the hardware off, begin to gently pull the bumper off the chassis. You want to be careful here, as the taps that hold the bumper in place can be easily broken. Work your way around the bumper until it comes off, and place it aside. Take the two reflectors from the old one, and install into the new bumper. Installation is simple:
- Align the new bumper with the taps.
- Mount it in place and secure it using the previously removed hardware.
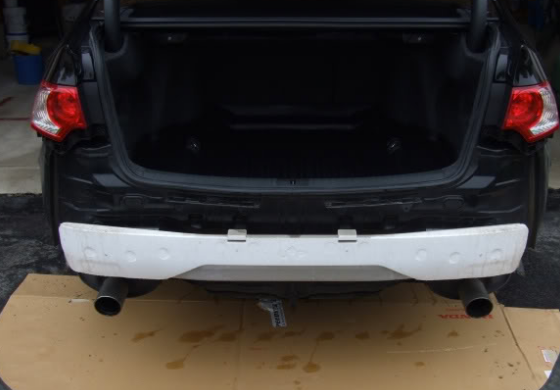
Figure 5. Rear bumper removed. 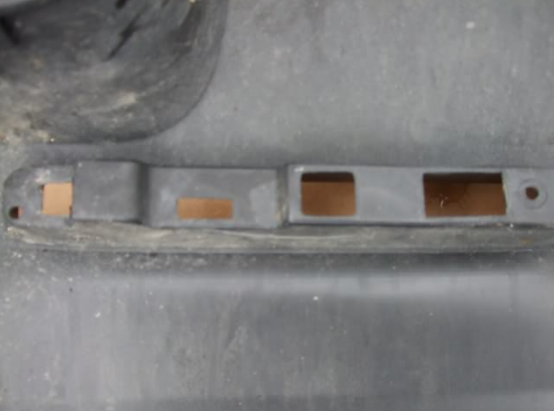
Figure 6. Replace the reflectors. 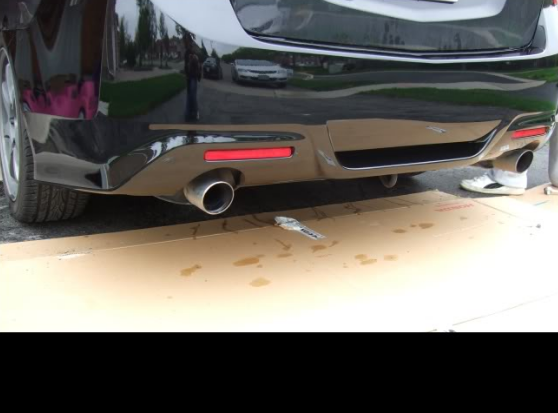
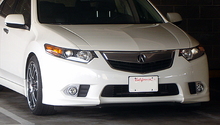
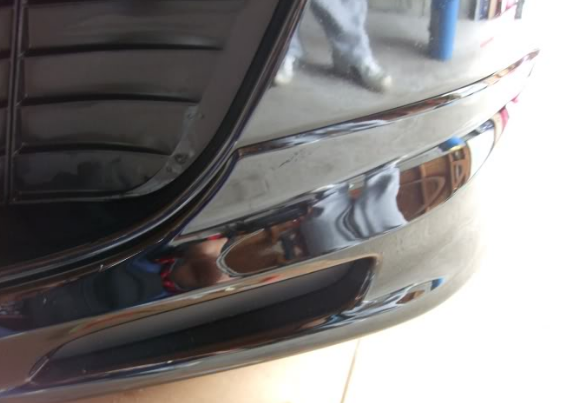
Figure 7. JDM bumper installed.
Step 3 – Mount the side skirts
The side skirts do actually require some drilling, but only under the chassis. Here you can begin by raising and securing your car, and then doing the following:
- Use a screwdriver to remove the three self-tapping screws holding the mud guards in place.
- Remove the stock white clips from the skirts.
- Have your friend align the skirt with the rocker panel.
- Look under the car and mark out the three holes for bumper clips.
- Drill three 3/8" holes on the underside of the chassis in the places marked.
- Apply touch-up paint to the drilled holes to help protect against rust.
- Apply the double-sided tape where the white clips used to be, along the length of the skirt.
- Have your friend hold the skirt in place.
- Start from the front of the wheel well, and insert the self tapping screws removed from the wheel well into the skirt.
- Insert bumper clips into the freshly drilled holes.
- Position the skirt according to the shape of the chassis and make sure the door has space to open.
- Once you are satisfied with how it looks, remove the tap and stick the lip in place.
Figure 8. Remove all the white clips shown here. 
Figure 9. Drill out the holes form the bumper clips. 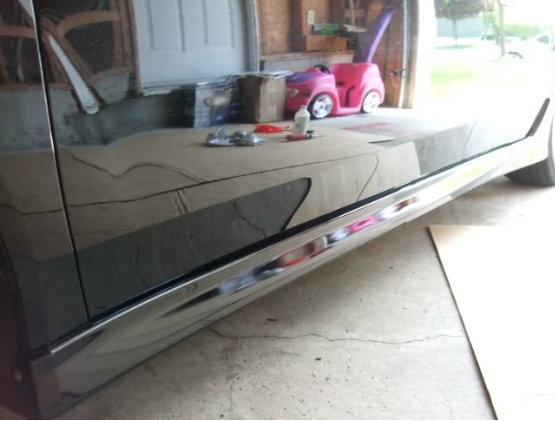
Figure 10. Side skirts mounted.
Pro Tip
Once you finish installing all the lips, Honda says to allow 24 hours for the tape to cure. So its best to keep the car out of any wet or humid environments until at least one day passes.