Acura: Brake Problems Diagnostic Guide
Brake issues can usually be resolved at home without the help of a dealership or repair shop. Read on to learn how to diagnose your Acura's braking system.
This article applies to the Acura TL, TSX, RDX, and MDX.
The brake system in your Acura is by far the most important system when it comes to your safety. It could also be argued that it is one of the hardest working systems in your car, especially when you think about the brake pads rubbing on the rotors each time you want to slow down or stop. There are a few symptoms that usually appear when you're having brake issues, from strange noises to poor braking performance. Before going to the dealership and spending all your money on inspection, read on to diagnose the likely issue yourself.

Materials Needed
- Flashlight
- Jack and jack stands
- Tire iron
- Socket
- Brake fluid (optional)
Step 1 – Check the brake fluid
It could be low.
When in doubt, check the fluid. Locate the brake fluid reservoir under the hood, in front of the driver. Open the cap and check the brake fluid to ensure it is at the proper level.
Low fluid level could be the result of a brake leak, so if it's indeed low, take your flashlight and slide under your car to check the brake lines. Look at all the brake lines and their connections for any signs of leaks. Top off the brake fluid, then keep watching it for the next few days to make sure it isn't getting low again.
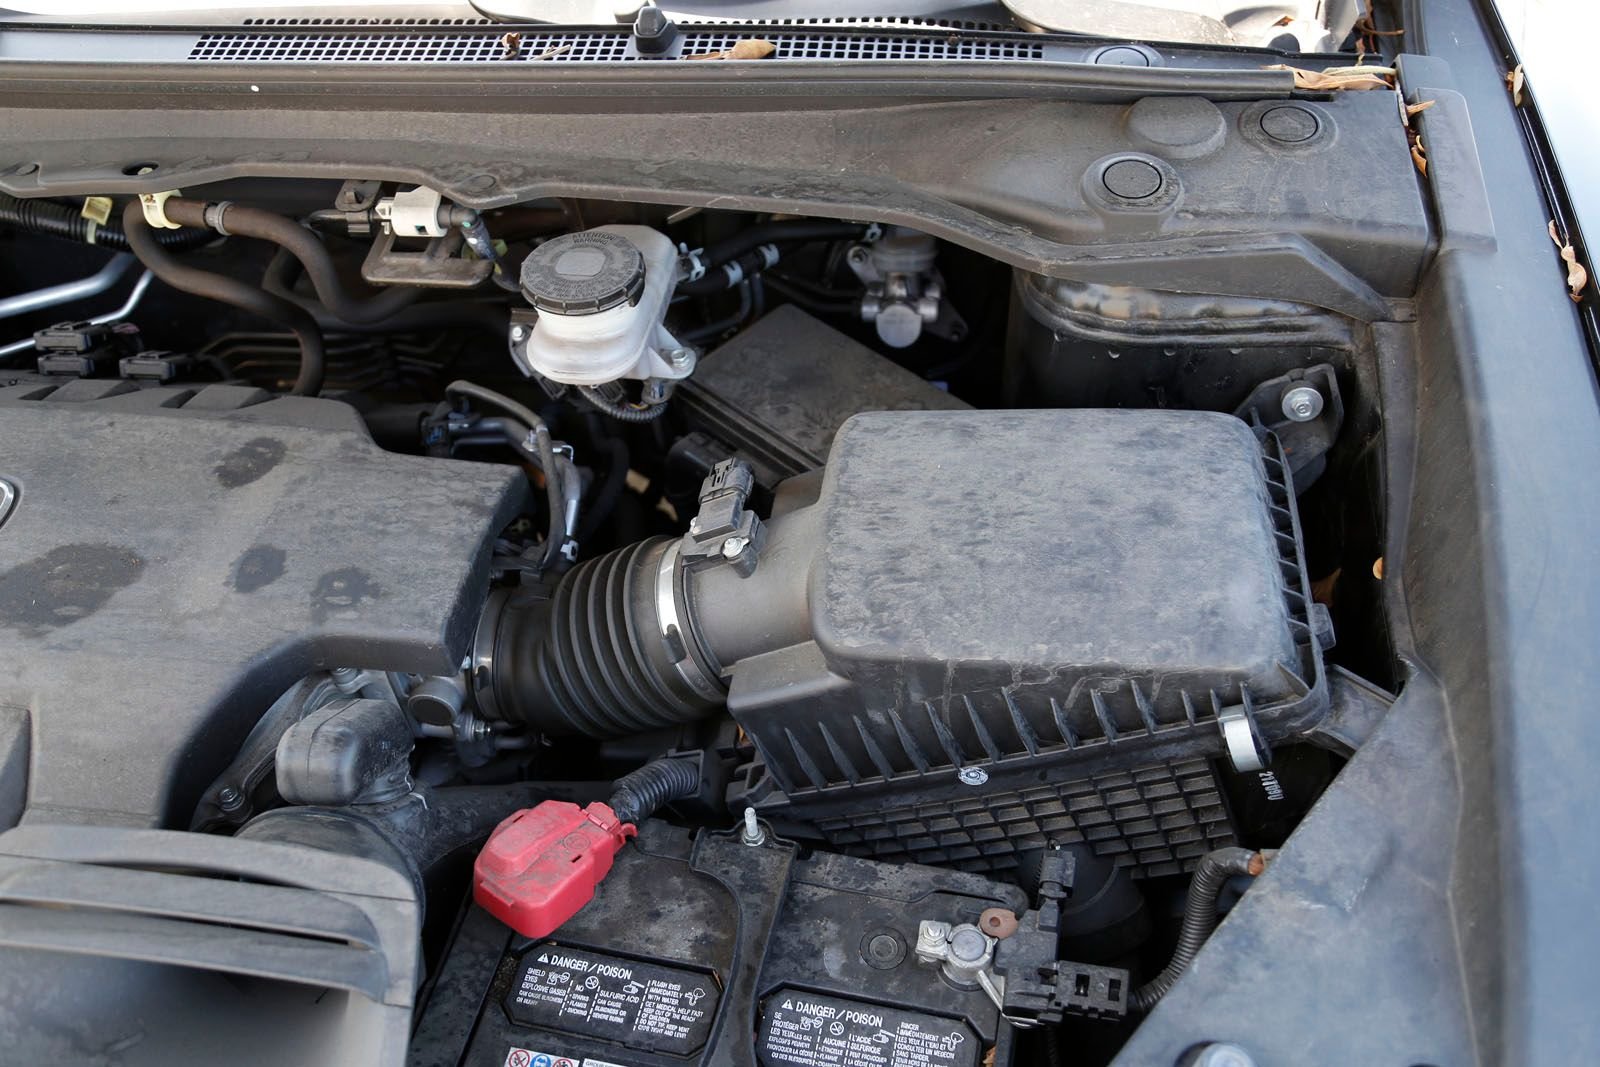
If the brake fluid level is proper, proceed to Step 2.
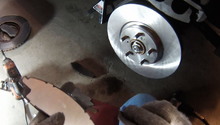
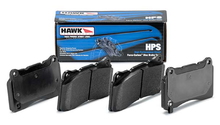
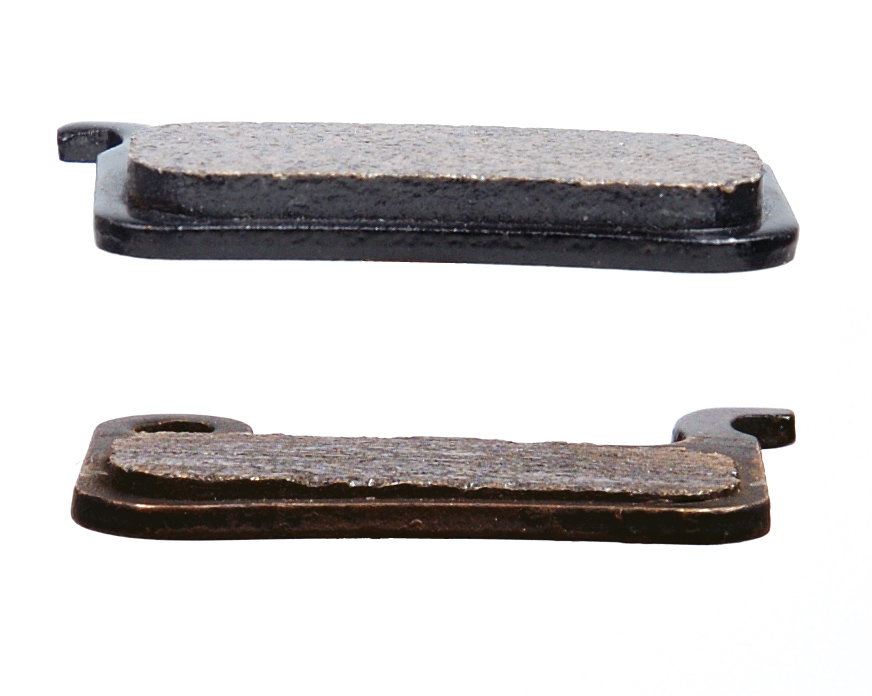
Step 2 – Check the brake pads
They could be worn.
The brake pads are designed to be replaced every 15,000 to 30,000 miles, depending on how you use your brakes. After loosening the lug nuts on your wheel, raise the car with your jack, then secure it with jack stands. Remove the wheel, then remove the two bolts on the back of the brake caliper and pull it off. Inspect the brake pads; if they're any thinner than 1mm, replace them immediately. Having worn brake pads will wear out your rotors, which will end up costing you a lot more money.
If the pads look good, proceed to Step 3.
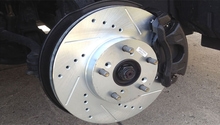
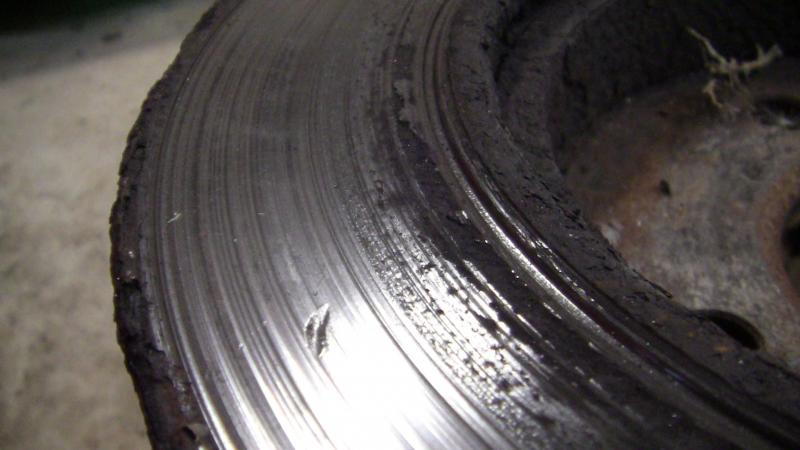
Step 3 –Inspect the brake rotor
It could be grooved or cracked.
Although the brake rotors work with friction like the pads, they don't need to be replaced as often. The rotors are recommended to be replaced during every second brake pad replacement. Inspect your rotors for any grooves, rust or cracks. If you are known to wait too long to replace your brake pads, you will probably have worn rotors. So make sure your rotors are smooth and groove-free.
If the rotors are in good shape, proceed to Step 4.
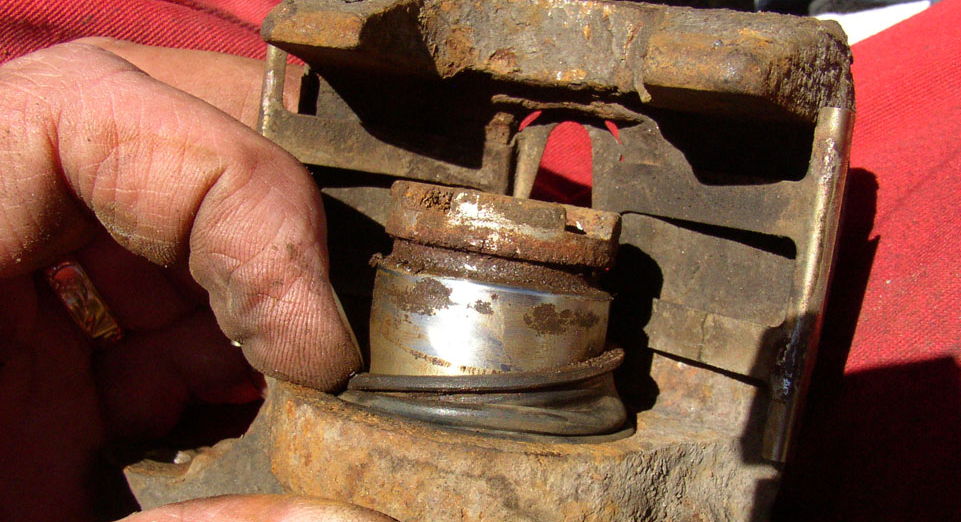
Step 4 – Check the brake calipers
They could be sticking.
The calipers aren't known to need replacement unless they go bad. The most common issue with the brake calipers is their pistons sticking. When the pistons stick in a decompress position, it forces the brake pads to run on the brake rotor even without applying the brake pedal. This can cost you a lot of money as it will wear out both your pads and rotors. This issue could be accompanied by brake noises, burning smell, and feeling like the car is holding back and being restricted. If the caliper's pistons are decompressed and making the pads touch the rotor, replace the rotor and bleed the brake system.
Related Discussions
- Pressure Problem - Acurazine.com
- Brake Problem - Acurazine.com
- Seized Caliper - Acurazine.com