Acura RDX: How to Remove Interior Door Panel
Knowing how to remove the door panel on your Acura RDX can come in handy when doing various DIYs. Read on to learn how to complete the job.
This article applies to the Acura RDX.
The door panel in your Acura is there to cover up and protect a lot of things, from the door lock actuator and window controllers, to the side mirror's electrical harness. Whenever you're faced with an issue relating to anything under there, you have to remove it to be able to inspect the part or replace it. The door panel can easily come off; however, you have to know where the screws and the clips are located so you can remove it without incident. This guide will cover the whole process for you to successfully remove the door panel without breaking any clips or wires. Read on to remove the door panel in your Acura RDX.

Materials Needed
- Phillips screwdriver
- Flat head screwdriver
Step 1 – Remove door handle screws
Inside the door handle, there are two Phillips screws. Before you can access these two screws, you have to remove the tiny trim piece. Using your flat head screwdriver, gently pry off the small trim piece. Remove the trim piece, then remove the two Phillips screws inside.
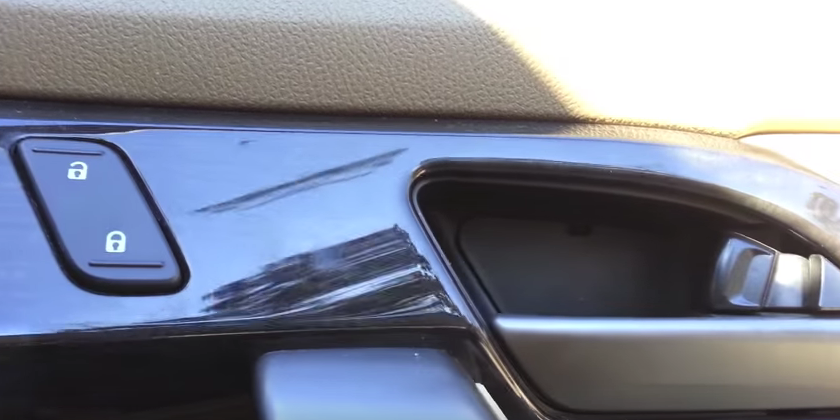
Figure 1. Remove inside trim piece. 
Figure 2. Remove two Phillips screws.
Step 2 – Remove trim piece
Remove the trim piece covering the handle that you pull the door from. To do this, first locate the two tiny holes on the bottom of it. Use a screwdriver to pry the plastic trim off, but be very gentle in doing so.
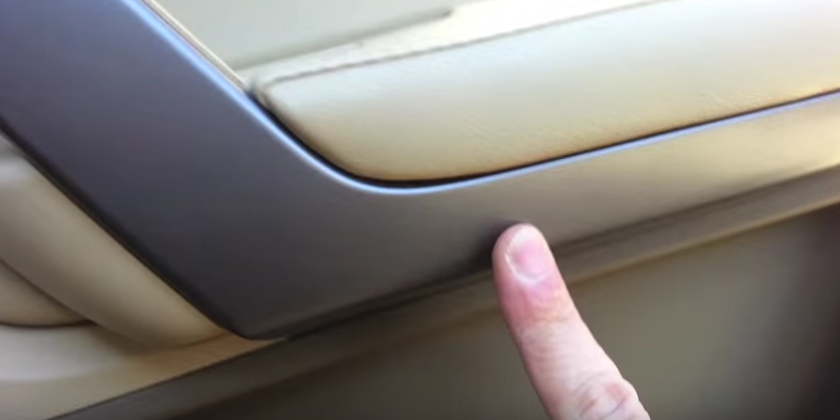
Figure 3. Remove this trim piece. 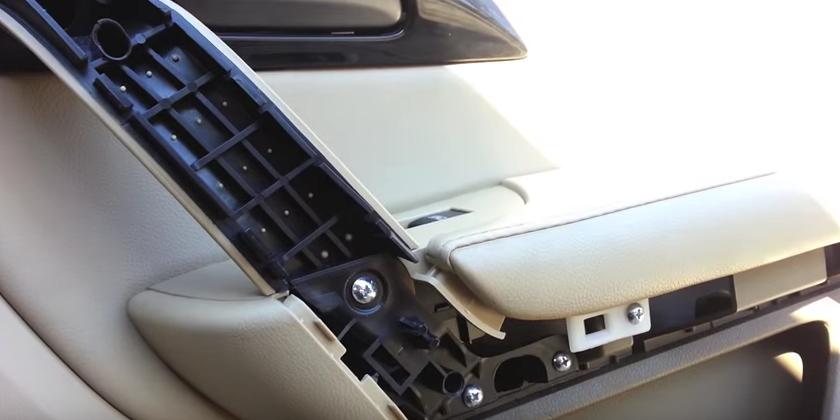
Figure 4. Trim piece removed.
Step 3 – Remove the three screws
On the black handle, locate the hole on the bottom; even though it's surrounded by three screws, you want to remove the two screws inside of it. Locate the other hole on the top, and remove the one screw inside of it.
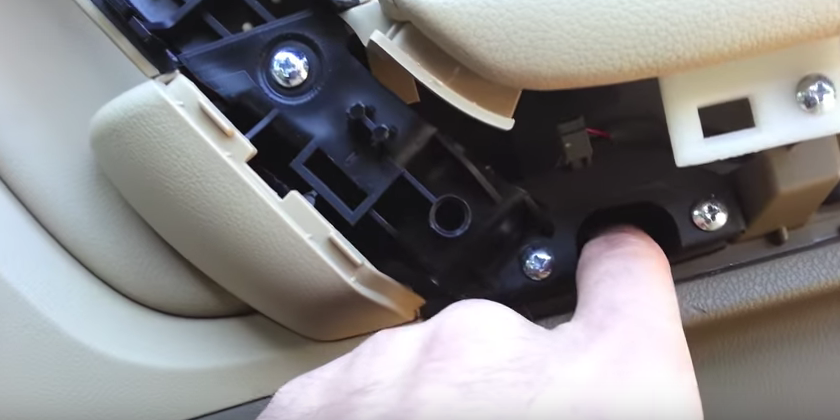
Figure 5. Remove two screws inside lower hole. 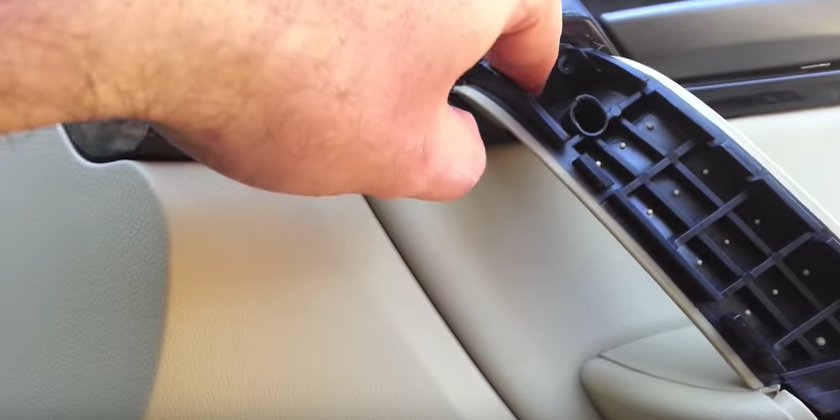
Figure 6. Remove one screw in top hole.
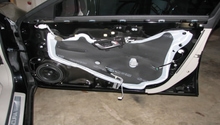
Step 4 – Remove door panel
Now you're ready to pop off the door panel. Using your flat head screwdriver, start gently prying off the door panel, starting from the bottom closest to the front of the car, then make your way back. Once the bottom part is off the clamps, pop off the top with your hands, then pull the door panel up to remove. Don't pull it too hard because wires will still be connected. If you want to remove the panel entirely, you will need to unhook the electrical harnesses. You can do so by squeezing their plastic tabs and pulling them apart.

Step 5 – Re-install door panel
Installation is the reverse of removal.
- Connect the electrical harnesses if you've removed any.
- Align the door panel in place, then push on the edges to clip it into place.
- Tighten the top screw.
- Tighten the two lower screws.
- Connect the plastic trim piece on top of them.
- Tighten the two screws inside the door handle.
- Install door handle trim piece.
Related Discussion
- DIY Door Panel Removal - Acurazine.com