Acura TL 2004-2008: How to Remove the Door Panel
Whenever you're working on a car door, removing the door panel is often the hardest step. This article provides detailed instructions for removing the door panel on a 3rd gen Acura TL.
This article applies to the 3rd Gen Acura TL (2004-2008).
Whether your'e replacing a speaker or a switch or even the window regulator, knowing how to remove a car door panel is important for many different projects. It's a simple procedure that any non-professional mechanic will be able to figure out quickly. If you need instruction on removing the door panel of the Acura TL, then continue reading the steps below.

Materials Needed
- Phillips screwdriver
- Soft trim tool or flathead screwdriver
- Extra clips
Step 1 – Remove screws
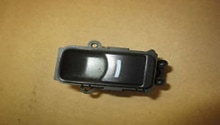
Use your trim tool to pry up the cover behind the door handle. Inside there will be two Phillips screws. Remove both screws.

Figure 1. Pry off the cover behind the door handle. 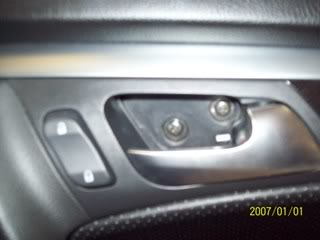
Figure 2. Remove the two Phillips screws.
Next, remove the screw located at the bottom of the arm rest.
Lastly, pull off the rubber stopper at the bottom corner of the door panel and remove the screw located behind it.

Pro Tip
The screw in the rubber stopper is the hardest to remove because it will sometimes get stuck inside the door panel. Try pulling on it with needle nose pliers if you're having trouble getting it out.
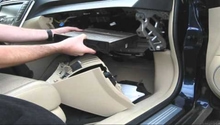
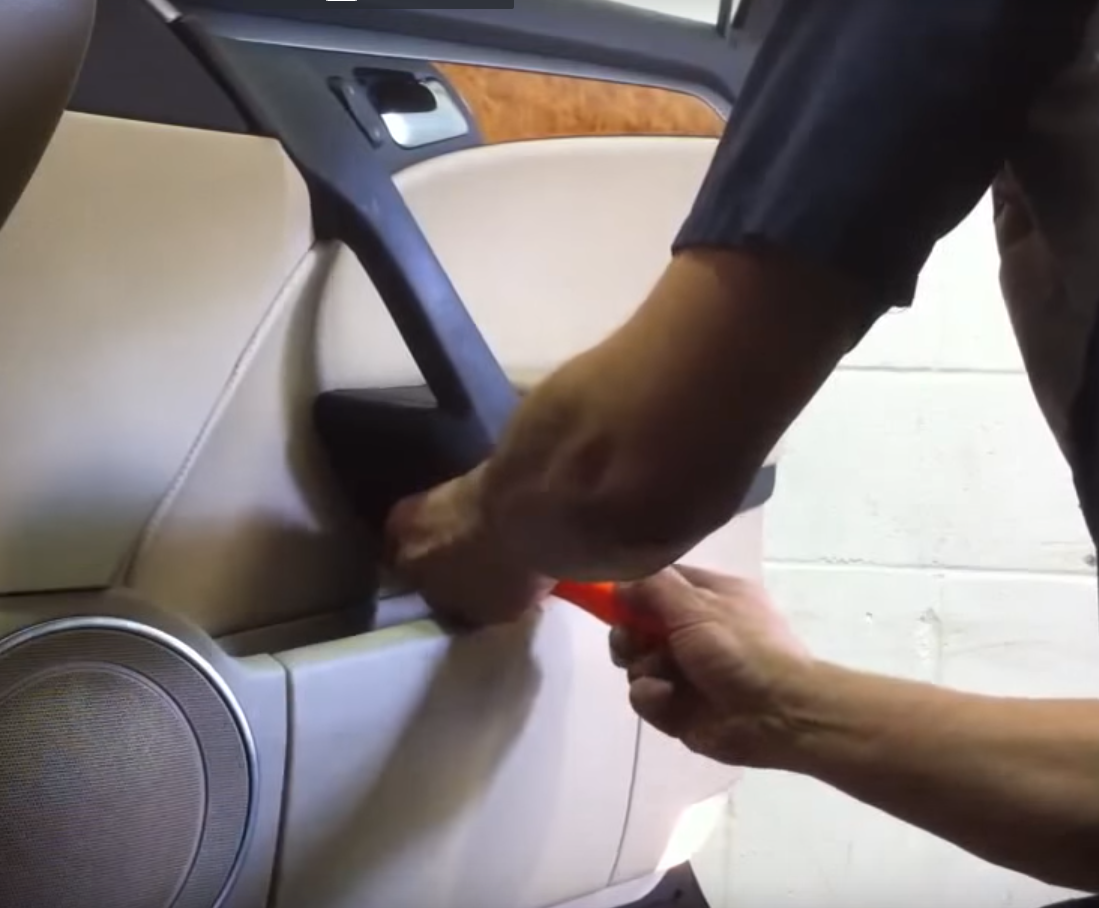
Step 2 – Pry up the door panel
Using the trim tool, carefully pry the door panel from the bottom. It's held down by a series of clips which will need to be pried up. Once you have the bottom and side pried loose, carefully pull it up and out, but don't pull it too far out because there's still a cable and some wires attached.

Pro Tip
It's a good idea to have some extra door panel clips around because they are easy to break.
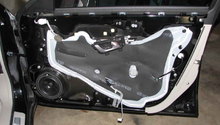
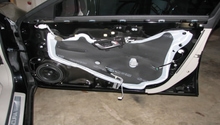
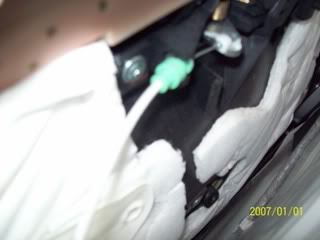
Step 3 – Disconnect cable and plugs
If you look at the inside of your door panel you should see a cable with a hook at the end that connects to a green clip. Carefully unhook the cable from the green clip. There are still a couple more plugs attached, like the plug for the window switches. Squeeze the tab on plug to release it from the switches. There is also a plug for the door light. Untwist the door light plug, then pull it out. Now you can completely remove the door panel and set it aside to work on your project.
Featured Video: 2006 Acura TL Right Front Door Panel Removal
Related Discussion
- How to Remove Door Panel - AcuraZine.com