Acura TSX: How to Replace Power Window Switch
Is your power window switch broken, leaving you with a window open to the elements? Here's how to replace that busted switch and get your window working properly once again.
This article applies to the Acura TSX (2004-2014).
If you've recently rolled your window down only to unsuccessfully roll it back up, you might just have a broken power window switch. Generally, you know the switch is the culprit if it moves further than usual and when it doesn't engage the power window motor. On the bright side, replacing a power window switch is much easier than replacing a power window motor or regulator. Plus, it's cheaper and requires fewer tools and less time. Keep reading and we'll walk you through the process.

Materials Needed
- Panel removal tool or nylon wedge
- Flat head screwdriver
- Phillips head screwdriver
Step 1 – Remove the power window switch trim panel
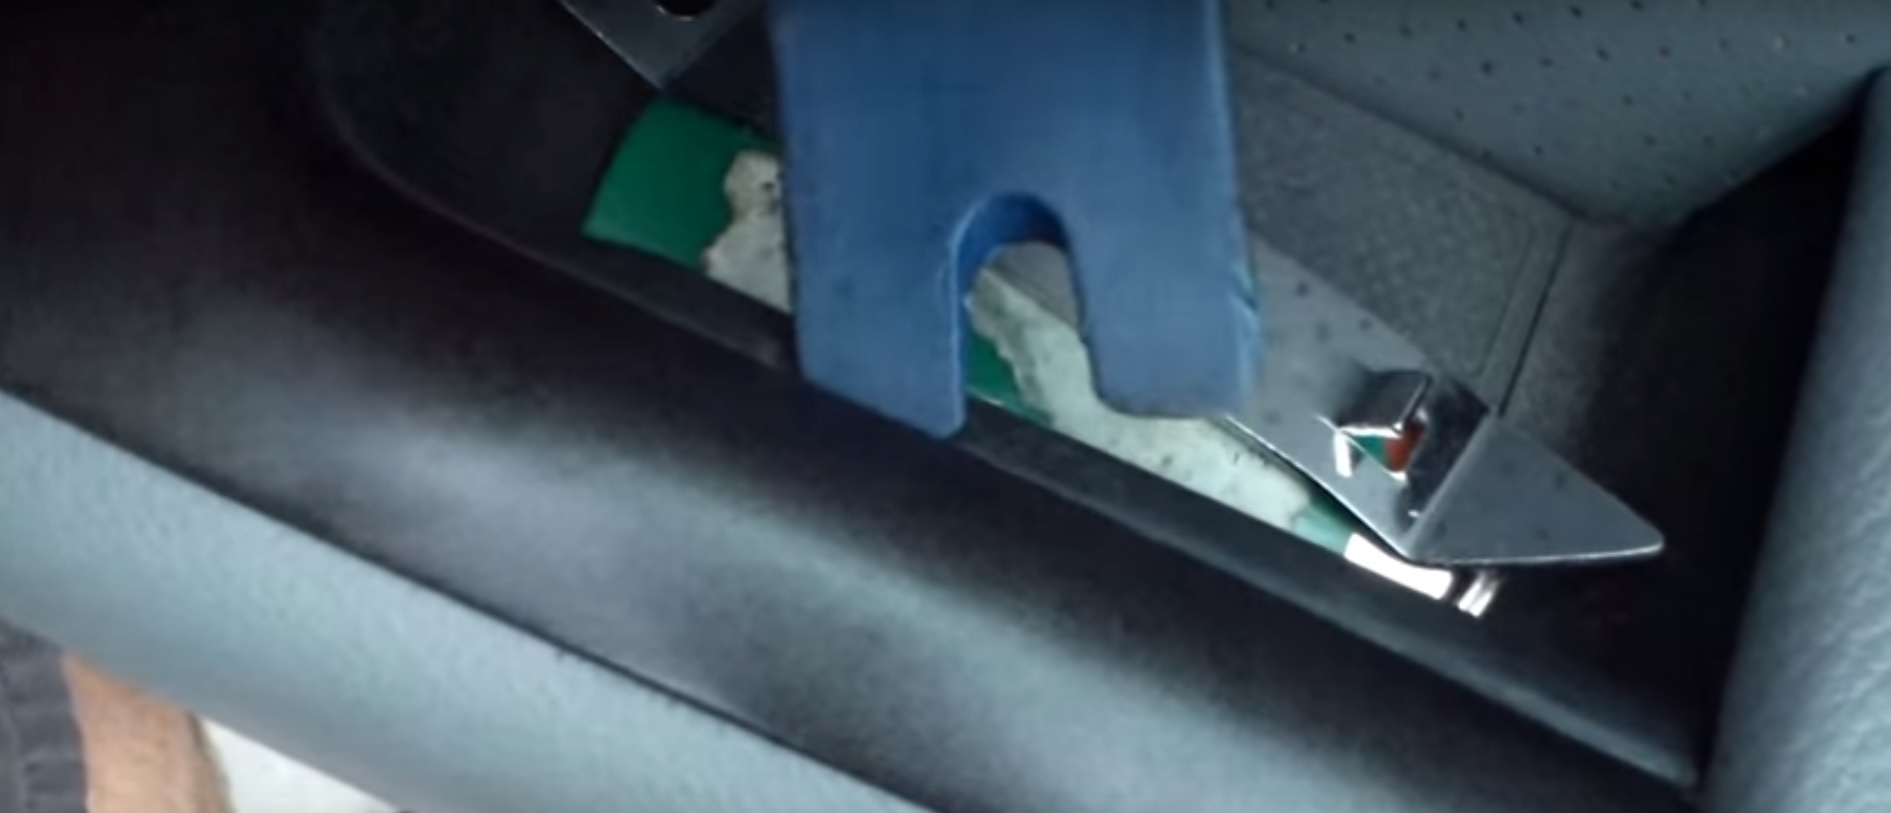
Use a panel removal tool or nylon/plastic wedge to pry off the trim directly above the door handle (covers the window switch). Work your way from the front to the back to release the trim piece from the retention clips.
Step 2 – Remove power window switch
Lift the power window switch assembly up and pull the wire connector out from the bottom of it (use a flat head screwdriver to help pry it off if you can't remove it with your hands). Flip the assembly over and you will see two Phillips head screws that hold the power window switch in place. Remove those screws and the power window switch.
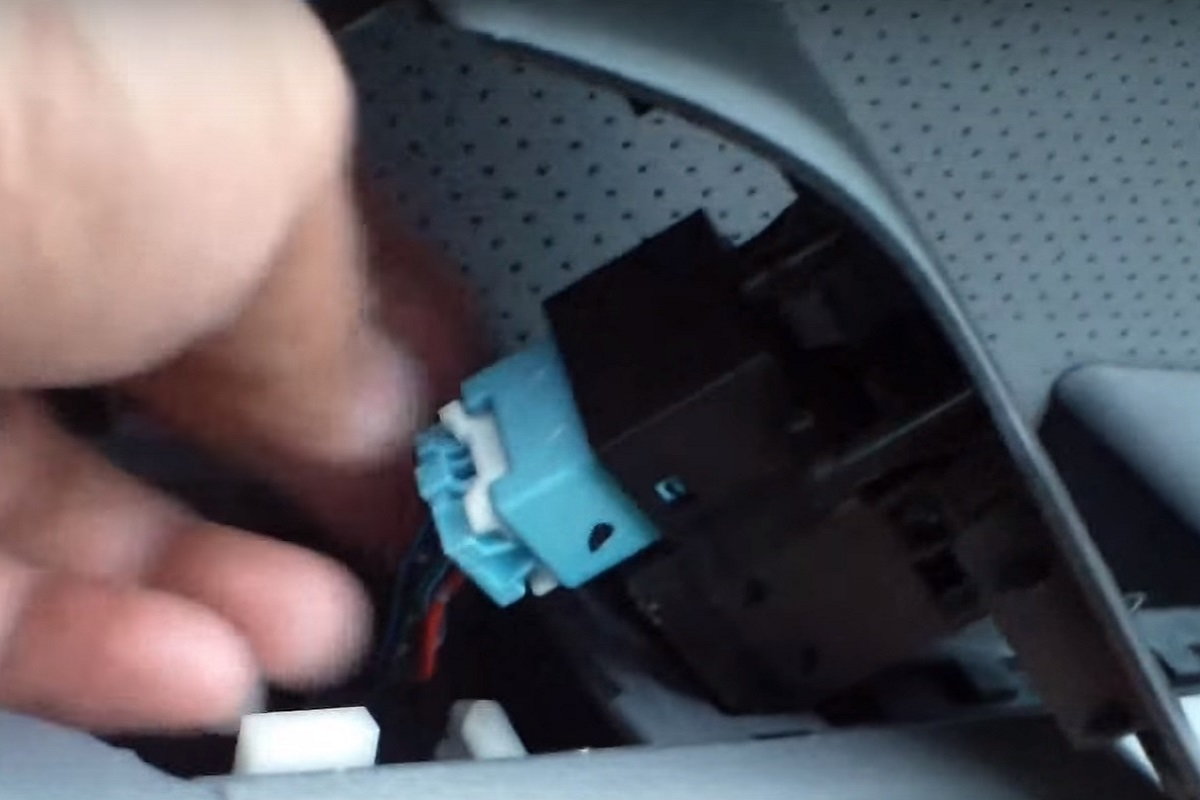
Figure 2. Disconnect the wiring connector from the bottom of the power window switch. 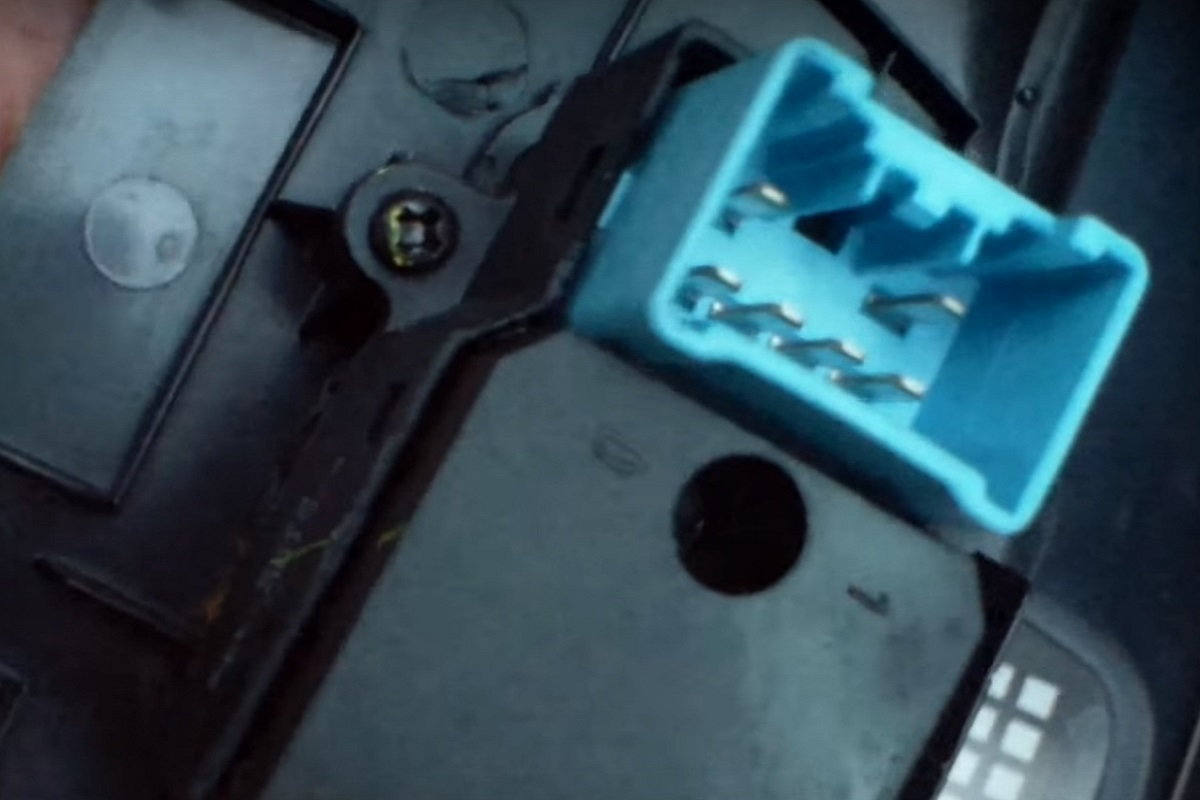
Figure 3. Remove the two Phillips head screws from the bottom side of the assembly and remove the power window switch.
Step 3 – Install new power window switch
Install the new power window switch in the assembly and replace the two Phillips screws. Plug the connector into the new switch until it clicks in place. Test the switch to make sure your window is working properly. Set the entire assembly and trim piece back into the door and press down on it until the retention clips lock it in place.
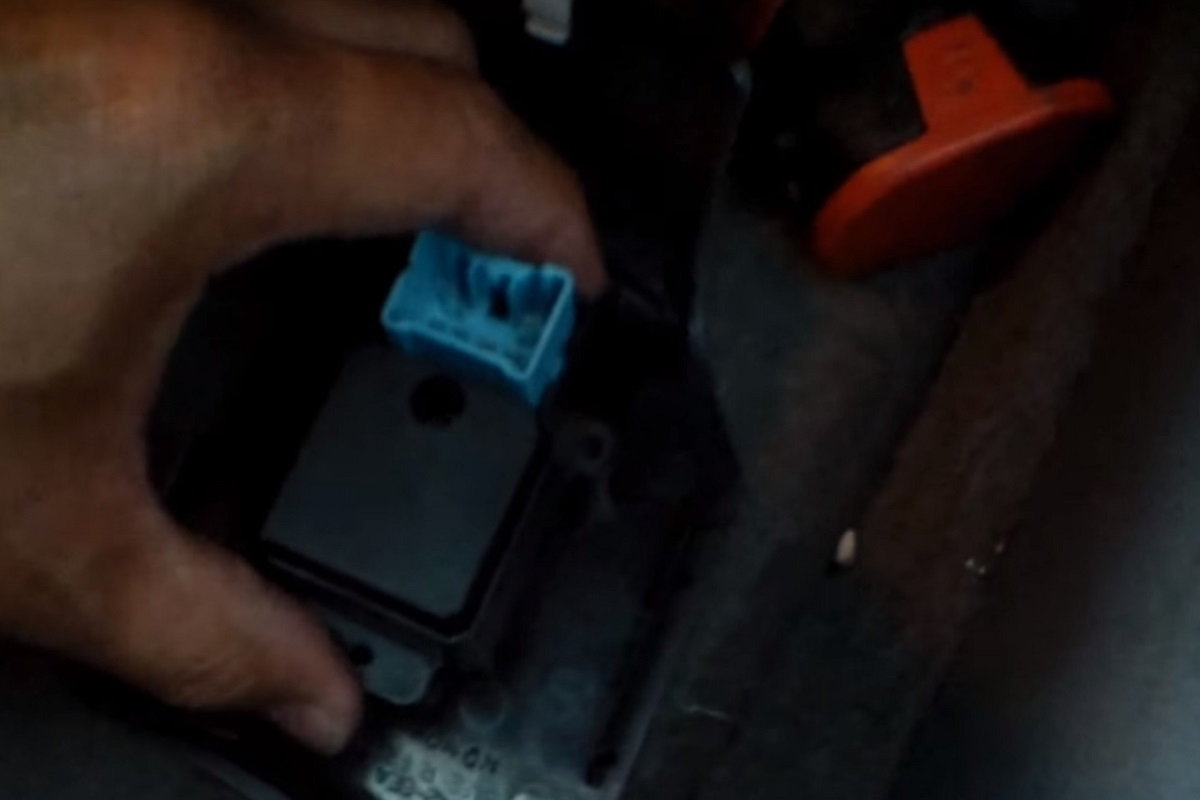
Figure 4. Install the new switch in the trim panel. 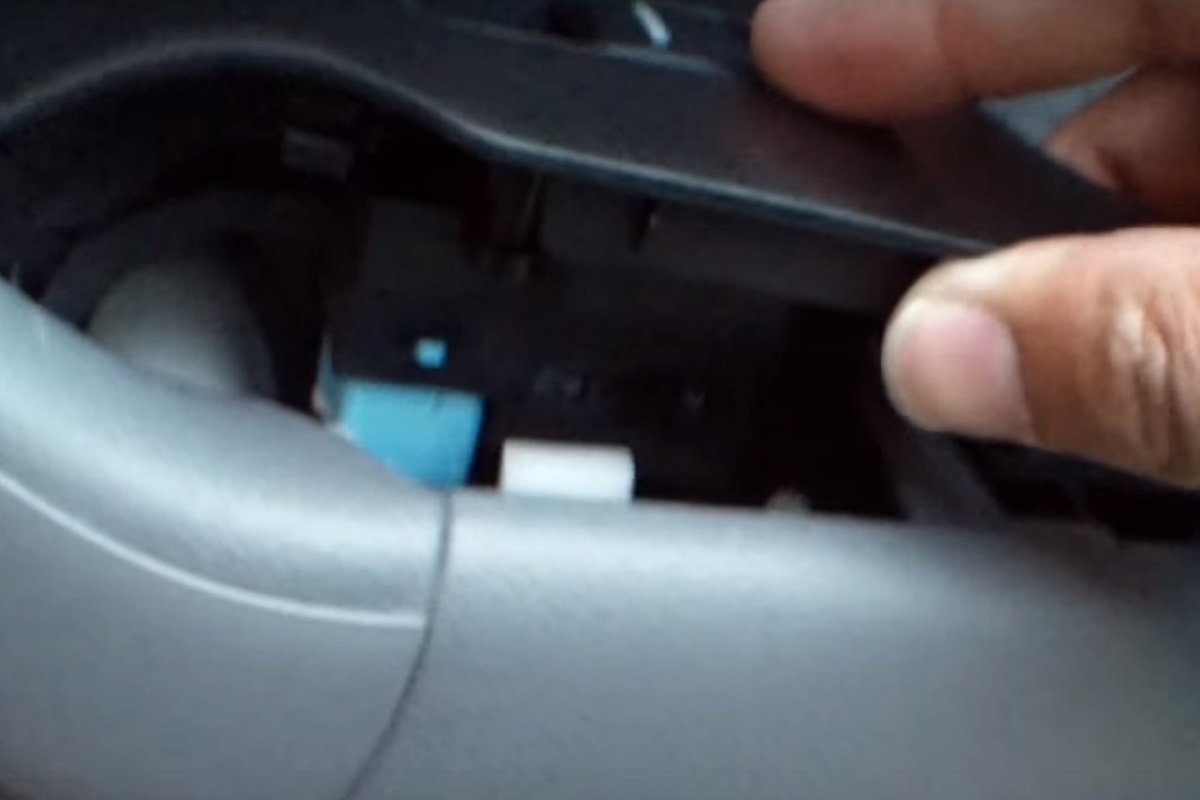
Figure 5. Reinstall the trim panel in the door.
Featured Video: How to Replace Power Window Switch on Acura TSX
Related Discussion
- Drivers Side Window Switch Broken - AcuraZine.com