Acura TL 2004-2008: How to Replace Lower Control Arm Bushings
Servicing the control arm bushings on your TL is a necessary evil. The factory-equipped bushings are designed for comfort, so their soft design means they regularly wear out or tear, requiring replacement.
This article applies to the Acura TL (2004-2008).
Premature lower control arm bushing wear is a common problem in the Acura TL, and it's one that has plagued many owners. These bushings tend to rip and tear on cars with as little as 30-40,000 miles, which is unacceptable considering the fact that most cars see these bushings last the life of the car. If you are one of the unlucky many who have torn lower control arm bushings, you have a few options when it comes to replacement.
You can simply replace the lower control arms entirely (around $150), or remove them and take them to a machine shop to have new bushings pressed in. But perhaps the easiest option is to DIY with a Honda/Acura compliance bushing tool, which allows you to replace the bushings without removing the control arms from the car. Keep reading and we'll walk you through the process.

Materials Needed
- 19mm socket
- Honda/Acura compliance bushing tool kit
- Replacement bushings
- 36mm socket
- Large breaker bar
- Torque wrench
- Ratchet
- Jack and jack stands
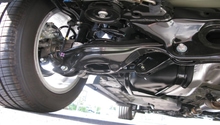
Step 1 – Remove the old bushings
Loosen the lug nuts on your front wheels with a 19mm socket and a breaker bar. Jack up the front of the car, support on stands, and remove the front wheels and tires.
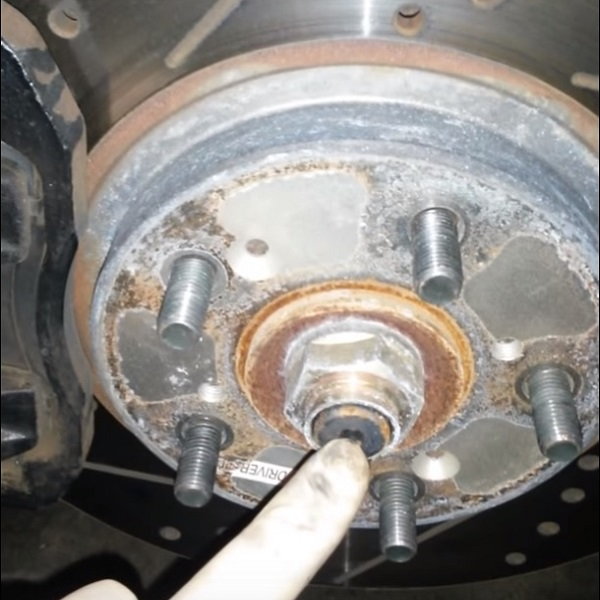
- Remove the 36mm bolt from the hub and push the axle in so it is free. The axle nut is on there tight; you'll need a breaker bar or pipe extension to free this.
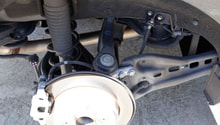
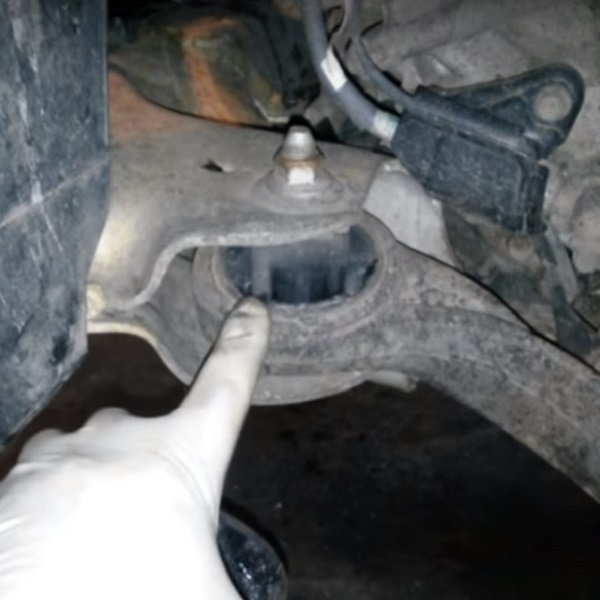
- Remove the 19mm bolt from the lower control arm (on the front side, through the bushing).
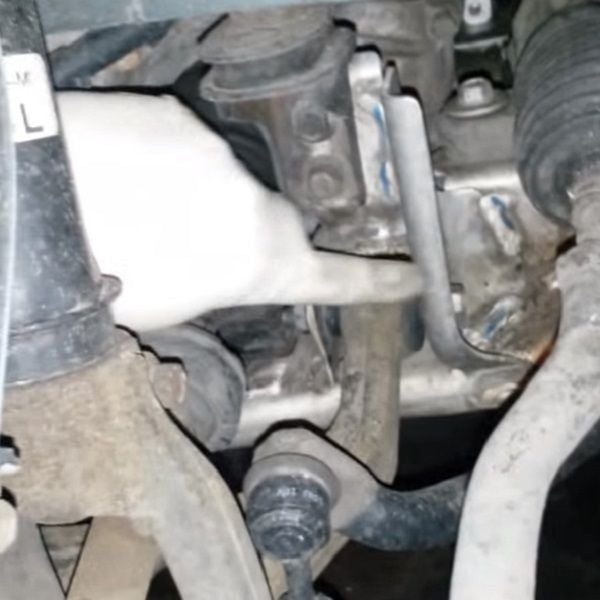
- Remove the 17mm bolt from the rear of the lower control arm.
- Push the front of the lower control arm out just enough to clear the pocket and get the tool onto the bushing.
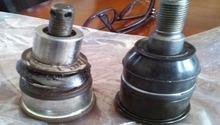
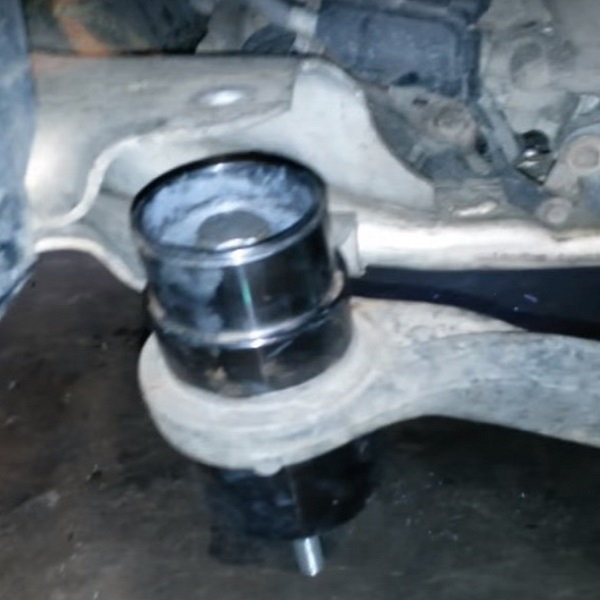
Step 2 – Replace lower control arm bushing
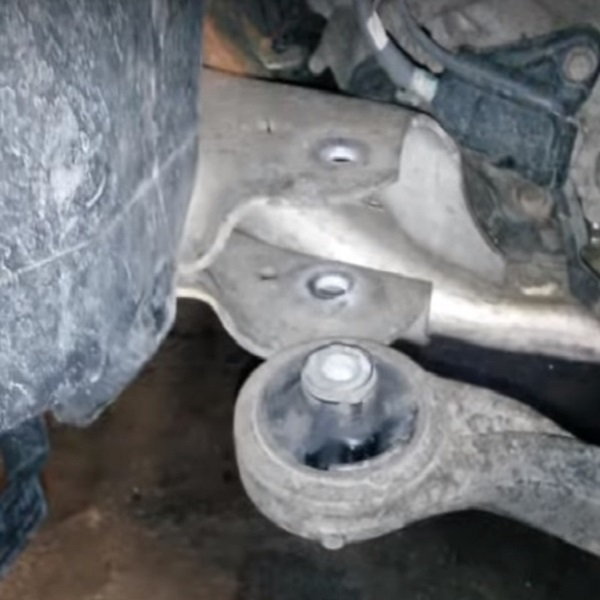
It's a good idea to mark how the old bushing is installed before removing it so that the new bushing is installed in the proper direction. Once you have it marked, install the bushing tool on the bushing. Press the old bushing out using the tool. Remove the tool and set the new bushing in place, then use the tool to press the new bushing in place. Slide the lower control arm back into place and reinstall the bolts. Repeat on the other side.
Featured Video: Honda/Acura Compliance Bushing Replacement
Related Discussions
- DIY How to Remove Lower Control Arm Bushings - AcuraZine.com
- Front Lower Control Arm Bushing Failure - AcuraZine.com
- DIY for Upper Control Arms - AcuraZine.com