Acura TSX: How to Replace Ball Joints
Are the ball joints in your Acura TSX worn out and in need of replacement? This article will walk you through the process, step by step.
This article applies to the Acura TSX (2004-2014).
Your Acura TSX uses a very fancy double-wishbone front suspension. Those double wishbones make for a smooth and confident ride, while still allowing for excellent handling. However, those suspension arms rely on ball joints to allow the suspension to article as the wheels move and take impacts from bumps. As the ball joints wear, friction increases, allowing for a rougher ride, and ultimately leading to destroying the ball joint. If the ball joint deteriorates too far, it could lead to failure and you would risk an accident or collision if the suspension collapses. Needless to say, these are an important maintenance item for your TSX. So if your bushings are tired, or worse, damaged, let's put in a few hours of wrenching and restore ride quality as well as safety to your sweet ride.

Materials Needed
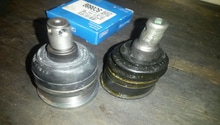
- New upper and lower ball joints
- Assorted socket sizes and ratchet
- Jack and jack stands
- Ball joint tool
- Needle nose pliers
- Bungee cord
- Phillips head screwdriver
- Breaker bar or impact gun
- Punch
- Hammer
Step 1 – Remove upper and lower ball joints
- Begin by jacking up the front of the car and placing it on jack stands, then remove the front wheels (19mm).
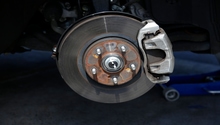
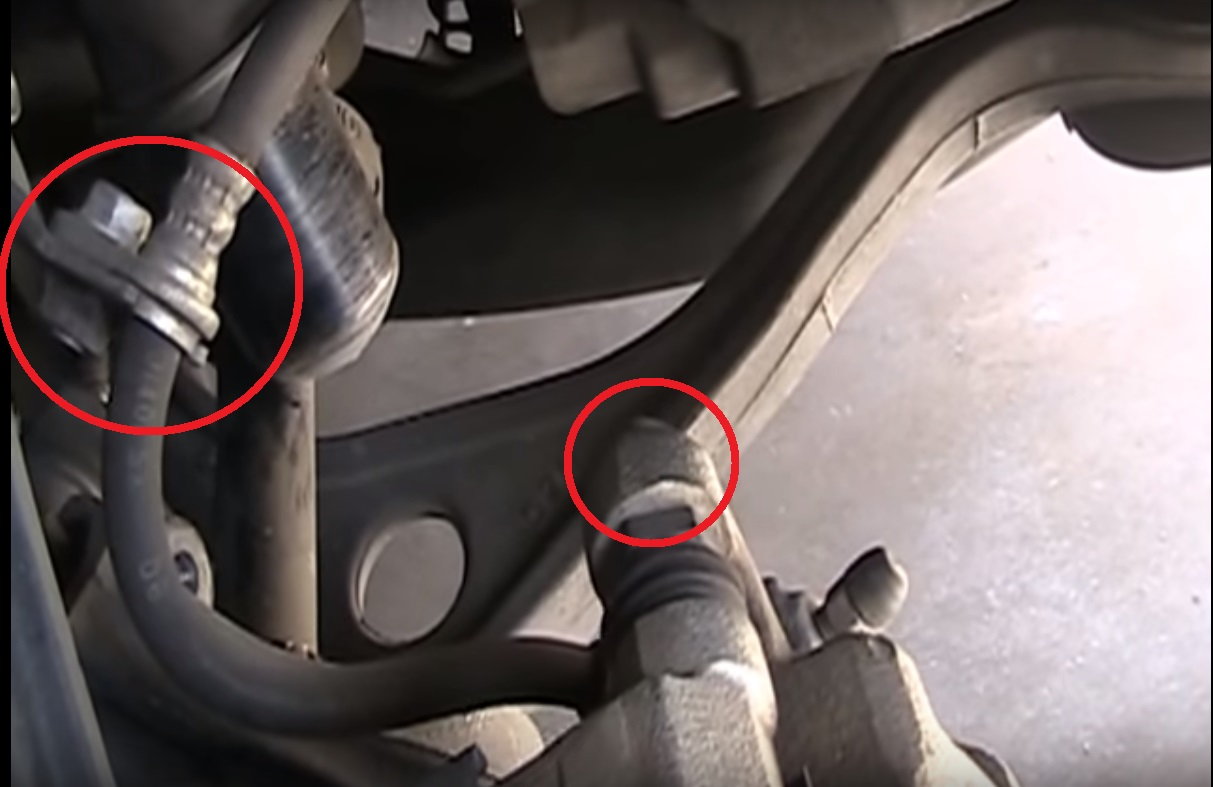
- Remove the caliper bolts and the bolt holding the brake line to the suspension (12mm and 14mm).
- Hang the caliper from the suspension using a bungee cord and carefully slide the brake line out of the way.
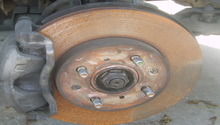
- Remove the rotor screws with a Phillips-head screwdriver and pull the rotor off.
- Destake the axle nut by using a punch and hammer to remove the indentation from the notched part, so that the nut can be removed.
- Remove the axle nut with an impact gun or breaker bar (36mm).
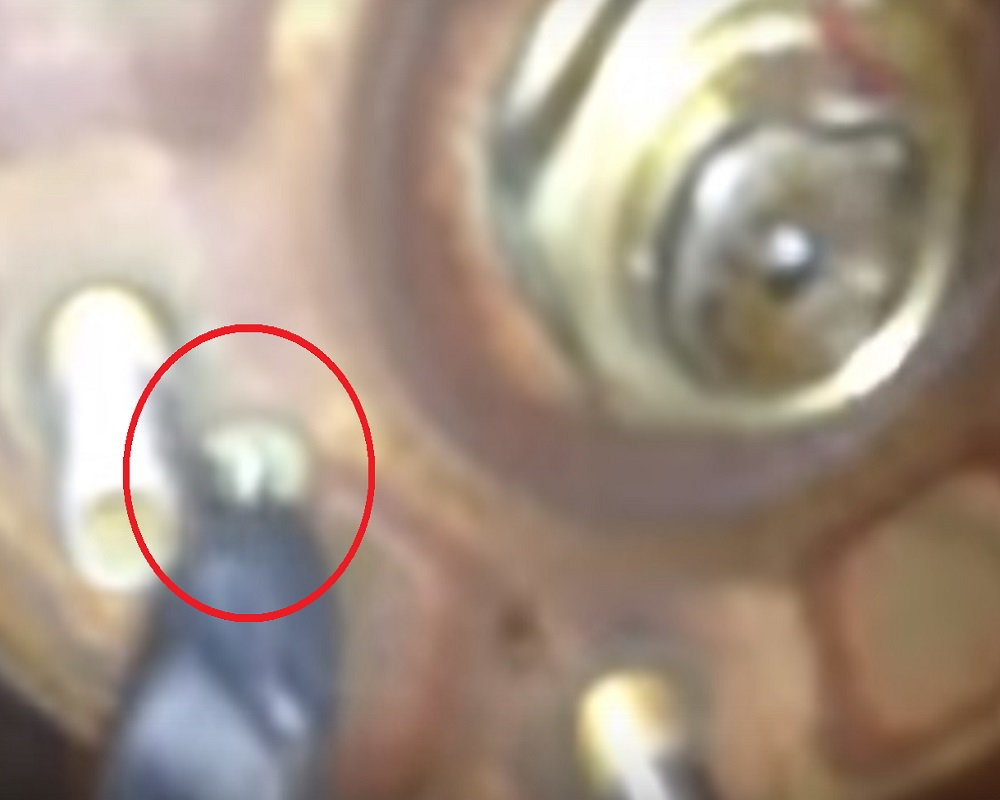
Figure 2. Remove rotor set screw. 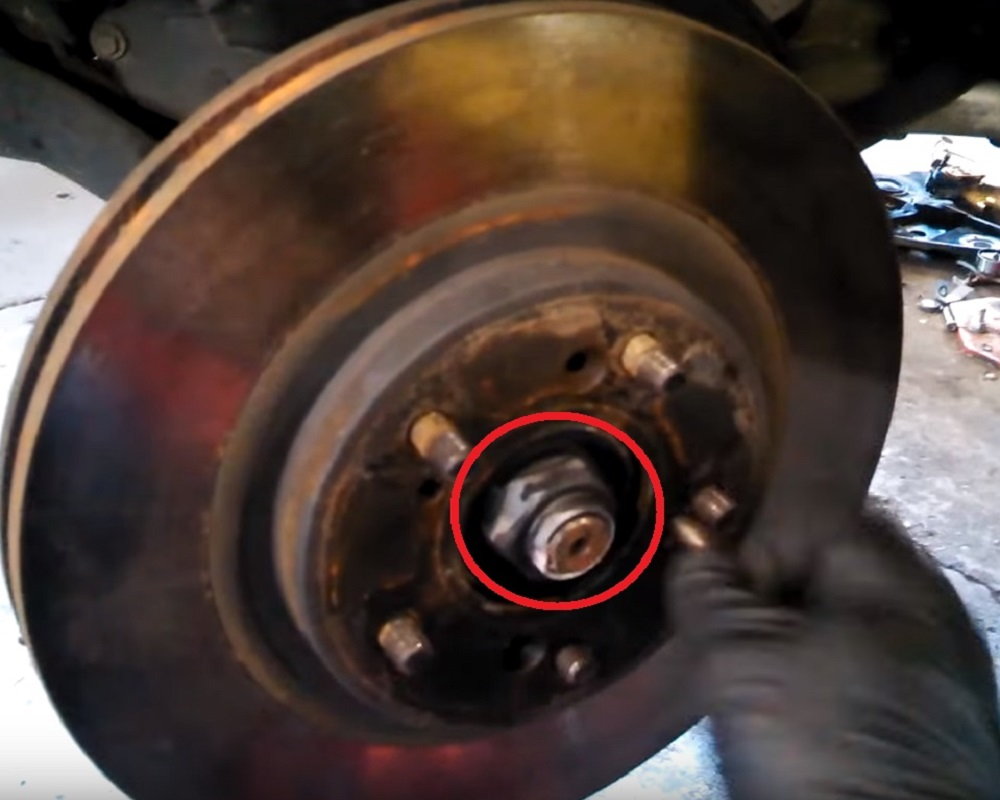
Figure 3. Remove axle nut.
- Remove the three bolts holding the ABS line in place and move it aside.
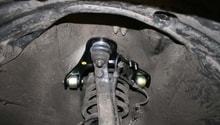
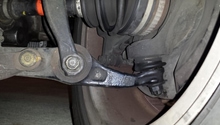
- Remove the cotter pins and nuts from the upper and lower control arm.
- Use the ball joint tool to separate the upper and lower ball joints from the control arms.
Step 2 – Install new ball joints
Press the old ball joints out of the control arms using a 1 1/8" socket. Place the socket on the ball joint and give it a few good whacks with a hammer to press it out. Once the old ball joints are out, press the new ones in using the same method. Reinstall the upper and lower control arm bolts, as well as the cotter pins. Reinstall the ABS line and bolts, then replace the axle nut and stake it. Reinstall the rotor and rotor screws, brake line and bolt, as well as calipers and caliper bolts. Reinstall the front wheels and tires, then lower the car off the jack stands.
Featured Video: How to Remove Upper and Lower Ball Joints
Related Discussions
- How to Get Front Lower Ball Joint Out - AcuraZine.com
- Front Lower Ball Joint Replacement - AcuraZine.com