Acura TL 2004-2008: How to Replace Ball Joints
Installing new ball joints really isn't hard. In fact, you can easily do all of this work in less than half a day.
This article applies to the Acura TL (2004-2008).
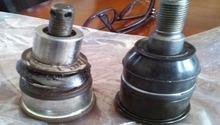
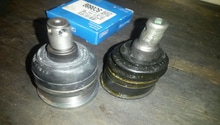
Are you experiencing wheel wander at highway speeds? Or how about a clunk as you drive through bumps? Chances are, your ball joints are worn out. Ball joints are made up of a base, a steel ball that pivots inside of it with a threaded stud in it, a rubber boot, lock ring and castle nut. Typically, when they fail, the boot tears, all the grease comes out, and debris gets in, ruining the tight tolerances that you need for accurate handling. Ignore a bad ball joint and it can fail altogether, allowing the steering knuckle to break loose from the control arm. The lower ball joint can be pressed in and out of the steering knuckle with a C-clamp type press you can rent or borrow from many auto parts stores, the upper ball joint can be replaced in the same manner, or the whole control arm can be replaced for not much more money. Use the following instructions to replace the ball joints on your Acura TL.

Materials Needed
- Jack
- Jack stands
- Ball joint seperator
- Ball joint press
- Ratchet and sockets, including 19mm and 32mm
- Breaker bar
- Torque wrench
- Needle nose pliers
- Bench vise
- New ball joints
Step 1 – Raise and secure the vehicle
First things first, attach the 32mm socket to the breaker bar and break loose the axle nut on your wheel hub. This big nut is going to need a lot of force to loosen, and the weight of the car on the wheels gives you something solid to push against. Next, loosen the lug nuts on the front wheels, then grab your floor jack, raise the car up and carefully position your jack stands under something solid.

If changing the upper ball joint, skip to Step 3.
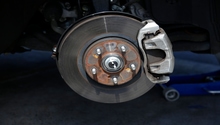
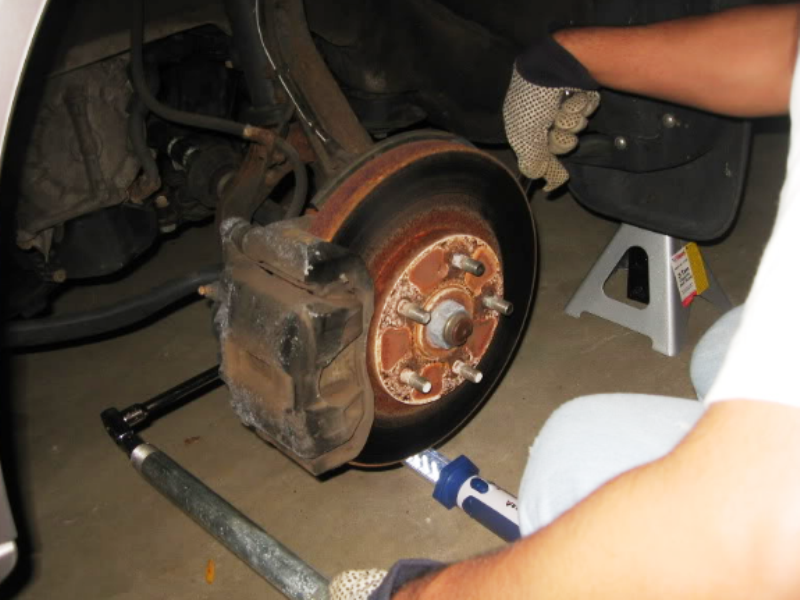
Step 2 – Remove the brake caliper and rotor
- Remove the two bolts holding the caliper in place.
- Use a bungee cord or wire to hang the caliper out of the way.
- Remove the rotor by taking out the two Phillips screws.
- Finish removing the axle nut.
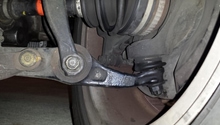
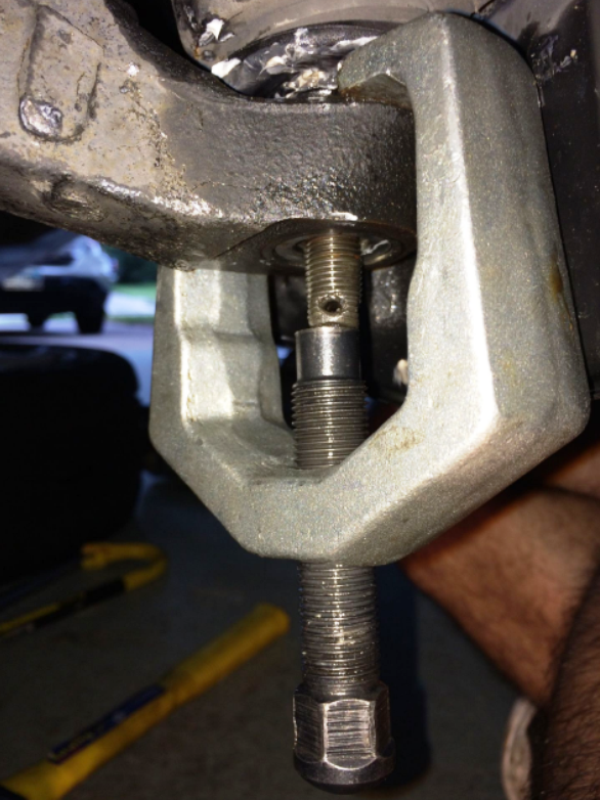
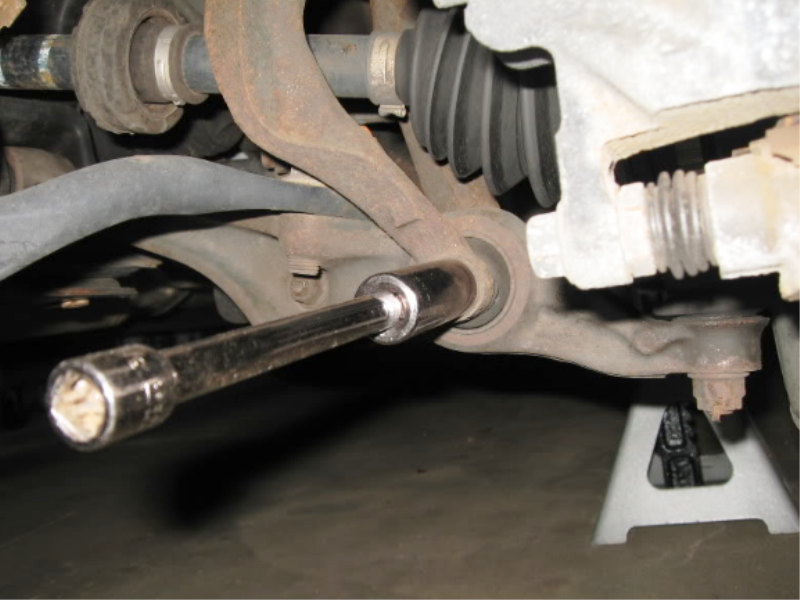
Step 3 – Separate the ball joint
No matter if you are changing the upper or lower ball joint, it doesn't change how the component is broken loose. You need either a separator press or a pickle fork and hammer. In order to change the lower ball joint, you will need to get both upper and lower joints free from the steering knuckle. The upper one can be changed without disturbing the lower.
- Remove the cotter pin on the lower ball joint stud.
- Remove the castle nut.
- Pop or press the ball joint out of its socket.
If changing the lower ball joint, skip to Step 6.
Step 4 – Remove the front shock
- Loosen the damper fork bolts.
- Remove the bolt holding the damper fork to the lower control arm.
- Remove the five nuts holding the top strut hat in place in the strut tower.
- Remove the wheel sensor.
- Move the front damper out of the way and set aside.
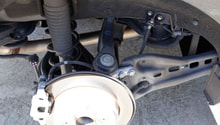
Step 5 – Remove the upper control arm
Inside the wheel well you will now have access to the inner control arm bolts. Loosen and remove both bolts, then pull the control arm away from the chassis. If you opt to install just a ball joint, place the control arm in a vice, remove the snap ring, and press out the old joint. Once the joint is removed, clean and lightly sand the mounting slot and press in the new ball joint. Install the snap ring onto the ball joint and reinstall it into the arm. Bolt the new arm, or the old arm with new ball joint, in place.
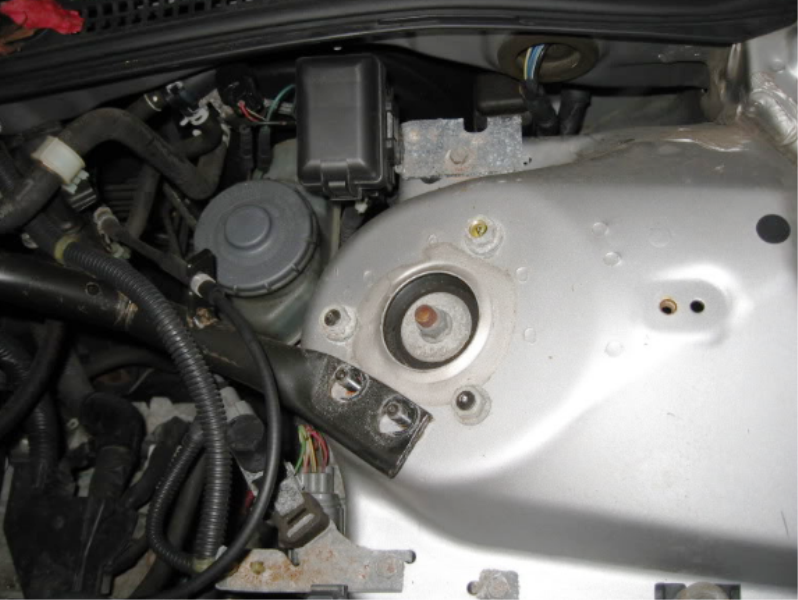
Figure 5. Remove the upper mounting bolts. 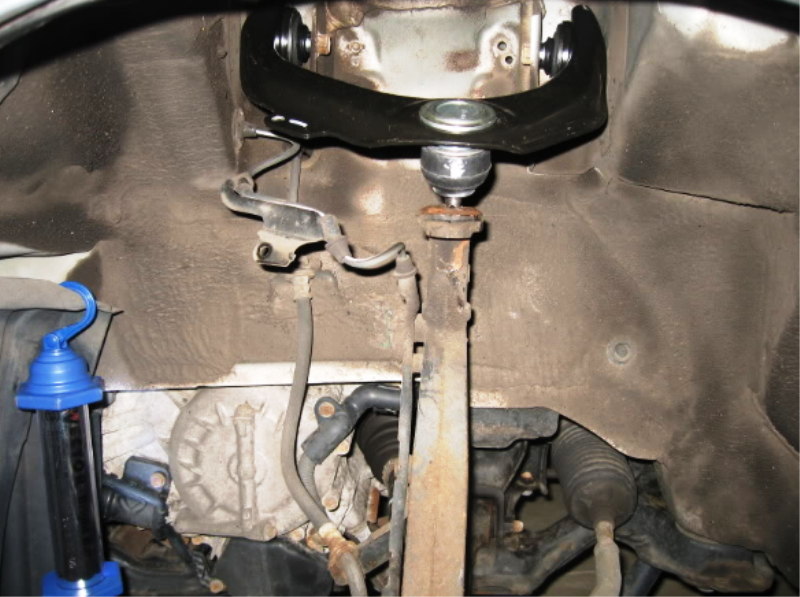
Figure 6. Unbolt the upper control arm.
If not changing the lower ball joint, skip to Step 7.
Step 6 – Replace the lower ball joint
- Remove the steering knuckle and place it on the bench vise.
- Press the old joint out.
- Install the new joint, making sure to keep it straight as it slides into place.
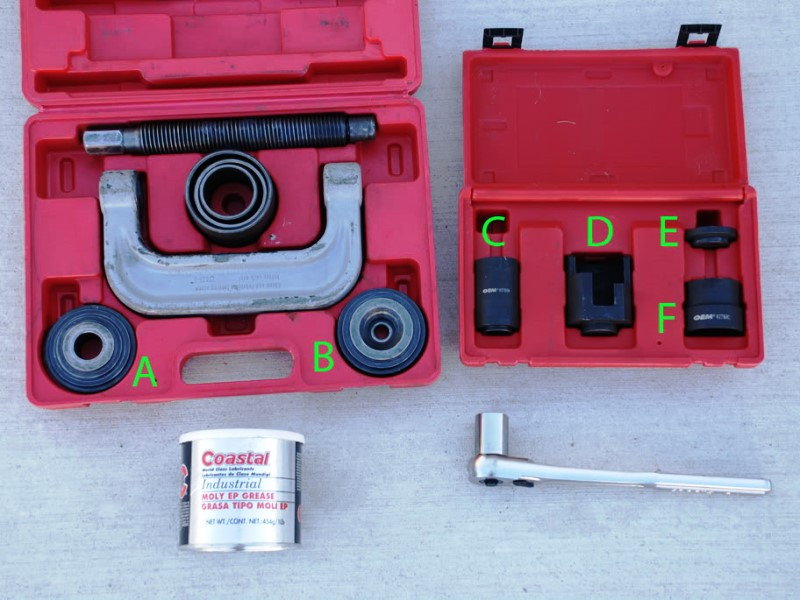
Figure 7. Typical C-clamp type ball joint press. 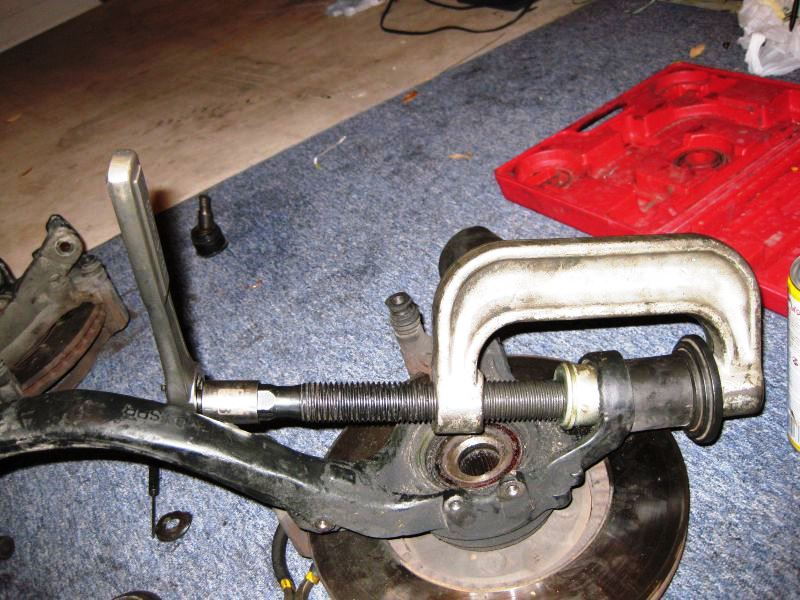
Figure 8. Installing the new joint is much easier of you have a bench vice.
Step 7 – Reinstall the components
Once the ball joints are pressed in, reinstall the previously removed components:
- Install the steering knuckle.
- Tighten the castle nuts and insert new cotter pins.
- Install the upper top strut hat bolts.
- Install the upper fork bolts and tighten to 32 ft/lbs.
- Install the lower fork bolts.
- Mount the rotor and align the brake caliper.
- Thread the axle nut back in.
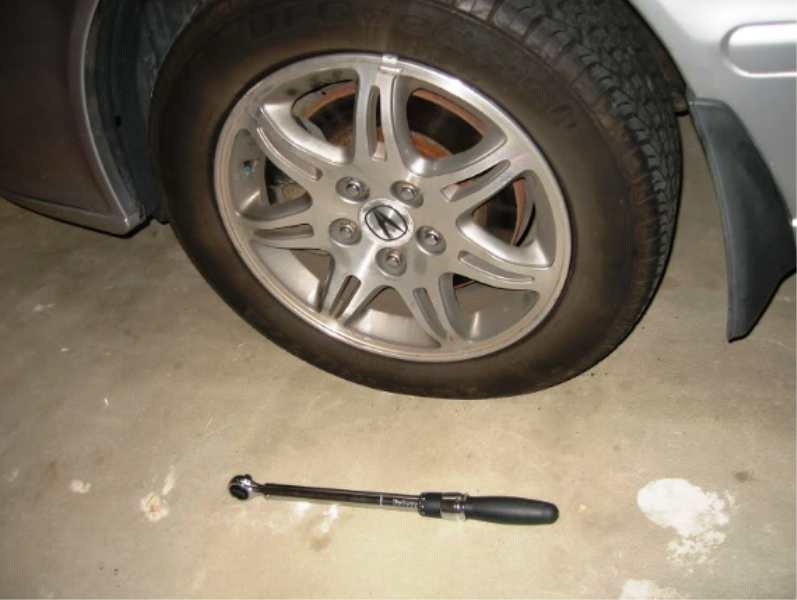
- Mount the wheel and torque the axle nut down.
Related Discussions and Video
- DIY: Upper Control Arm (w/Pics) - Acurazine.com
- Front lower ball joint replacement- Acurazinecom
- upper ball joint going bad help!!!! :( - Acurazine.com
- Oops, Axle and Ball Joint Replacement - Youtube.com