Acura TSX: How to Replace Axle
Are you experiencing vibrations when accelerating? This is a common issue with the Acura TSX, and it probably signals a bad axle or inner CV joint. Here's how to replace it and get your car accelerating smoothly once again.
This article applies to the Acura TSX (2004-2014).
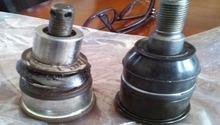
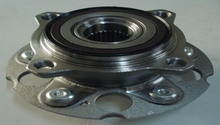
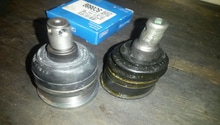
The front end of front wheel drive cars leads a hard life. It has to handle all of the acceleration, all of the steering, and most of the braking the car is going to do. Part of what makes FWD feasible are the constant velocity joints in the front axles, which allow the wheels to turn, move up and down with the suspension, while still getting power from the motor. If you are getting vibrations, and you've already confirmed it isn't a tire or wheel issue, you likely have a bad inner CV joint, or possibly an intermediate shaft bearing. Bad CV joints also sometimes cause a clicking noise, especially when going around corners. The easiest way to fix most CV joint problems is with an entire axle assembly, including both inner and outer joints. Many times you can also save money with rebuilt axles, which already have had the CV joints replaced. Read on and we'll walk you though changing them out.

Materials Needed
- Ratchet
- Sockets and wrenches including 10, 14, 17, and 19
- 36mm axle nut socket
- Breaker bar
- Impact gun (optional, but very helpful)
- Ball joint tool seperator
- Pry bar
- Punch or drift
- Axle grease
- Hammer
- New axle nuts
In order to change out the axles, of course you are going to have to jack up the car, put it on jack stands, and take off the front wheels. A neat trick to make removing the axles easier is to pop off the center cap on the wheel and break the axle nut loose with the wheels on the ground to keep it from moving. These nuts are torqued to nearly 200 lb-ft at the factory, which means you'll need to apply at least 200 lbs of force to the end of a foot long breaker bar to loosen them. They are also staked onto the axle, with a bit bent into a corresponding groove on the end of the axle. Use a chisel or punch and hammer to drive out this part of the nut and make your life easier.

Figure 1. Make your life easier by unstaking the nut with a punch and hammer first. 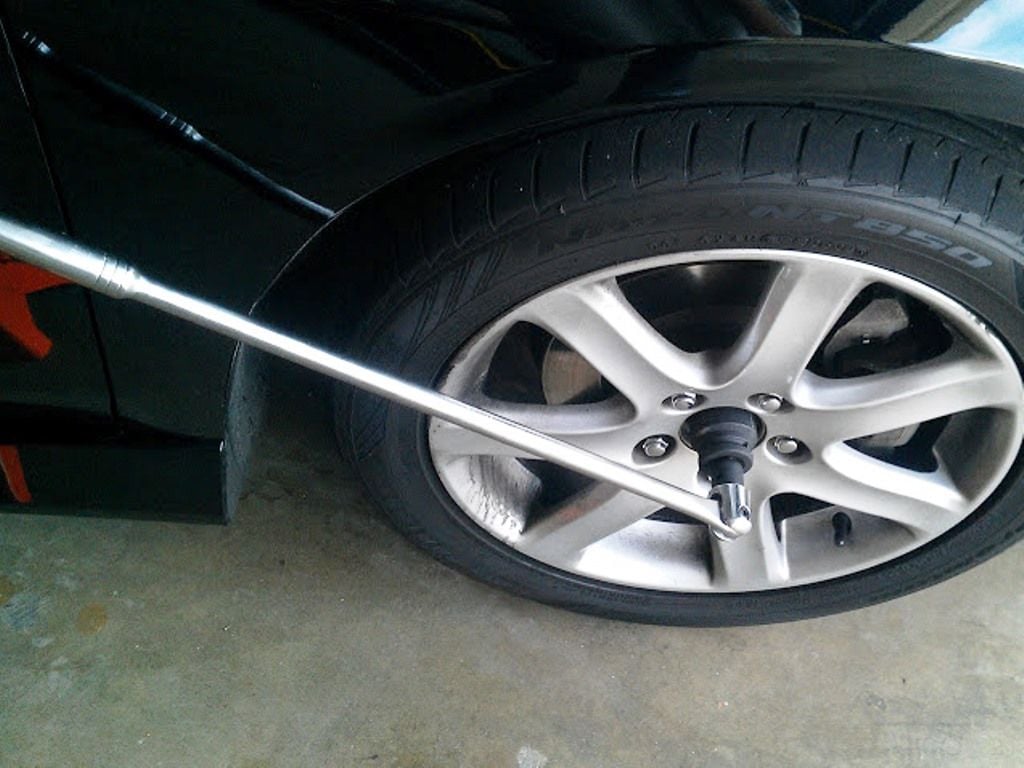
Figure 2. Even with the car on the ground, you may need a long breaker bar.
Step 1 – Remove driver's side axle
The axles on most FWD cars slide out pretty easily, but first you have to move the front steering knuckle and hub out of the way.
- Jack the car up and place it on jack stands, then remove the front wheels.
- Remove the axle nuts (36mm) with an impact wrench if possible; if not, use a breaker bar.
- Remove the cotter pin on the lower ball joint nut and then remove the nut (17mm).
- Use the ball joint tool to separate the lower control arm from the ball joint.
- Remove the bolt and nut from the wishbone that attaches the shock to the lower control arm (17mm).
- Gently tap the end of the axle with a hammer to release it and drive is back through the hub.
- Using a pry bar, work on the inboard side of the axle until it comes out of the transmission case.
- Twist and pull on the axle to remove it.
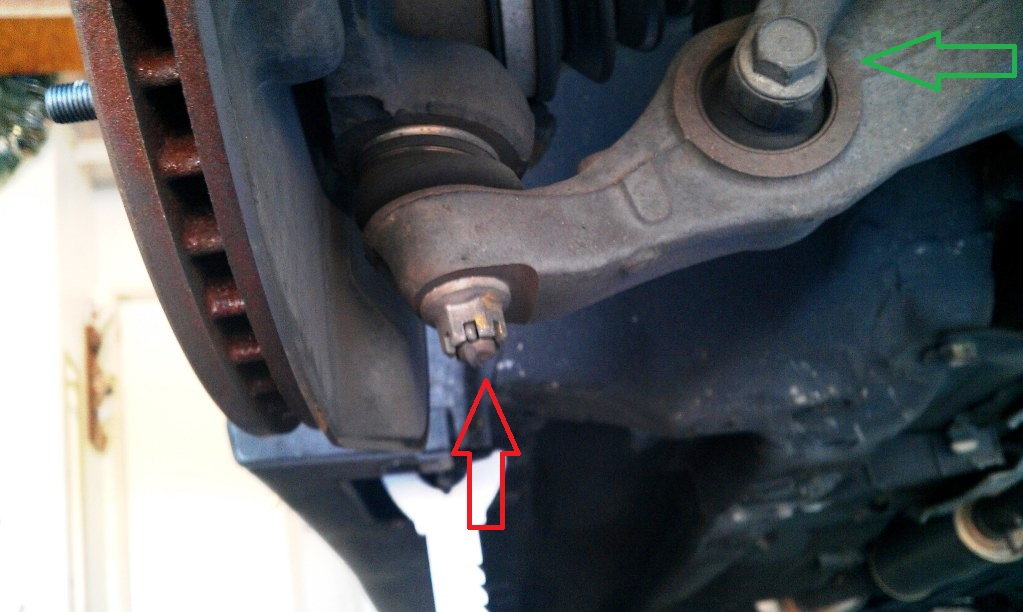
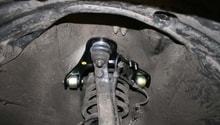
Figure 3. Lower ball joint (red arrow) and wishbone bolts (green arrow). 
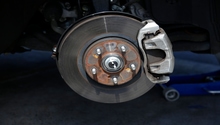
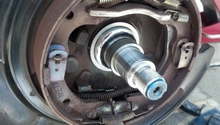
Figure 4. Popping the axle free from the transmission seal requires a little wiggling and pulling.
Step 2 – Install new driver's side axle
- Rub a little bit of clean grease on the splines and part that seals into the transmission.
- Slide the new axle into the transmission case carefully until it stops, giving it a good shove until it seats into place.
- Lift the steering knuckle and slide the end of the axle back into the hub, rotating it if needed.
- Hand-tighten the axle nut.
- Guide the lower ball joint back into the lower control arm.
- Replace the lower ball joint nut and torque to 65 ft-lbs, then replace the cotter pin.
- Replace the bolt on the bottom of the wishbone, jack up the A-arm until the strut is under load, and torque to 47 ft-lbs.
- Once the car is back on the ground, torque the axle nut to 181 ft-lbs, or as tight as you can get it, then stake the nut back into the groove.
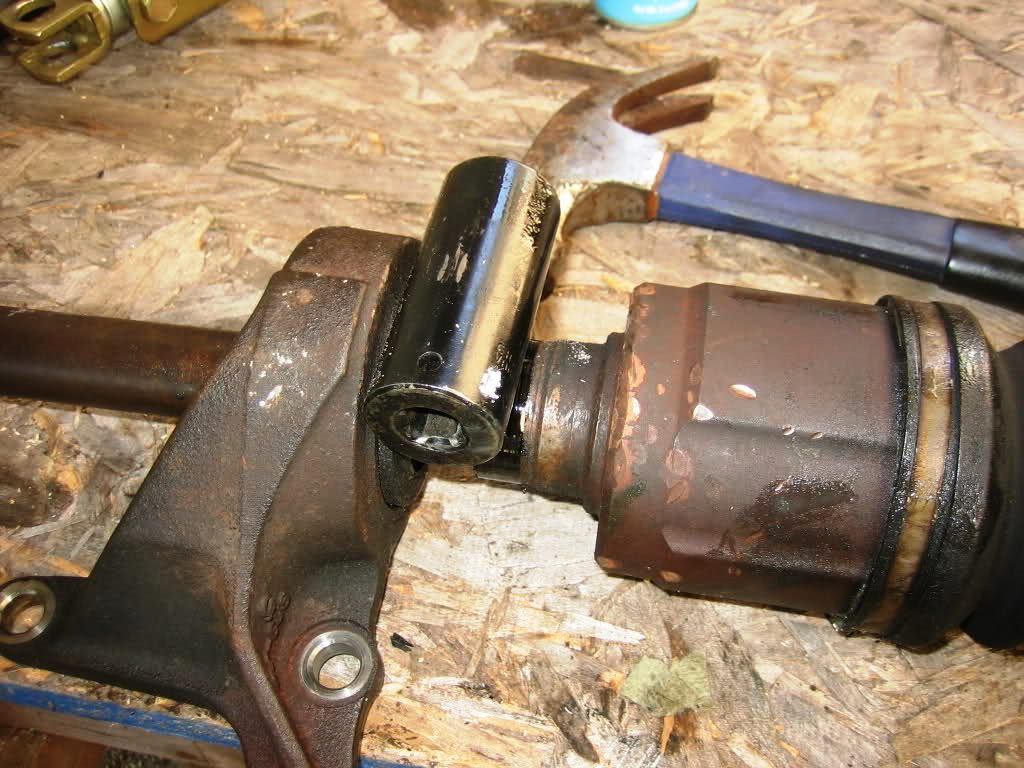
Step 3 – Replace passenger side axle
The process for replacing the passenger side axle is nearly identical to that of the driver's side axle. The only difference is that the passenger side has an intermediate shaft, instead of attaching directly to the transmission. Once the passenger side axle is free from the wheel hub, use a drift or punch on the back of the inboard CV and pop it free of the intermediate shaft. Some people prefer a big pry bar, or driving a wedge, or even a round socket slightly bigger than the gap to pop it free. This will take a little more force to free than the driver's side, and a little more force to pop the new one on. You can use a rubber mallet on the hub side of the axle to help drive it home if need be, but be careful not to damage the threads. Once complete, torque the axle nut to 181 ft-lbs and stake them with a drift or punch until they are down in the groove. Spray down the rotors with brake cleaner if you touched them with your hands at any point.
Featured Video: How to Replace Front Wheel Drive Axle
Related Discussions and Site
- DIY Axle Replacement - TSXClub.com
- DIY Axle Replacement - AcuraZine.com
- TSX CV Joint Replacement - AcuraZine.com
- Axle Vibrations - AcuraZine.com