Acura TL 2009-2014: How to Replace Ball Joints
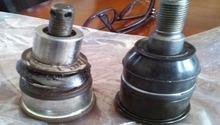
Ball joints allow your suspension to article and move as needed. As the joints age and wear, the packed grease seal protecting the joint can tear, which will eventually let the joint seize. If the joint breaks, you could be in for a world of hurt, so don't neglect it.
This article applies to the Acura TL (2009-2014).
Your Acura TL has a double wishbone front suspension, and it is excellent; capable of providing adept handling and a smooth ride. However, double wishbone suspensions use an upper and lower ball joint to allow the suspension to move. Over time, through age and wear, these ball joints can fail. When they fail, if you're lucky, the suspension begins making knocking and clunking sounds. If you're unlucky, and choose to neglect your car for too long, the ball joint can sheer and cause the suspension to separate; most likely ending in an crash or accident. If that sounds terrifying (and it should!), and you suspect a worn ball joint, you need to replace it immediately, lest that happen to you. Ball joints are relatively cheap, and with a few hours of wrenching, you can restore ride quality to your TL.

Materials Needed
- Jack and jack stands
- Needle nose pliers
- Ratchet
- Assorted common socket sizes
- Bungee cord
- Phillips screwdriver
- Impact gun
- Ball joint removal tool
- Hammer
Step 1 – Remove upper and lower ball joints
- Jack the front of the car up and place it on jack stands, then remove the front wheels (19mm).
- Remove the caliper bolts and the single, 10mm bolt holding the brake line in place.
- Take the caliper off and suspend it from the car using a bungee cord to avoid damaging the brake line.
Figure 1. Remove the caliper bolts and calipers. 
Figure 2. Remove the brake line bolt.
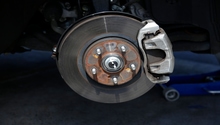
- Remove the Phillips screws from the rotors and pull the rotors off.
- Remove the axle nut with an impact gun (36mm).
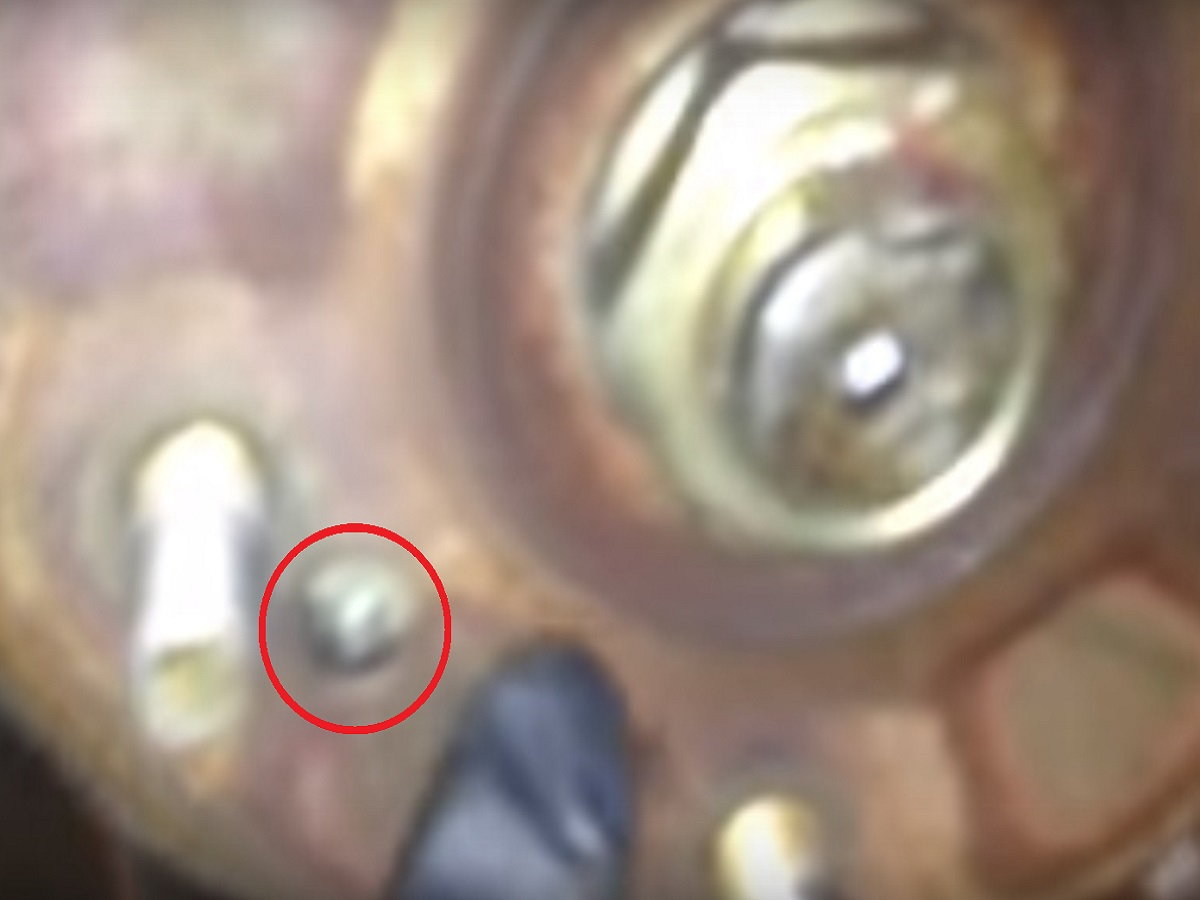
Figure 3. Remove the rotor screws and rotors. 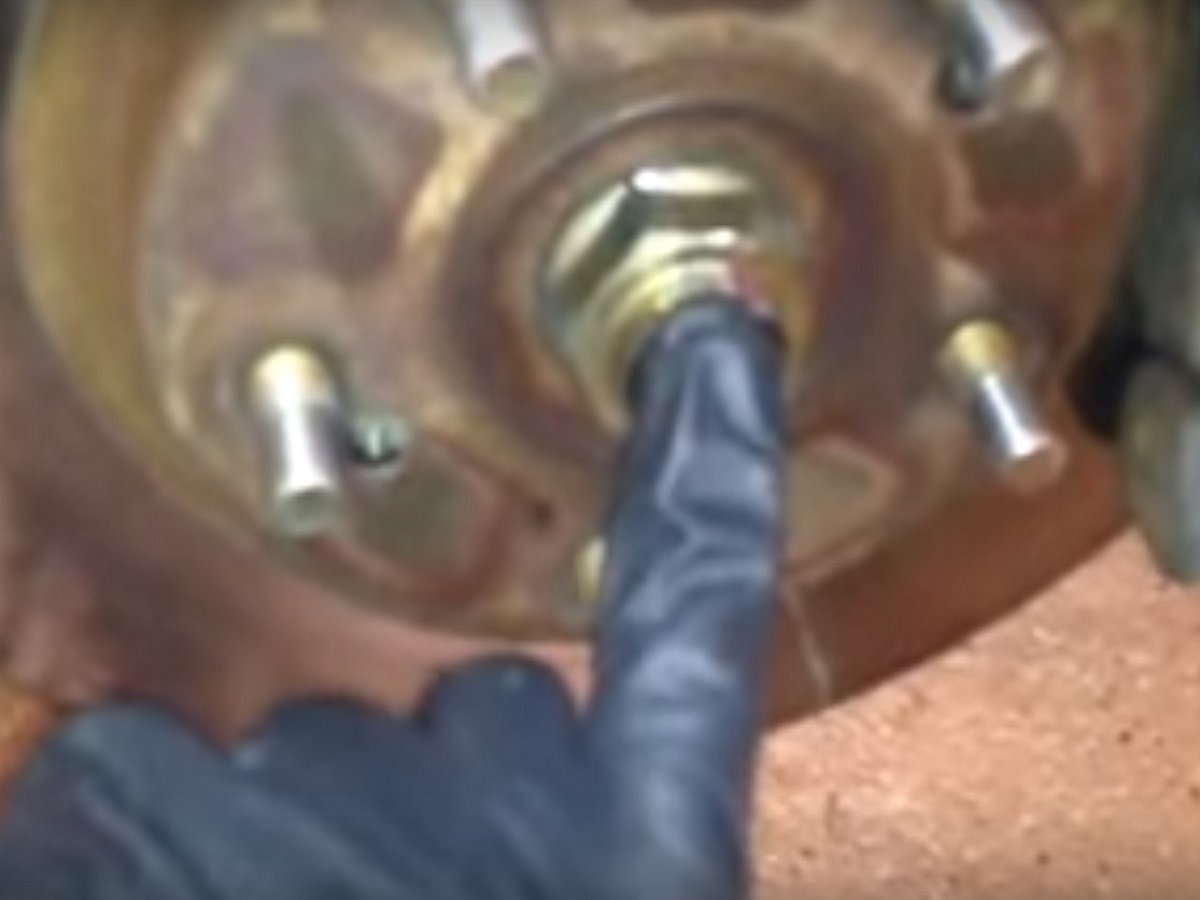
Figure 4. Remove the axle nut.
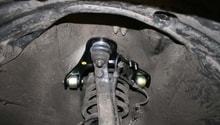
- Remove the three bolts holding the ABS line in place and slide it to the side.
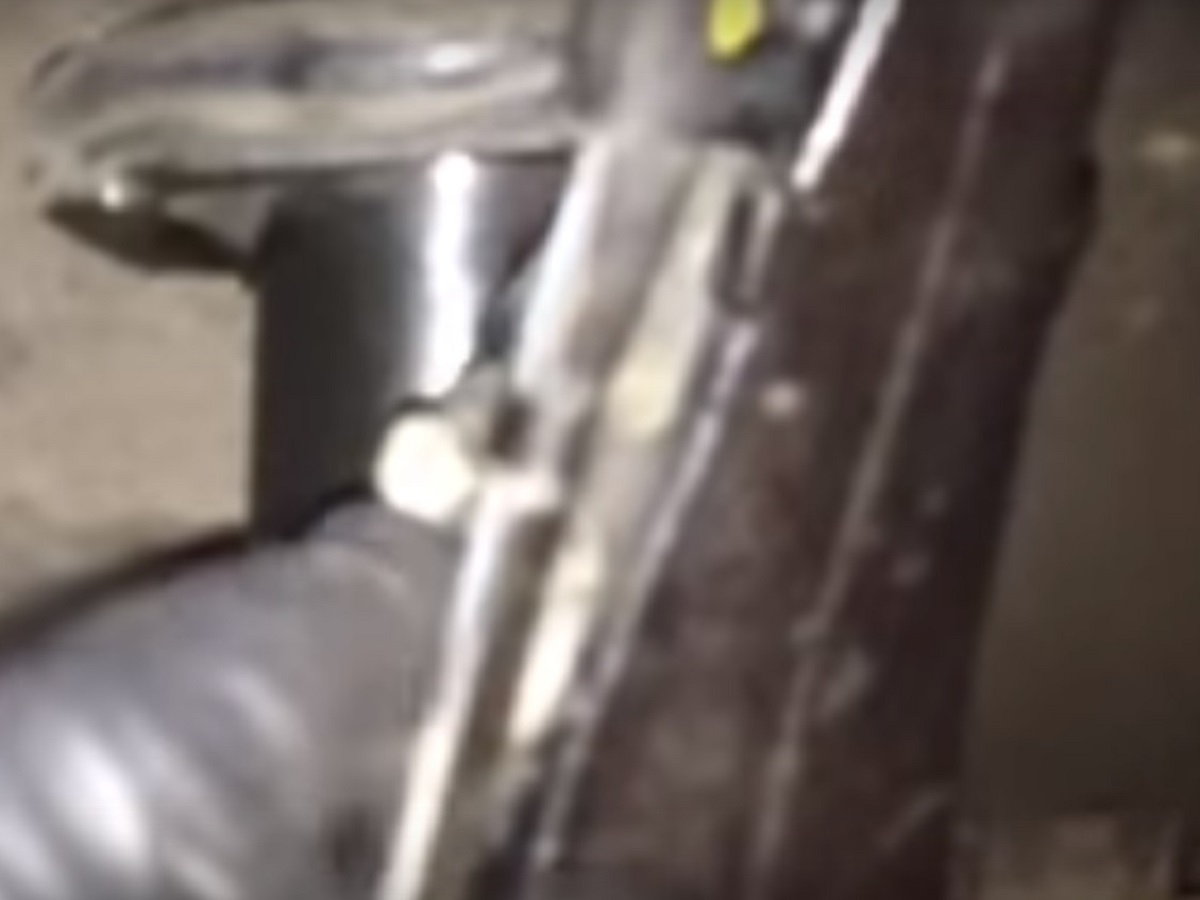
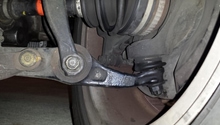
- Remove the cotter pins and bolts (17mm) from the upper and lower ball joints.
- Place the ball joint removal tool around each ball joint and use it to press them out. If the ball joints prove stubborn to remove, you can bang on the tool with a hammer to force them out.
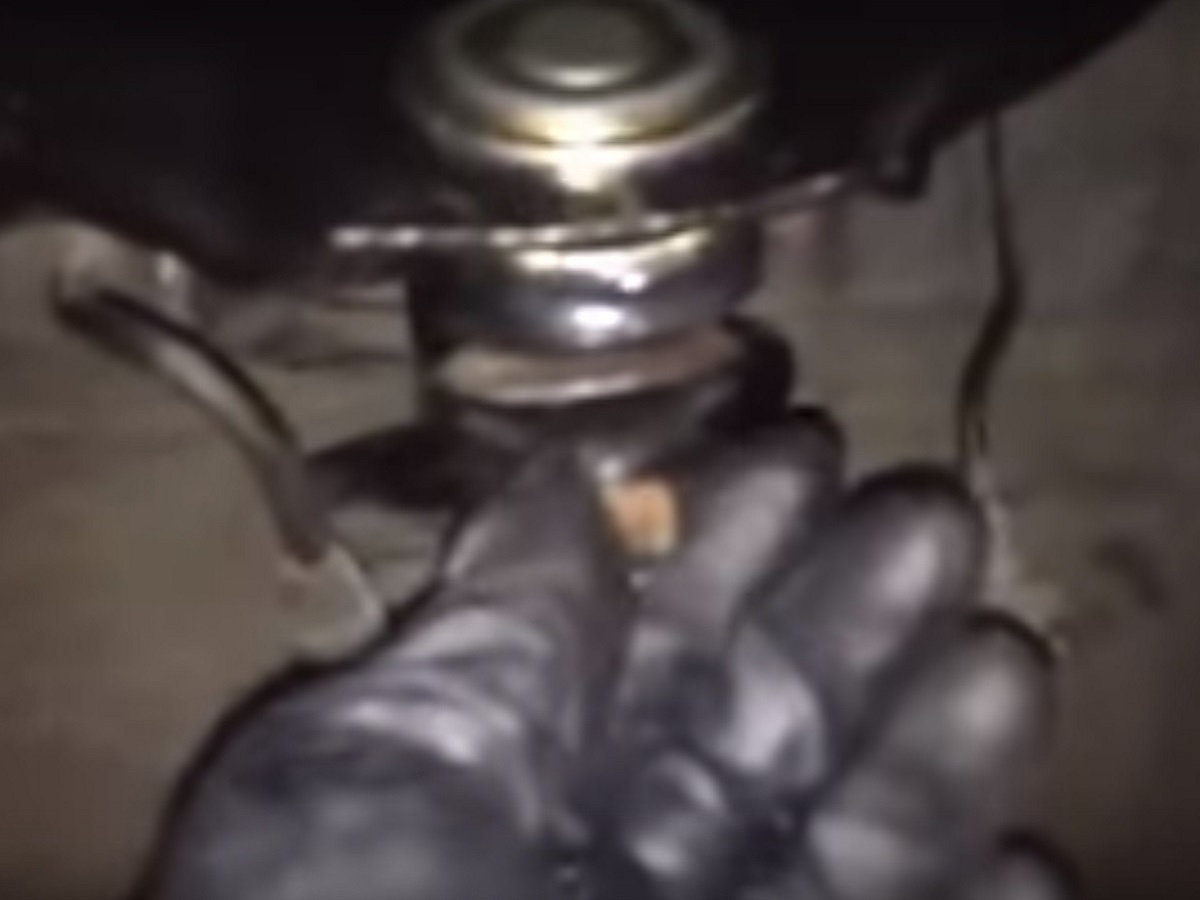
Figure 6. Remove the cotter pin and nuts from the ball joints. 
Figure 7. Remove the ball joints using the ball joint tool.
Pro Tip
If you also need or want to replace the control arms, it's much easier to simply swap them out at this point instead of just replacing the ball joints. They are also fairly cheap, coming with the ball joints for around $100 a pair.
Step 2 – Install new upper and lower ball joints
To press the new ball joints into the control arms, set a 1 1/8" socket on top of it and lay the control arm on a solid surface. Use a hammer to push the ball joint into the control arm until it's flush. Once the ball joints are in place, reinstall the upper and lower control arm in the car. Reinstall the cotter pins and bolts, axle nut, rotor, caliper, brake line, and ABS sensor. Reinstall the wheels and lower the car off the jack stands.
Featured Video: How to Remove Upper and Lower Ball Joints on Accord/TL
Related Discussions
- Front Lower Ball Joint Replacement - AcuraZine.com
- Lower Ball Joint Replacement - AcuraZine.com
- Lower Ball Joint DIY - AcuraZine.com
- FYI on Ball Joint Replacement - AcuraZine.com