Acura TL 2009-2014: How to Reset the ECU
You can easily reset the computer in your Acura TL, even if you know little about cars and don't have a garage. It only takes a few minutes.
This article applies to the 4th Gen Acura TL (2009-2014).
The engine, powertrain and electrical accessories in your TL all function together through the vehicle's engine control module computer, or ECU. Another of the ECU's functions is to alert the driver when there is an issue inside of the powertrain by lighting the Check Engine Light (CEL) and recording Diagnostic Trouble Codes (DTC). These codes help locate the trouble with a reference number you can use to look up and repair the issue. Resetting the ECU to clear the code and shut off the CEL can actually be done several ways. If you have time to wait, you can either disconnect the clock fuse or negative battery cable and wait 10 to 15 minutes. Although this clears the codes, it doesn't solve the problem or allow you to retrieve the DTC, and the CEL will eventually come up again. The proper procedure for resetting your ECU is explained below.

Materials Needed
- Scan tool
- Screwdriver
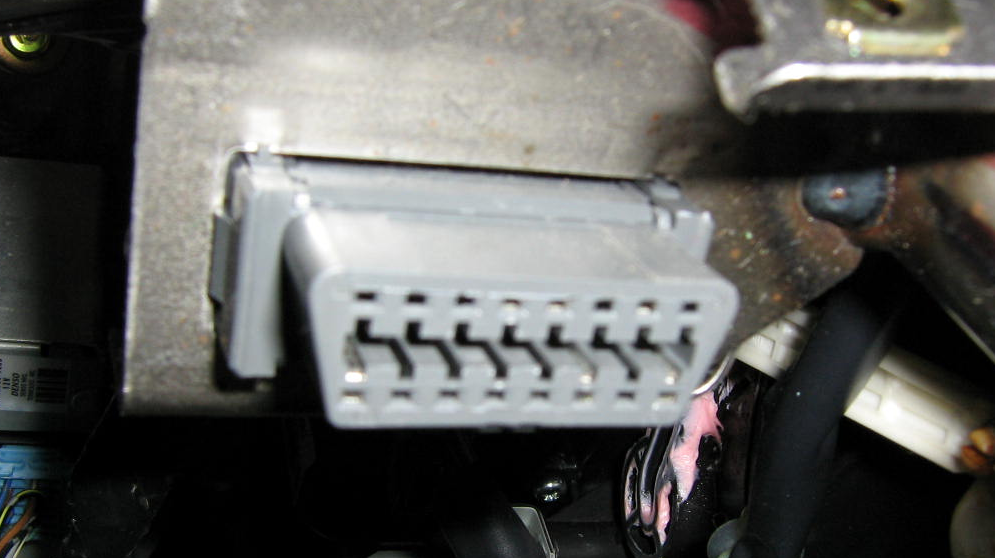
Step 1 – Locate the OBD-II port
Look under the driver side dashboard, toward the right side of the dash board; you should be able to make out the OBD-II diagnostic port. Use a screwdriver to remove the bottom dash panel if necessary.
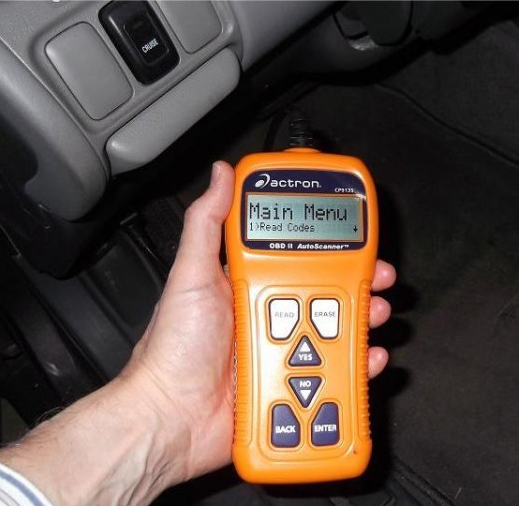
Step 2 – Turn the scan tool on and connect it
- Push the on button for your scan tool.
- Connect the scan tool to the diagnostic port.
- Turn the key to the on position, as the engine does not need to be running for this.
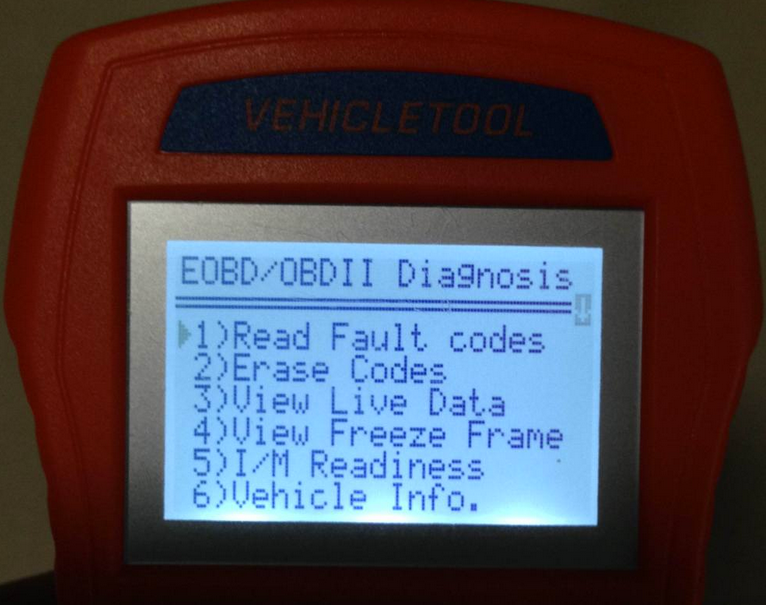
Step 3 – Scan for codes
Use the scan function on the tool to begin searching for error codes from the ECU. After the tool finishes searching, it will display the codes with any extra information (complex code readers generally offer more information). Here you need to write down all of the listed codes. Make sure to reference the code to a service repair manual so you can troubleshoot the problem prior to erasing the codes.
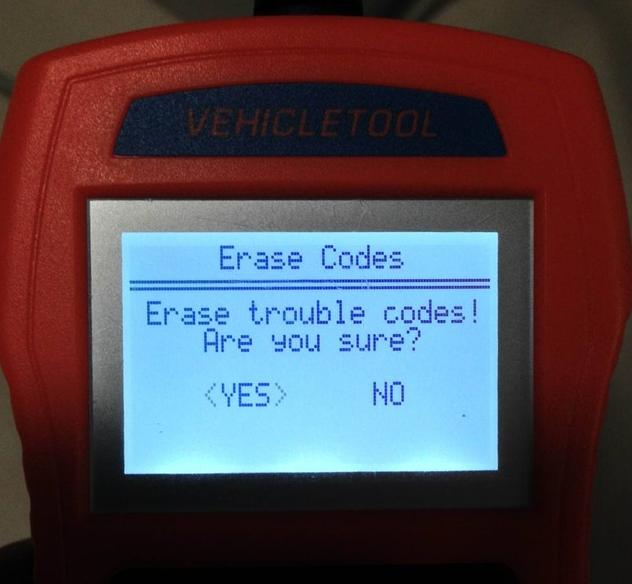
Step 4 – Erase the codes
- Scroll down to the erase codes function.
- Allow the tool to finish.
- Disconnect the code reader and turn the car on.
Related Discussions
- How to Reset Check Engine Light - AcuraZine.com
- Reset Check Engine Light on 2005 TL - AcuraZine.com