Acura TSX: How to Replace Brake Lines
Don't overlook your brakes or neglect the brake inspections during your routine maintenance. When it's time to replace those brake lines, don't be afraid to tackle this easy DIY job in your own garage.
This article applies to the Acura TSX (2004-2014).
Changing the brake lines in your TSX is not a difficult task. You may have reservations about messing with your brakes, and although that is warranted, you needn't shy away from the task. Although the brakes just may very well be the most important component on your car, don't let that deter you from completing this easy DIY project. You don't need any special tools or skills, just some free time and a little cash. Of course, if you insist on paying an arm and at least a good chunk of your leg, you can have a pro do the job for you. Save your hard-earned cash for those mod jobs you've been pushing aside and do this one yourself.

Materials Needed
- Ratchet and 10, 12 and 14 mm sockets
- 19mm socket and breaker bar
- Jack and jack stands
- Vice grips
- Flair wrench or Crescent wrench
- Shop rags
- Penetrating spray
- Shop rags
- Drain pan
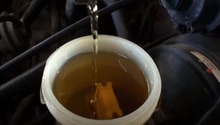
- Replacement brake fluid
- Replacement brake lines
After you replace your lines you will need to properly bleed the lines, as you will have induced a lot of air into the system.
Step 1 – Jack up your car and remove your tire
- Use your 19mm socket and breaker bar to loosen the lug nuts on the wheels.
- Jack up your TSX using the approved jacking locations and place on jack stands.
- Pull the tire from the brake line(s) that you wish to replace.
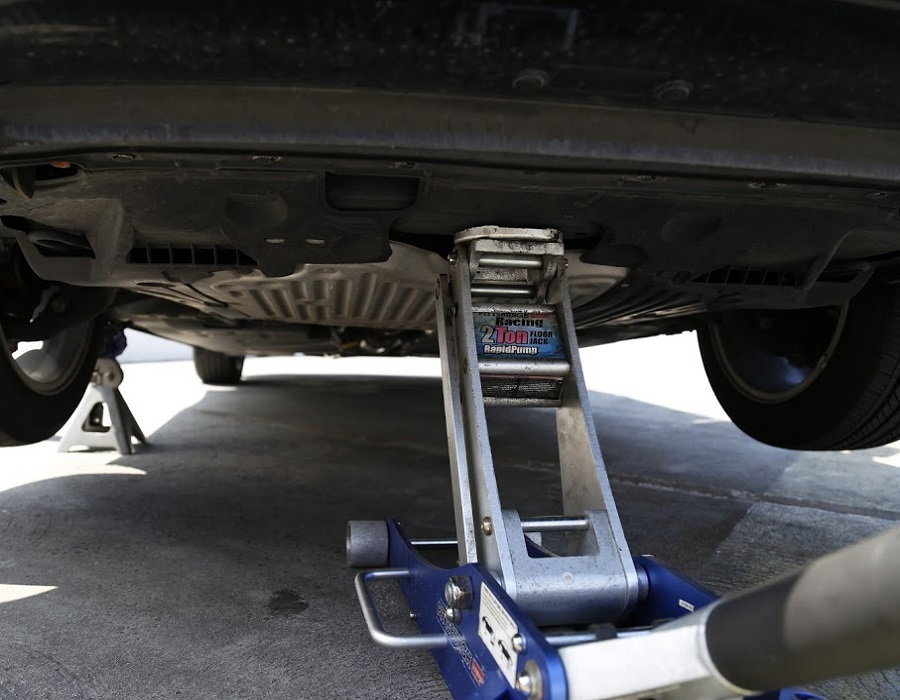
Figure 1. Front jack point. 
Figure 2. Set your jack stands. 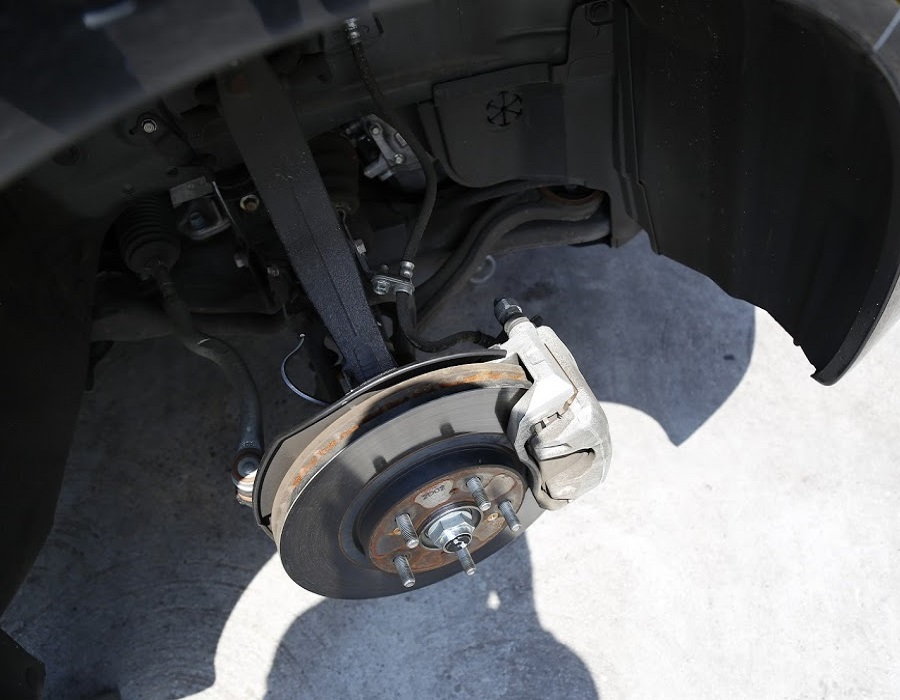
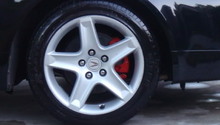
Figure 3. Remove wheel.
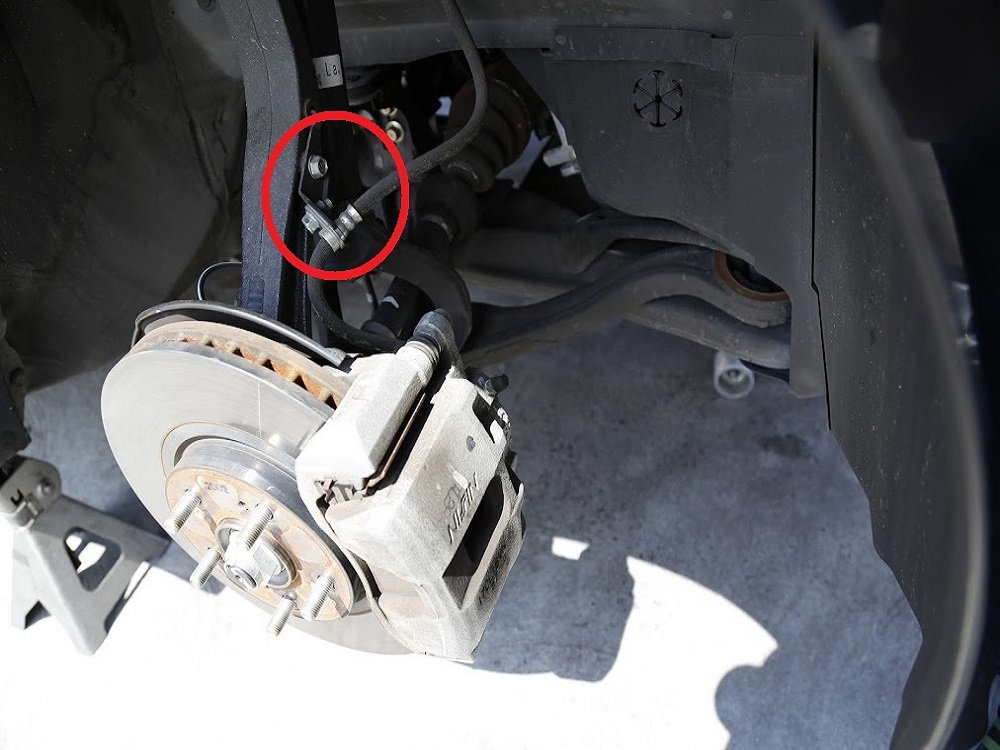
Step 2 – Remove the brake line bracket
Slide your catch pan under the area where you are working. Brake fluid will start to pour out of the line when you pull it, and the fluid is really caustic to paint. It is also very slick, so have plenty of shop rags on hand and protect your painted surfaces as it will immediately start to eat the paint away if it comes in contact with it. Use a 12 mm socket on the bolt holding the bracket as well as the other two 10 mm bolts. The bracket is now free, but the line is still connected to the caliper via the Banjo bolt.
Step 3 – Disconnect the brake line at the caliper
The brake line is connected to the caliper via a Banjo style bolt. When you loosen this 14 mm Banjo bolt, you will start leaking brake fluid, so have your drain pan at the ready. There is also a washer that will likely be stuck on the caliper fitting. Remove this washer and consider replacing it with a new one.
Step 4 – Remove flex line from hard line
This step is a little tough. You may want to give a liberal dose of WD40 or PBBlaster and let it soak in.
You will need to use a vice grip or some other clamp on the lower nut while you loosen the upper nut. The upper nut can strip really easily, so be sure to use the right tool to get on it properly. A Crescent wrench with a stubby handle or a 10 mm flair wrench will work well.
Once the upper nut is loosened, there is a clip that needs to come off with a flat head screwdriver. The flex line should pull right off of the hard line. Have your oil pan located under this area as well to catch the fluid that is going to run out.

Figure 6. Use flare nut wrench and remove brake line. 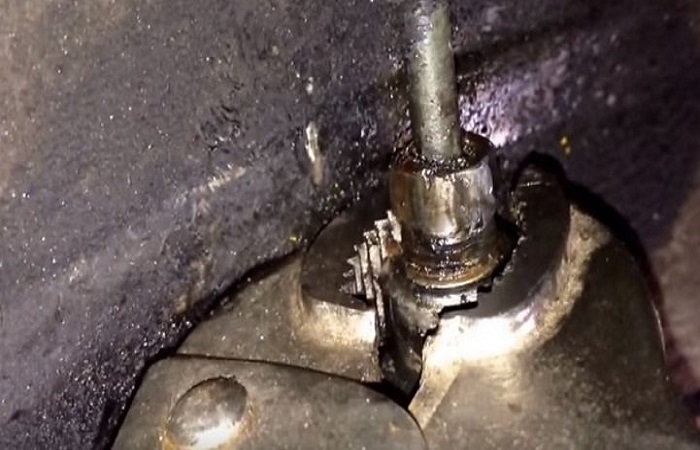
Figure 7. Use a vice grip on the lower nut while you loosen the upper.
Step 5 – Install the new brake line
Make sure that your new line is the same length and diameter as the old, and it will go on in the reverse order.
- Install the new line over the hard line, replace the retaining clip, and tighten down the upper nut while holding the lower solid with your grips.
- Replace the other end onto the Banjo bolt and, using a new brass washer, tighten the Banjo back in place on the caliper.
- Reconnect the brake line bracket and tighten down the three retaining bolts.
- Repeat this process for the other brake lines if you are replacing any others.
- You will need to properly bleed the brake lines to remove any air that is trapped in the new lines.
Step 6 – Bleed the brakes
Since you have opened the braking system, you have allowed air into the system, rendering it near useless. So you will need to purge the air from the system. To do so, you will need a helpful companion.
To bleed the brakes, you will need to first fit a tube on the back of the brake caliper's bleeders, running into a catch pan. Then, you must have your assistant pump the brake pedal until it firms, and then hold it down as you open the 8 mm bleeder on the back of the brake calipers. Fluid will run out once the bleeder is opened. After a few seconds, tighten the bleeder and then repeat the process of pressurizing the system and opening/closing the bleeder until the fluid leaving the calipers is free of air bubbles.
[Related Article: How to Bleed Your Brakes - AcuraZine.com]
Featured Video: How to Replace Brake Lines on Honda Accord
Related Discussions and Site
- DIY on Replacing Rubber Brake Line with Stainless Steel - TSXclub.com
- Anyone Using Stainless Steel Lines - AcuraZine.com
- Goodridge S.S. Brake Lines - AcuraZine.com