Acura TSX: How to Replace Starter
Has your starter gone bad, leaving you stuck in the driveway? This article will walk you through the process of replacing your starter motor so you can get your TSX rolling again.
This article applies to the Acura TSX (2004-2014).
The starter is just one of many components that reliably (at least for a period of time) start your car when you turn the key, time after time. While starters generally last for a pretty long time, like any other electrical or mechanical component, they eventually wear out and need to be replaced. If you experience grinding or whining noises, see smoke or leaking oil by the starter area, or get nothing when you try to turn the key, you likely have a bad starter. Keep reading and we'll walk you through the steps to replace it.

Materials Needed
- Regular and long 3/8" ratchet
- 8, 10, 12, 14, 17mm sockets
- (2) 3/8" extensions
- 10 and 12mm combination wrench
- Channel lock pliers
- Needle nose pliers
- Phillips head screwdriver
- Flat head screwdriver
- Replacement starter
- Penetrating oil
- Magnet tool
- 12mm bolt 8mm in diameter
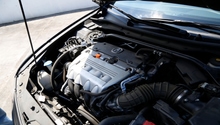
Step 1 – Remove the intake manifold
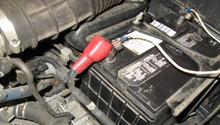
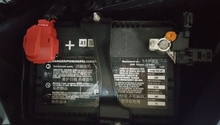
- Pop the hood and disconnect the negative battery terminal before you begin.
- Remove the two 10mm nuts from the manifold cover and lift the cover off.

- Loosen the screw on the air intake hose clamp and pull the hose off.
- Disconnect the electrical connector on the front of the intake manifold.
- Remove the 10mm bolt located by the bottom of the electrical connector as well as the 10mm bolt that holds the wiring in place up near the top.
- Use your pliers to lift up the hose clamp on the hose going into the intake manifold and pull up on the hose to remove it.
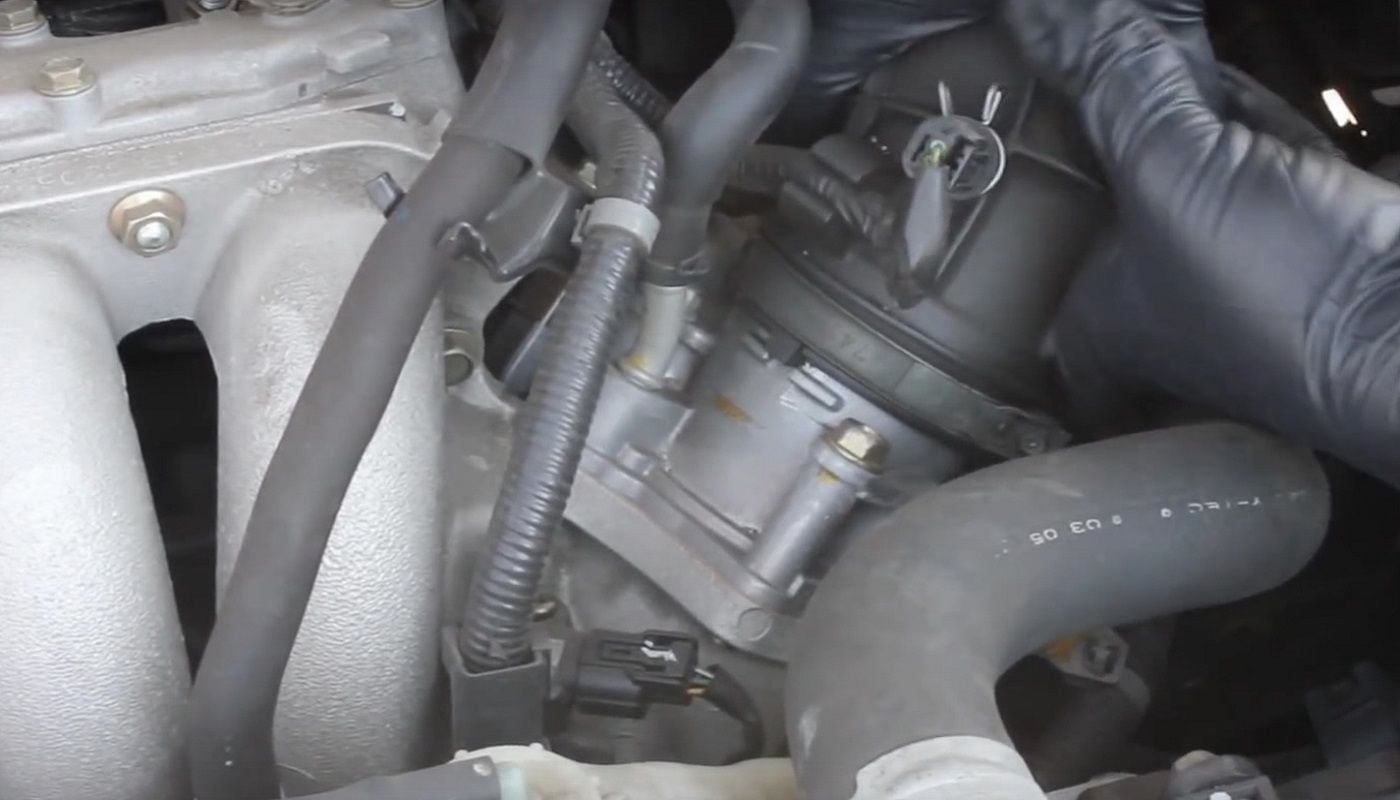
- Use your needle nose pliers to remove the clamps on the two hoses to the right of the intake manifold and disconnect the two electrical connectors so that the entire assembly is out of the way. If you need more room, you can remove the air box assembly (four 8mm bolts and an electrical connector) at this point, but it isn't necessary.
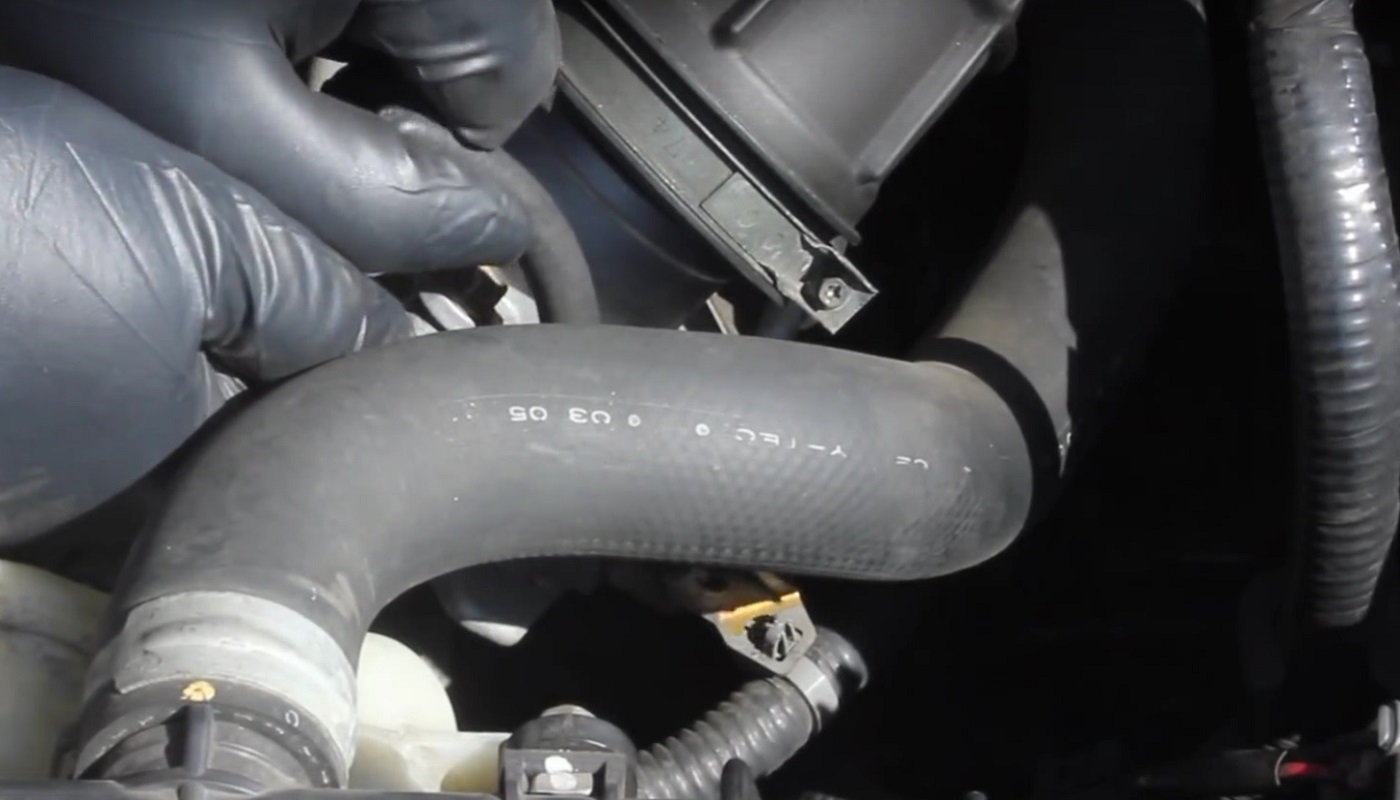
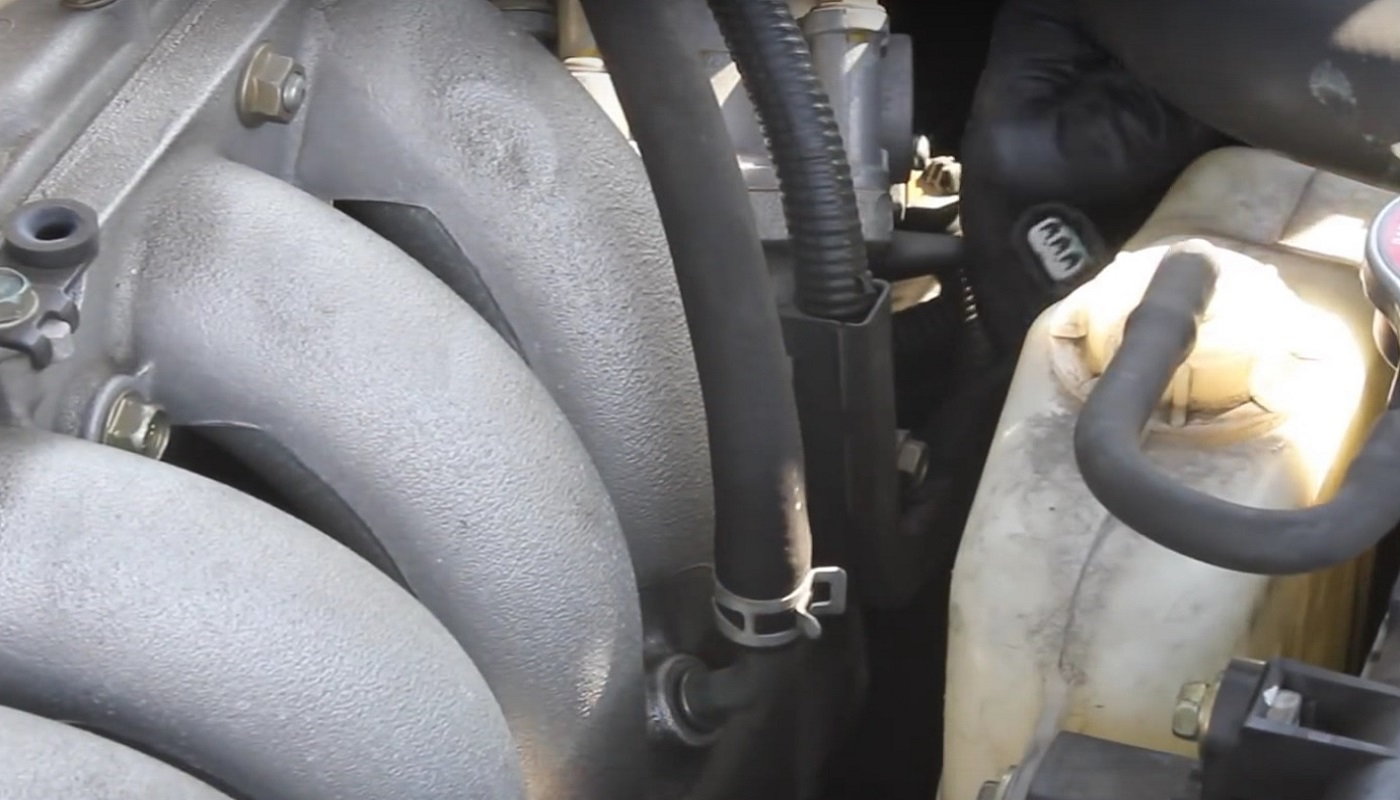
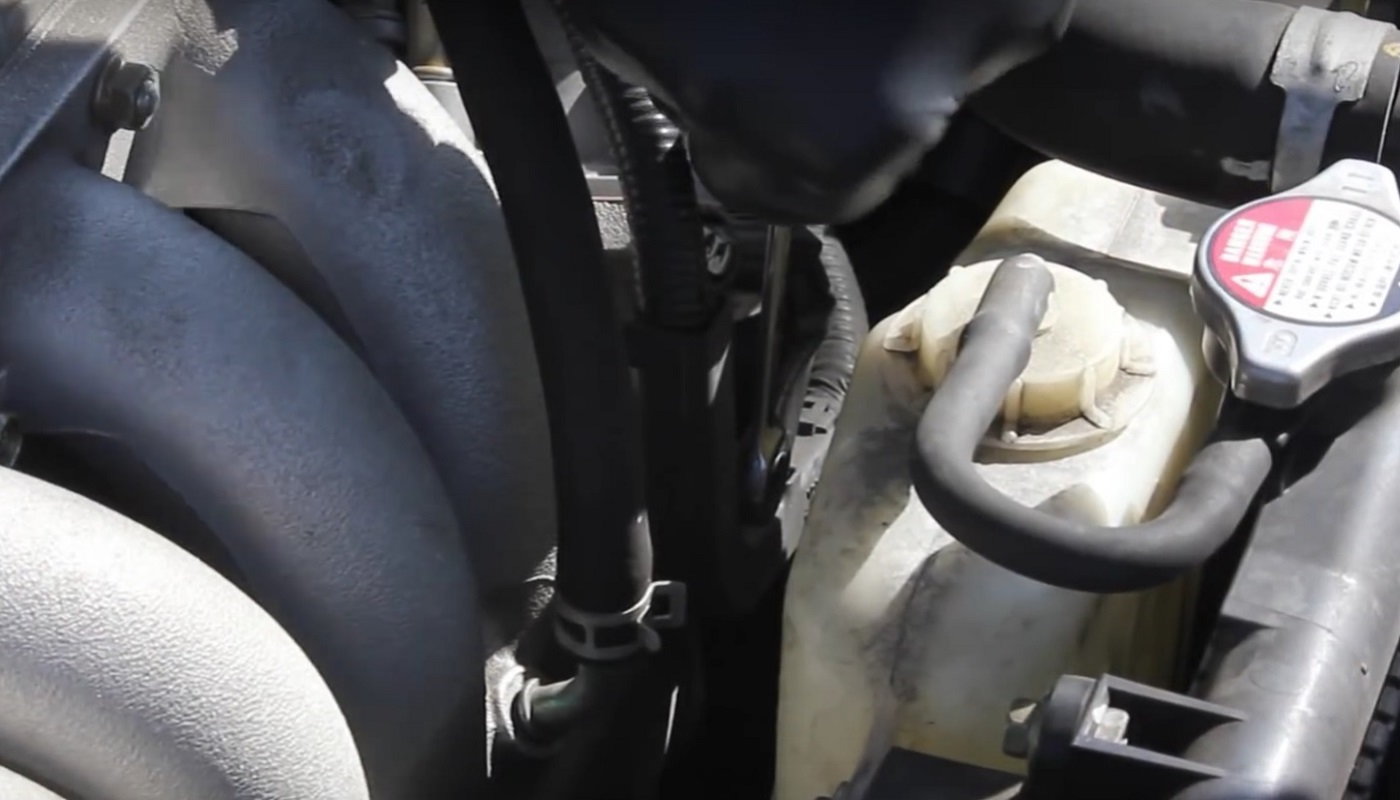
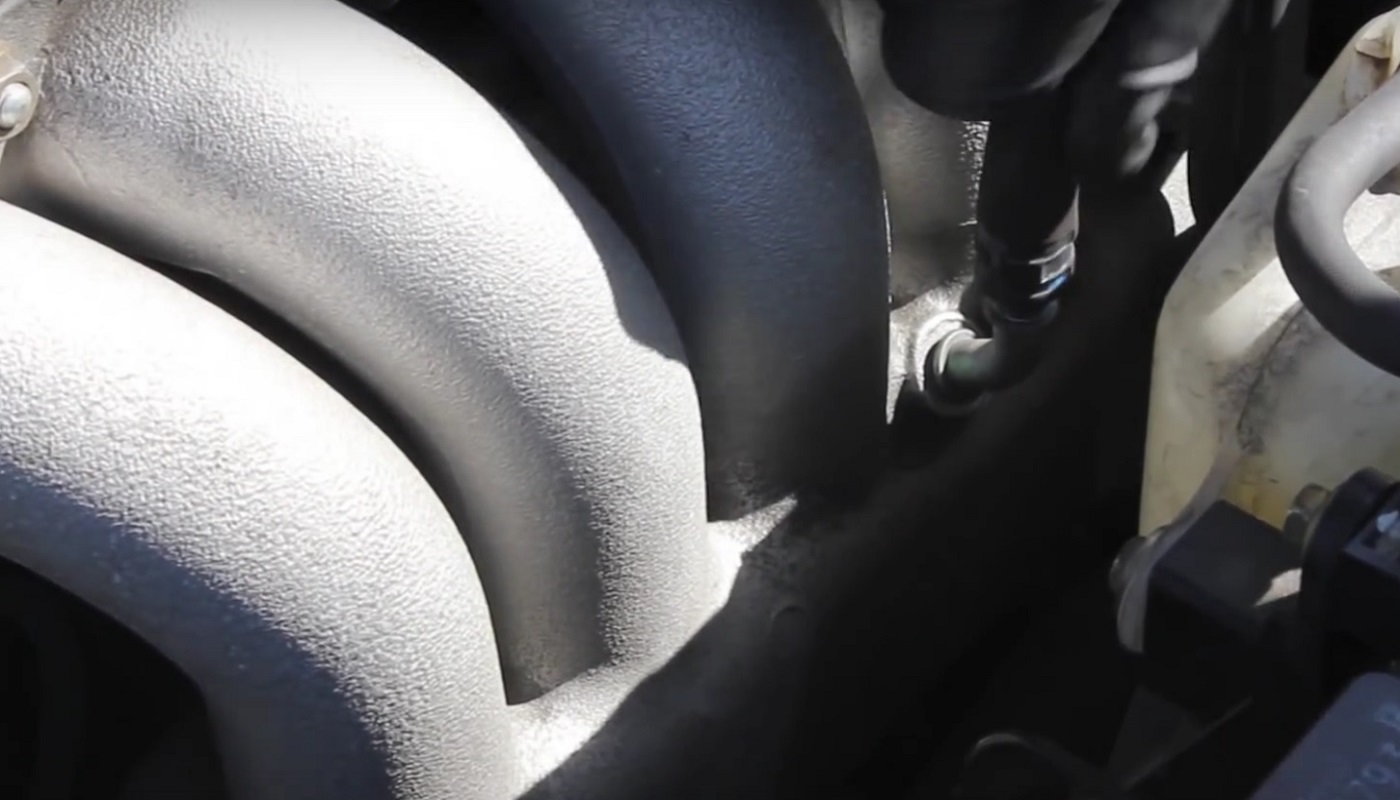
- Pull the two coolant hoses and use the 12mm bolt to plug the bottom one.
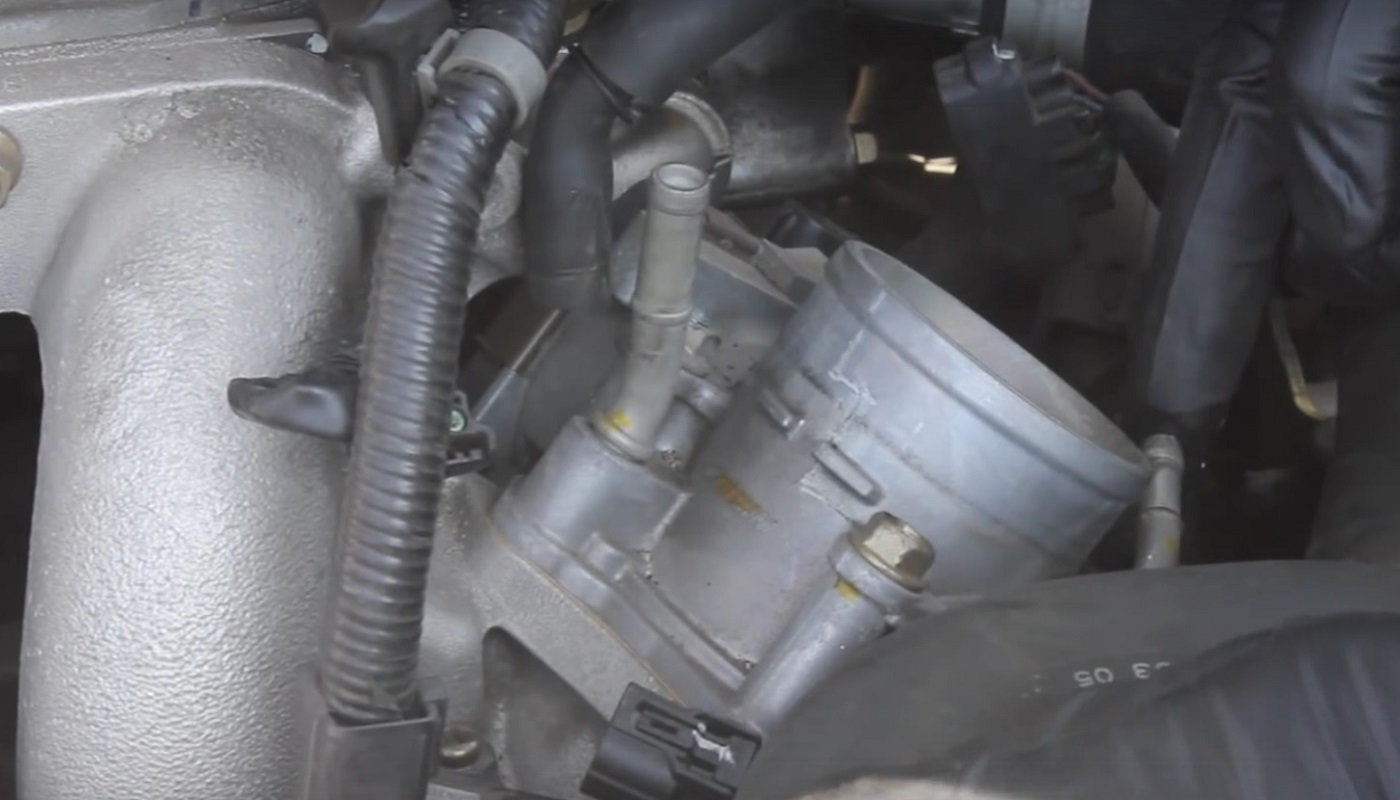
- Remove the three bolts and two nuts holding the intake manifold in place.
- Crawl under the car and remove the dust shield (pry the center of the clips up with a flat head screwdriver, then remove).
- Remove the 12mm nut holding the intake manifold to the black bracket, then pull the manifold off.

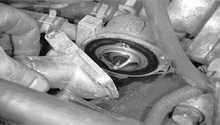
Step 2 – Replace the starter
Remove the wire on top of the starter, then use pliers to disconnect the connector on the right side. Use a 12mm wrench to remove the nut on top of the starter that holds the other wire loom in place and remove it. Remove the two bolts holding the starter in place, one on the top (14mm) and one on the bottom (17mm). Pull the starter out. Slide the new starter in place and replace the two bolts. Reconnect the wire, wire loom, and bolt. Snap the connector back in place.
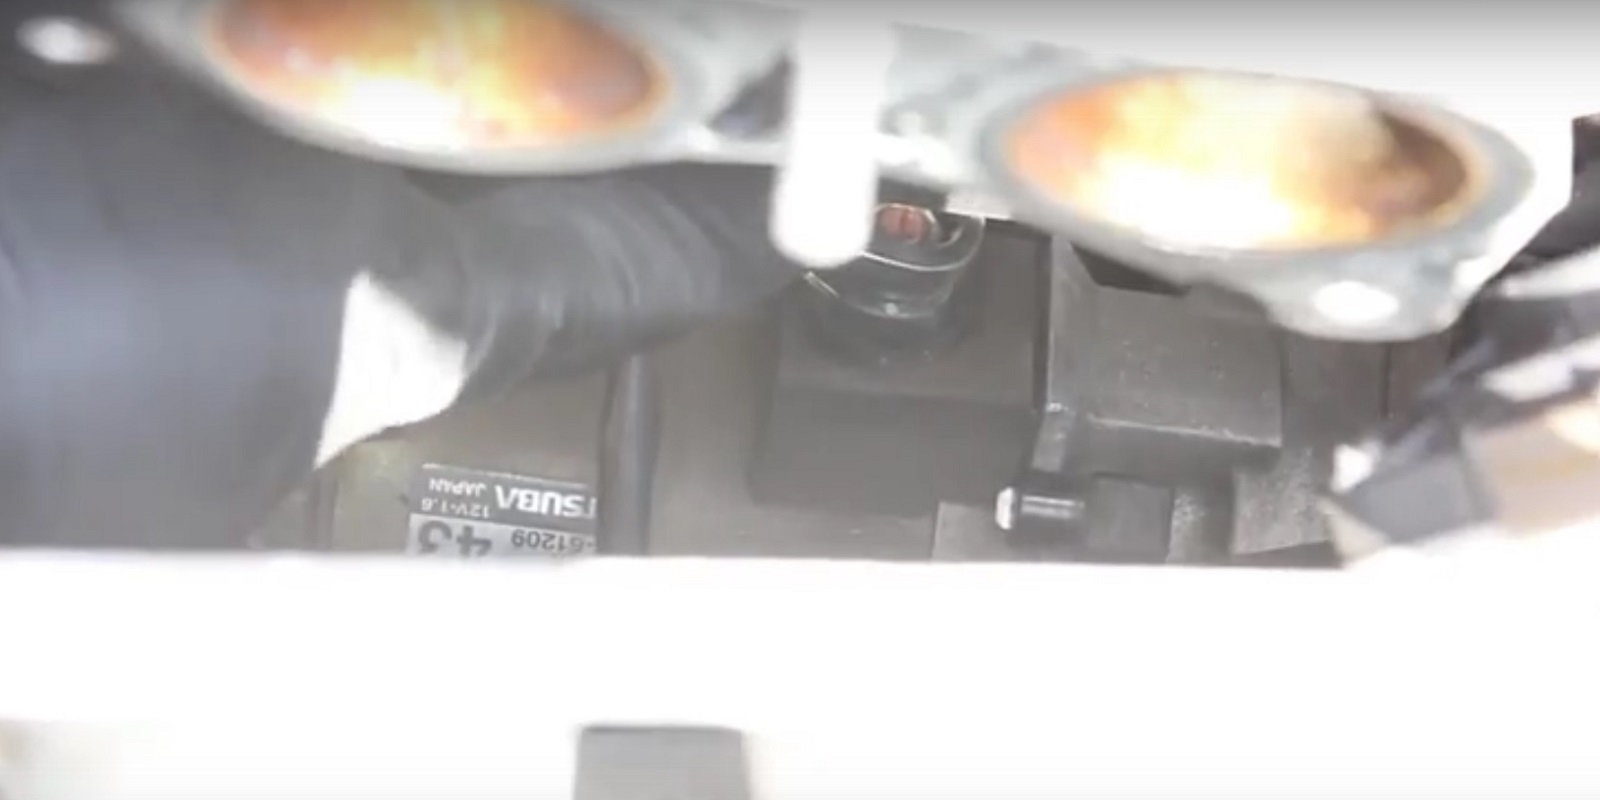
Figure 9. Remove the 10mm bolt holding the wire loom to the starter. 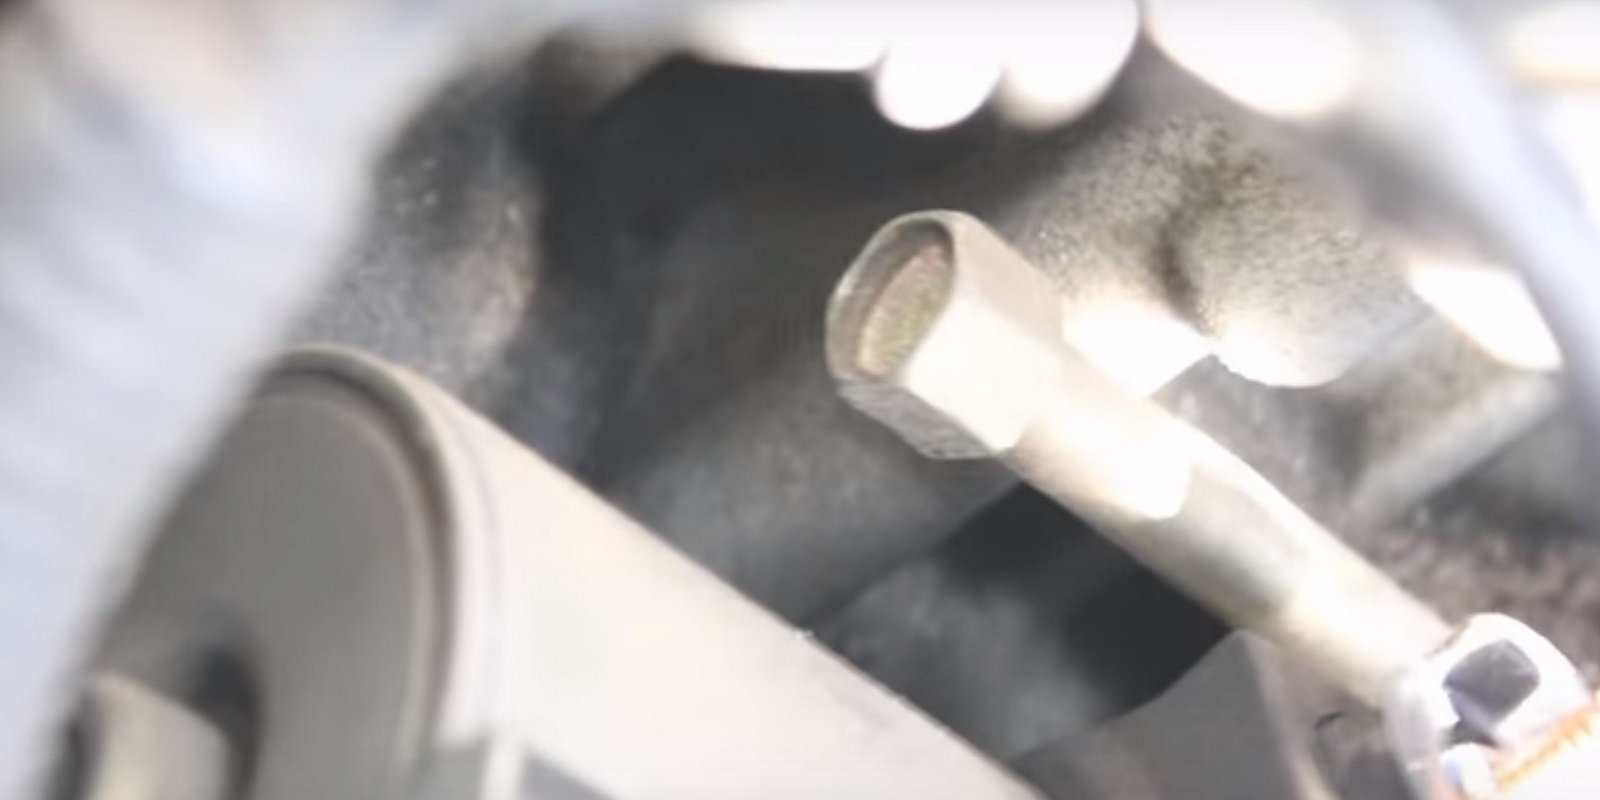
Figure 10. Remove the two bolts holding the starter in place.
Step 3 – Reassemble everything
Set the intake manifold back in place and replace the nuts and bolts. Reconnect the electrical connectors, nut on the bracket, and replace the underbody shield. Reconnect the coolant hoses, electrical connectors, and clamps you removed. Reinstall the air intake hose and clamp as well as the intake manifold cover.
Featured Video: Starter Removal and Install on TSX
Related Discussions
- TSX Starter Replacement Guide - AcuraZine.com
- TSX Starting Problem - AcuraZine.com
- Loud Clunk on Start-up - AcuraZine.com
- Car Won't Start - AcuraZine.com
- TSX Not Starting - AcuraZine.com