Acura TSX 2009-2014: How to Remove the Front Bumper
Replacing the front bumper in the Acura TSX is a lot easier than you may think; learn how to do it below.
This article applies to the 2nd Gen Acura TSX (2009-2014).
The bumpers are there on your Acura TSX to protect it. Whether you have a small gouge, a crack, or you want an aftermarket front bumper cover, knowing how to replace it yourself can save you a good chunk of money. Although it only takes simple removal of some clips and screws to take it off, it's recommended that you have someone to help you in order to ensure you don't scratch the car or the new bumper. Gather some basic tools, a new bumper cover, and read on to learn how to remove the old one to install the new one in your Acura TSX.

Materials Needed
- Socket
- Phillips screwdriver
- Flat head screwdriver
Step 1 – Remove radiator cover
The radiator cover is held in place by eight clips. Open the hood, then use your flat head screwdriver to pry out the center of the clip. Insert the screwdriver between the two plastic parts of the clip, pry the center part up, and you should be able to remove the whole clip. Remove the cover out of the way.
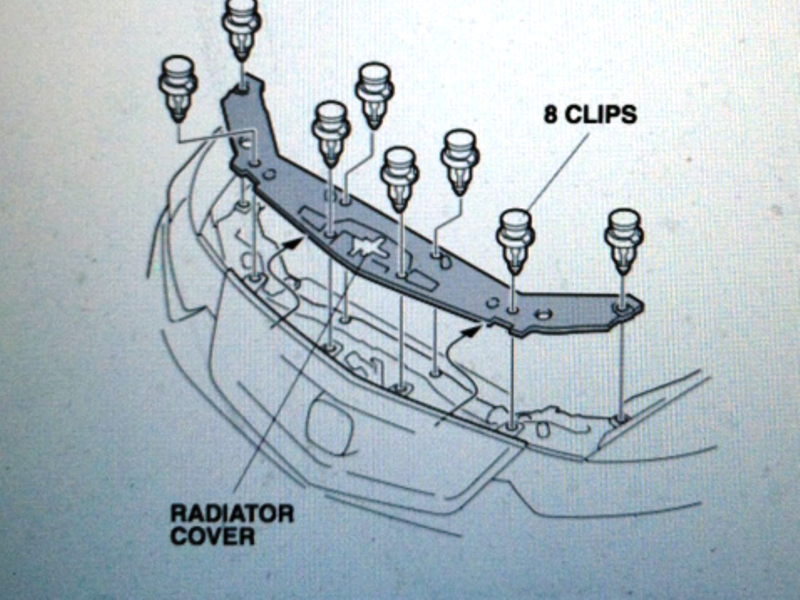
Figure 1. Remove radiator cover. 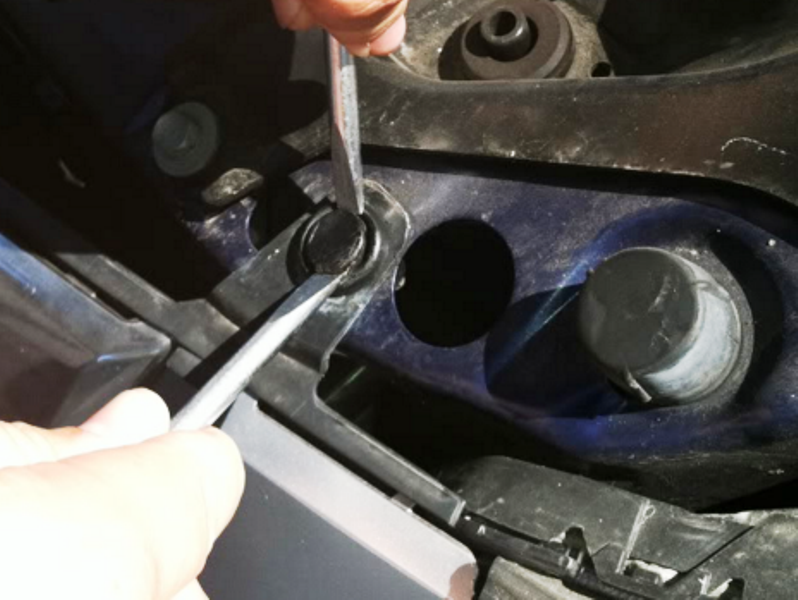
Figure 2. Pry off eight clips.
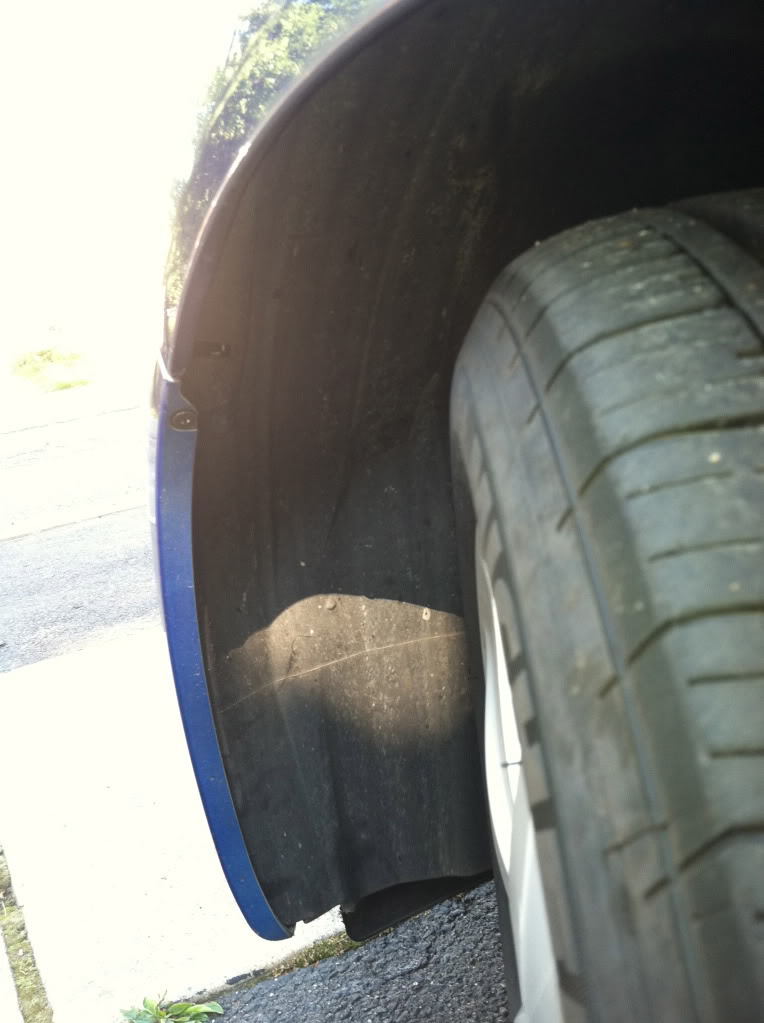
Step 2 – Remove two screws
There are two Phillips screws holding the front bumper to the wheel well, one on each side. Use your Phillips screwdriver to remove them.
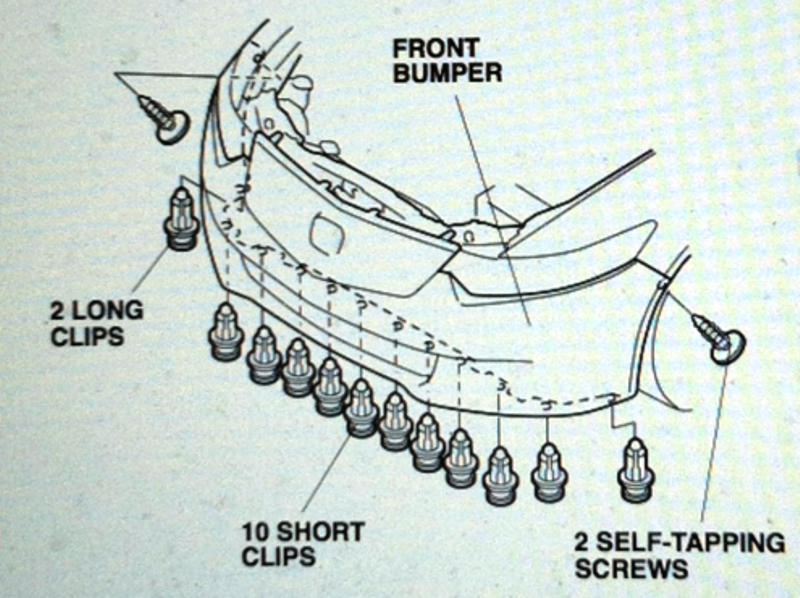
Step 3 – Remove bumper clips
Locate the 12 clips on the bottom of your bumper, then use your flat head screwdriver to pry them off, the same way you removed the radiator cover in Step 1. There should be 10 clips on the bottom, and two longer ones on the edges.
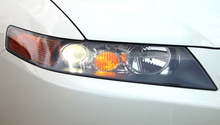
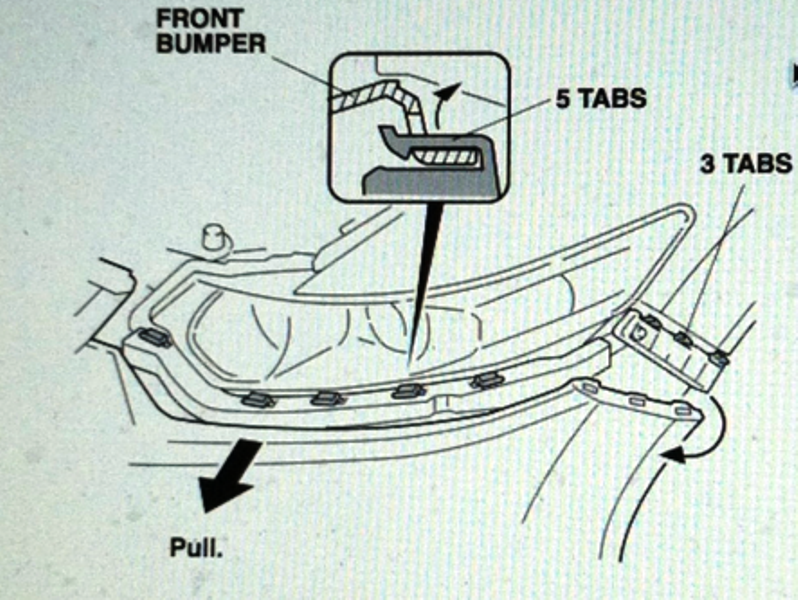
Step 4 – Unclip tabs
There are eight built-in tabs on each side that hold the bumper in place. Simply, and gently, start pulling on the front bumper on one side, right by the headlight, then go to the other side and do the same to release the other eight tabs.
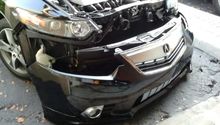
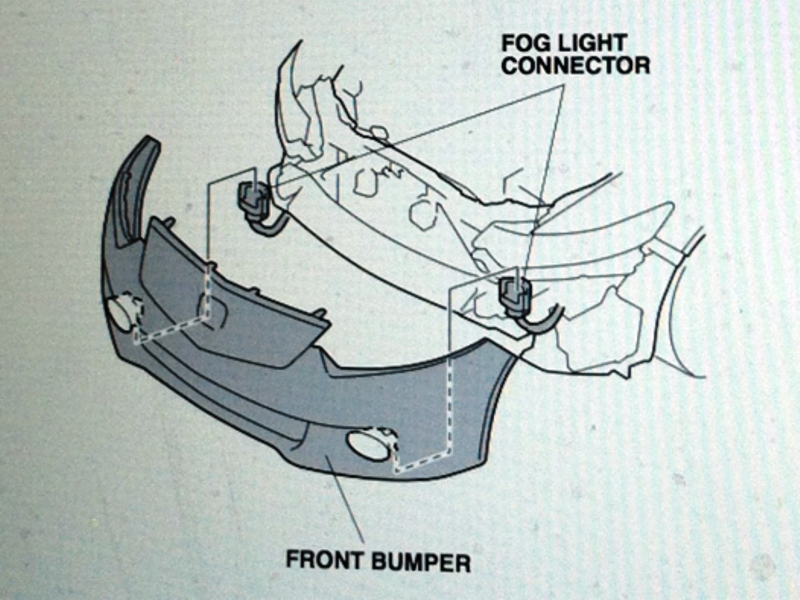
Step 5 – Remove front bumper
It's recommended you ask a friend to remove the bumper with you so you don't cause any damage. Pull the bumper straight out to remove, but stay close to the car. Once you remove the bumper a little, disconnect the fog light connectors from the front bumper. You simply need to turn them counter-clockwise for half a turn, then pull them out.
Step 6 – Install new bumper
Bring the new bumper cover close to the installed position, so you can connect the fog lights. Align the cover in place with the help of your assistant, then press it into the eight tabs. Install the 12 clips on the bottom, then install the two Phillips screws from the wheel well to the bumper. Finally, re-install the radiator cover and you are done.
Related Discussion and Article
- How to Replace Front Bumper - AcuraZine.com
- How to Remove Rear Bumper - AcuraZine.com