Acura: How to Clean Your Engine Bay
Due to its exposure to outdoor elements, the components within an engine bay can quickly cake up with dirt and grime. This not only looks bad, it can also lead to a breakdown.
This article applies to all Acura vehicles.
Keeping an engine bay clean of dirt and grime is not only important to ensuring it looks good, it keeps everything running top notch. To give the area a proper cleaning, you’ll need to do a bit more than just spray the area with a hose—you’ll need some soap, protectant spray, and a couple of other tools to do the job right. Fortunately, it is a quick chore that can be done in a short amount of time.

Materials Needed
- All purpose cleaner
- Protectant spray
- Brush/sponge/microfiber towels
- Air compressor
- Hose
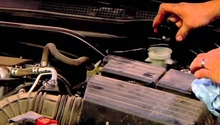
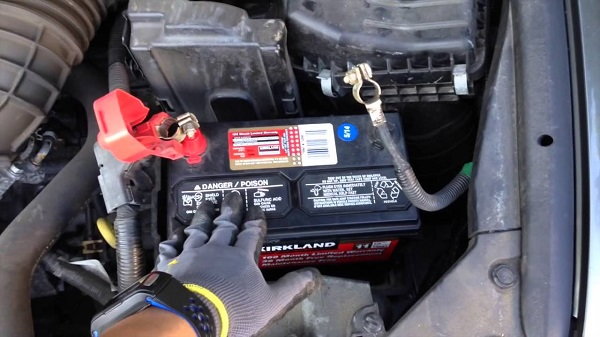
Step 1 – Cover the terminals of the battery
To make sure your vehicle will start right up for you after finishing this job, it is important to safeguard the battery against water and chemicals.
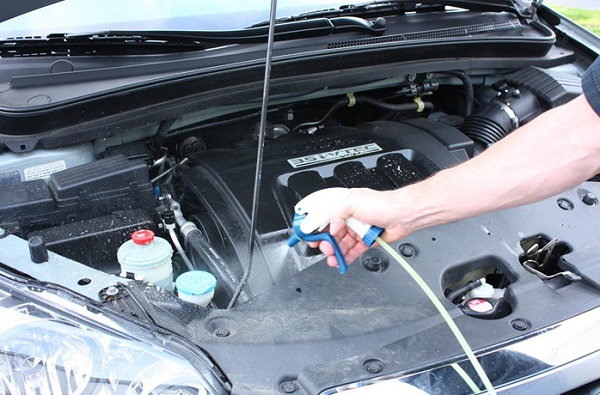
Step 2 – Cover the remaining surface with auto wash
Choose a gentle cleaner like P21S Total Auto Wash; going with something a bit softer allows you to apply the soap to just about any area of the car. Allow to sit for a few minutes so it can break down dirt and grime.
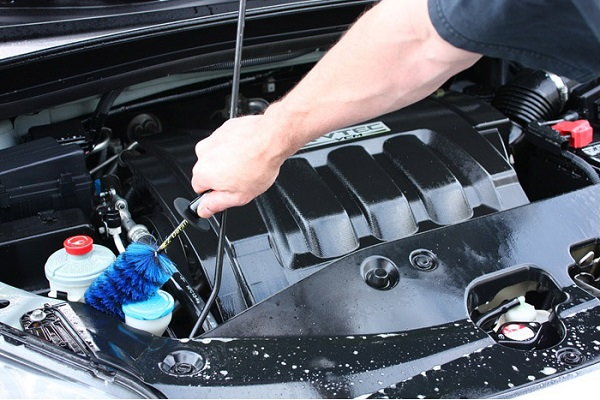
Step 3 – Agitate areas of heavy buildup
For areas that require a little manual break down, use your brush or sponge to agitate the buildup, and breakdown any areas of compounded grime.
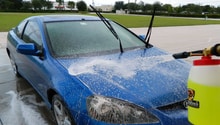
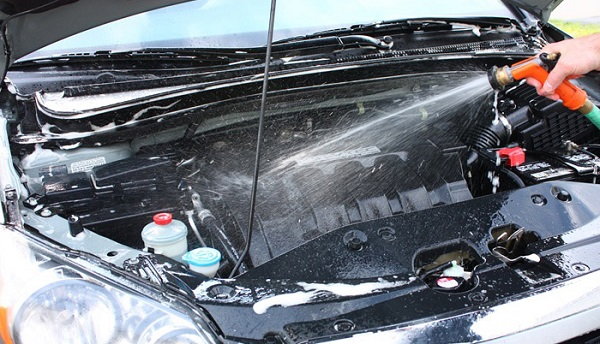
Step 4 – Spray with water
Once everything’s been brushed and wiped, rinse away the soapy grime with a spray of water. Begin with the underside of the hood, then work your way into the engine compartment. If you’re to do it in the reverse order, you will risk having dirt/grime drip from the hood down into the bay area.
Take your time and be thorough.
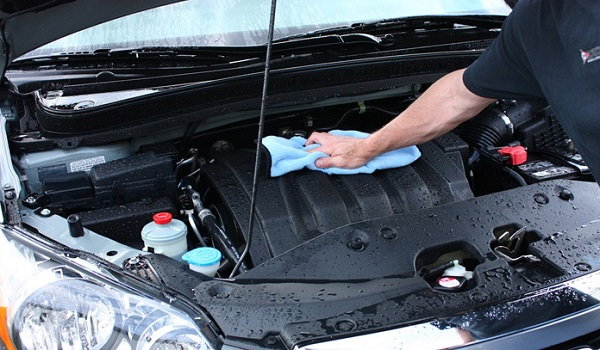
Step 5 – Dry the area
If you have a compressed air machine, use it to blow away all areas of standing water. If this is not the case, use a towel to wipe it all down. Finish it all off by starting the engine and allowing it to run for a few minutes—this will force all remaining water to evaporate away.
Step 6 – Spray protectant
Finish the cleaning off by applying a layer of protectant spray to all plastic and rubber; wipe down to reveal a matte finish. Not only will it make the bay look good, it’ll protect the components from general wear and tear.
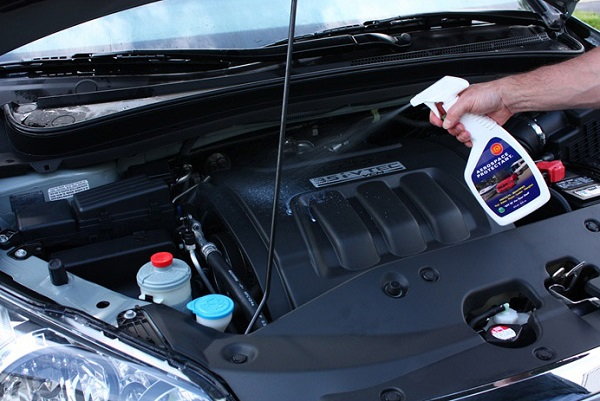
Figure 6. Before the application. 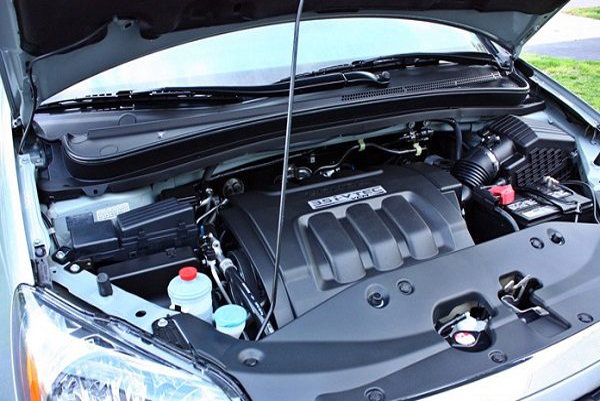
Figure 7. After; look at that shine.
Related Discussions
- How Clean Engine Bay - AcuraZine.com
- Cleaning Engine Bay - AcuraZine.com
- Engine Cleaning Any Tips - AcuraZine.com
- How Clean Engine Bay - AcuraZine.com
- Pics Clean Engine Bay - AcuraZine.com