Acura: How to Plasti-Dip Wheels
Putting Plasti-Dip on your Acura's rims will give your wheels the look you desire without having to purchase aftermarket wheels. You can do it yourself, and we'll show you how.
This article applies to the Acura TL, RDX, MDX, TSX (2000-2016).
Replacing the rims on your Acura could end up costing you close to a thousand dollars, plus the price of new tires. Spraying Plasti-Dip to change the look of your wheels has a few benefits, besides the cost savings, because not only can you control how your wheel's look, you can make them any color, and it will also protect them from little scratches. The best part is that you can easily peel it off when you've had enough, and go back to a raw alloy look, or make them a different color. You will be surprised at how much this modification can change the whole look of your Acura, giving it a mysterious, dark look, or a bright, happy look. Plasti-Dip is easy to work with, and we'll show you all the tricks you need to know to make it quick and easy.

Materials Needed
- Plasti-Dip paint
- Jack and jack stands
- Tire iron
- Newspaper
- Painter's tape
Step 1 – Remove the wheel
Loosen the lug nuts on the wheels you will be painting, then raise the car. Use the factory front jack pad to raise the front, and the rear center pad to raise the rear, then secure the car with jack stands. The jack stands go on the frame rails, along both sides. Remove the wheels you will be painting.
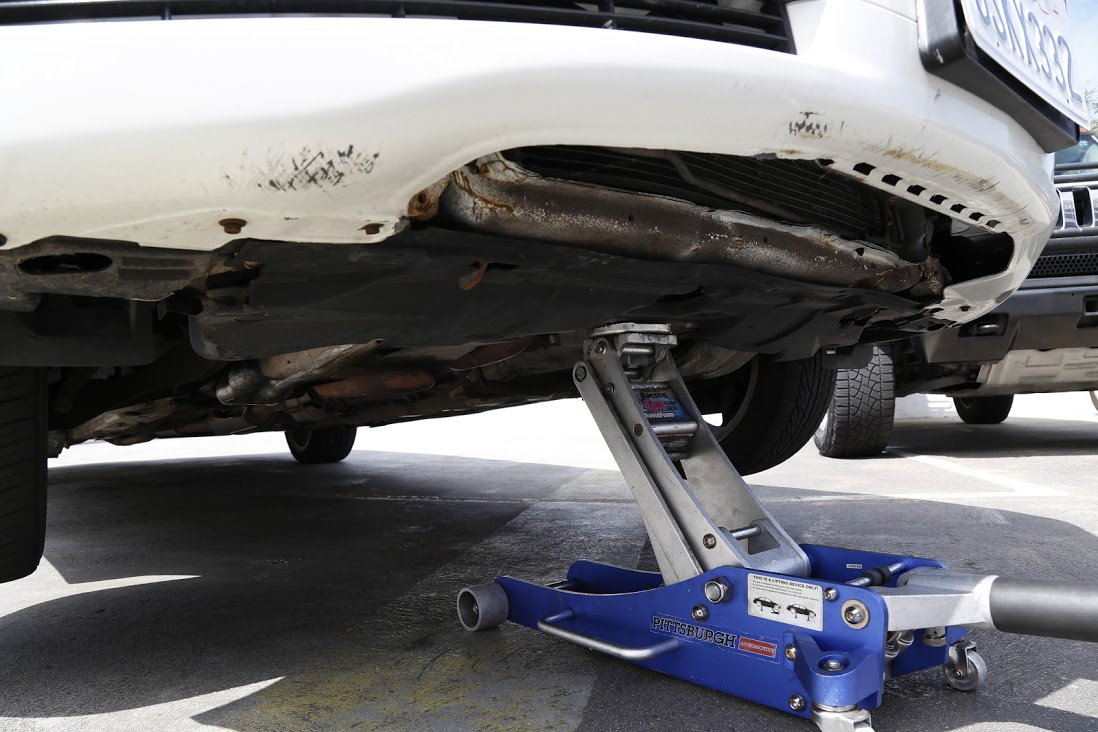
Figure 1. Front jack point. 
Figure 2. Rear jack point.
Pro Tip
Look in your owner's manual if you are unsure about where to put the jack or jack stands on your specific model.
Step 2 – Mask the tire
Use newspaper and painter's tape to cover the parts that you don't want paint on. It's good to take the wheel away from the car, to avoid getting over-spray on your car's surface. Cover the tire, and anything else that you want to keep the finish it is.
Step 3 – Clean wheel
You don't have the get the wheels as clean as you would want them for painting, but you do want to get all the brake dust and dirt off of them. Use soapy water and a sponge to wash them, then dry them with a towel, making sure to do all the spokes. For best results, after washing, wipe the rims down with glass cleaner or rubbing alcohol to remove any residual oils from your fingers.
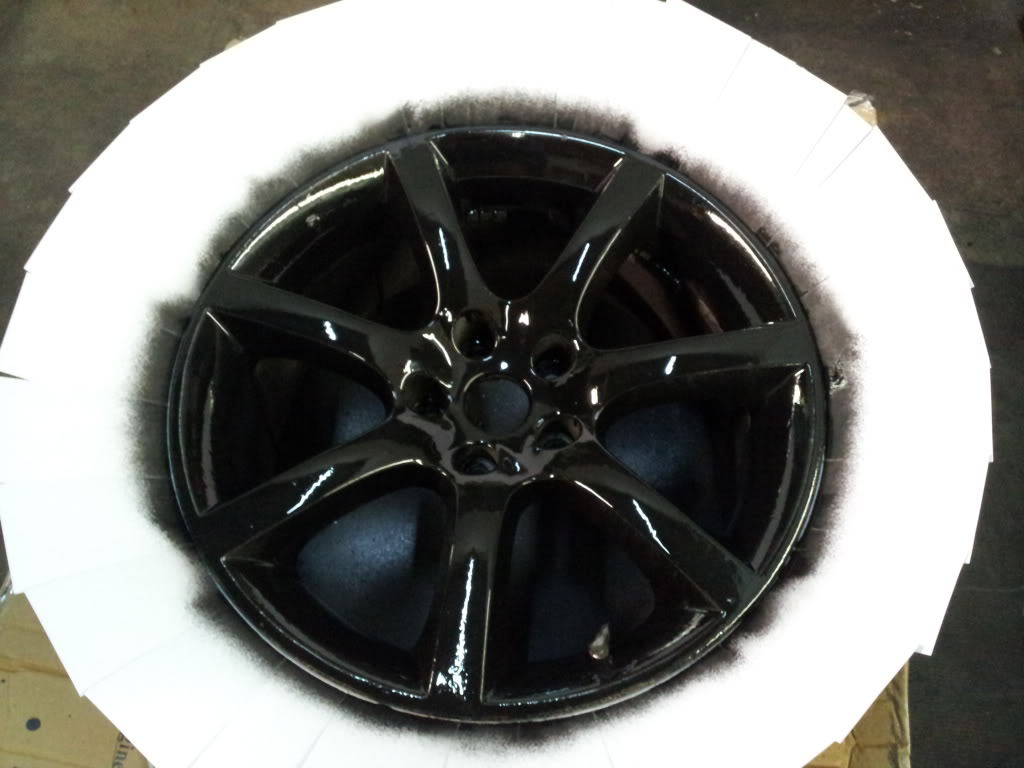
Step 4 – Paint wheel
Use your spray can and aim it six to eight inches away from the wheel. Sweep the can back and forth, stopping your spray at the end of each pass to avoid getting a drip there. To make things easier on your thumb, buy a plastic trigger grip that snaps onto the can. Repeat the process two or three more times, leaving five to 10 minutes in between each coat. The key to a Plasti-Dip job that can be removed easily when the time comes is actually getting it on nice and thick. When you have full coverage and three or more coats, let it dry for an hour or more before installing the wheel back on the car.

Featured Video: How to Plasti-Dip Car Rims
Related Discussions
- Plasti Dipping the Wheels - AcuraZine.com
- Wheel Gloss DIY - AcuraZine.com