Acura MDX: How to Install an Aftermarket Hitch
Installing an aftermarket hitch can provide a lot more towing capacity. Read on to learn how to install one on your Acura MDX.
This article applies to the Acura MDX.
The aftermarket world of hitches offers a lot of different types. For example, you can install a heavy duty hitch on your Acura MDX that will allow you to tow to its maximum potential. The Acura manufacturer thought you may want to start towing and using aftermarket hitches, so they drilled holes in the frame specifically for that. The process can be done rather quickly; however, having the help of a friend is a good idea because the hitch could be heavy, and you have to align it in place as you tighten the bolts. Read on to learn how to install an aftermarket hitch on your Acura MDX.

Materials Needed
- 14mm socket
- Aftermarket hitch
Step 1 – Locate drilled holes
Go underneath the rear of your car, then locate the factory drilled holes in the back of the frame. There should be six holes total, three on each side.

Step 2 – Align hitch in place
With the help of a friend, align the hitch in place, put the washers before the bolts, between the bolt and the hitch, then hand-tighten the bolts. Again, there should be three on each side.

Figure 2. Align hitch in place. 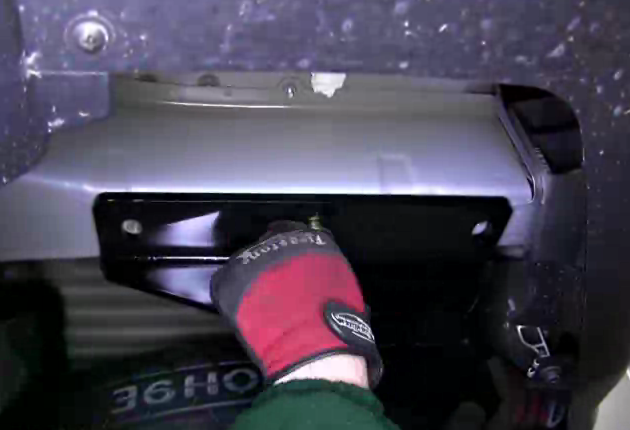
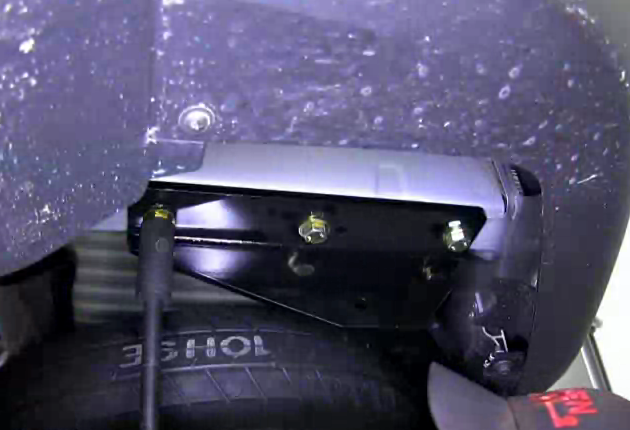
Figure 3. Hand-tighten bolts.
Step 3 – Tighten bolts
When your hitch is aligned in place, use your 14mm socket to tighten the bolts. Torque each bolt to specification; each hitch comes with different torque specs, so read the manual that came with your hitch.
Related Discussions
- Curt receiver hitch - Acurazine.com
- Trailer hitch installed - Acurazine.com
- Hitch install - Acurazine.com