Acura TSX 2004-2008: How to Install JDM Puddle Lights
Here's how to install JDM puddle lights on your TSX and set it apart from everyone else's.
This article applies to the Acura TSX (2004-2008).
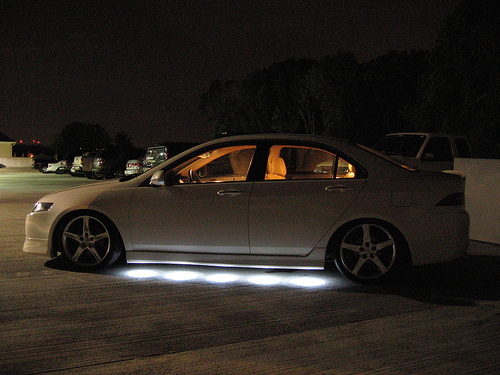
Puddle lights are lights that sit under the side skirts of a car which serve a couple of purposes. The origin of the name refers to their ability to shed some light on puddles so that you don't step in them while exiting your car, but they also add a nice, custom look. Generally these lights are LED, which means they are super bright and clean looking. You can even buy custom lights that project your car's manufacturer logo or pretty much any kind of design you might want. While not an easy or quick installation, adding puddle lights on your TSX is a nice touch that will grab attention any time you exit your car in the dark. Here's how to install them on your ride.

Materials Needed
- Phillips screwdriver
- Flat head screwdriver
- Ratchet
- 10mm socket
- 1ft length of 1.25" PVC pipe
- Puddle light kit
- 1 1/4" hole saw
- Drill
- Saw
- Hot glue or adhesive
- Wire taps
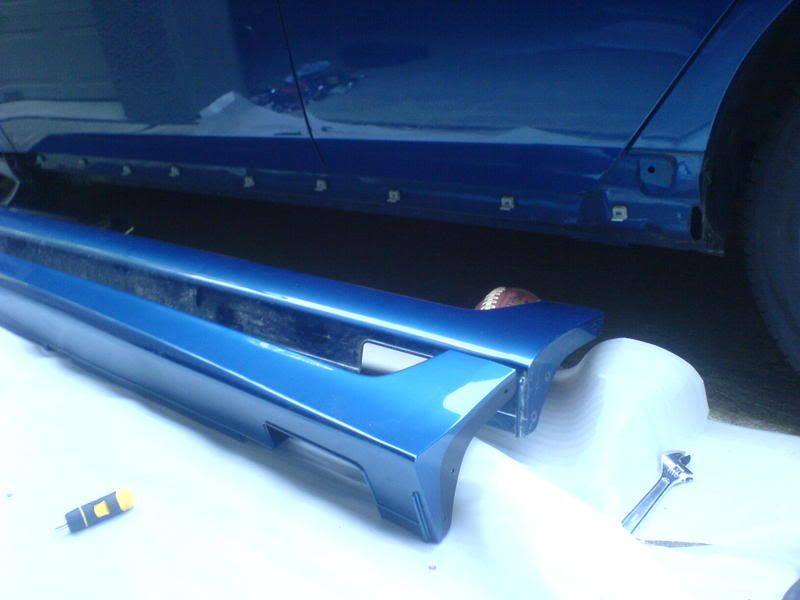
Step 1 – Remove the side skirts
- Remove the three screws on the back of the side skirts, then remove the two clips from underneath them.
- Next, you can either remove the two screws on the bottom or the 10mm bolt.
- Pull the skirts straight back and they will pop out, leaving the retaining clips behind on the car.
Step 2 – Prepare puddle lights for installation
- Using a saw (preferably a miter saw for straight cuts), cut 10 0.75" lengths of PVC pipe.
- Place a puddle light in each of the pieces and mark inside each of the two holes in the lights.
- Drill each of the holes so that a screw can be inserted, slightly angled inward so the screws don't protrude out of the sides of the pipe.
- Install a light in each piece and install the screws.
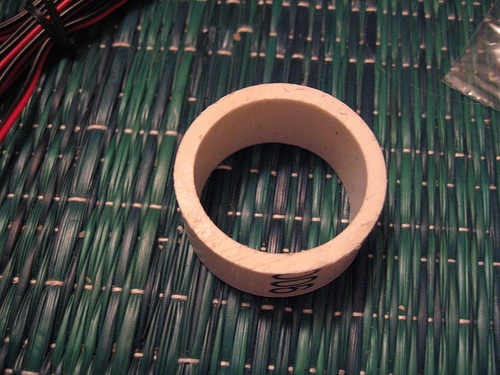
Figure 2. Cut 10 0.75" lengths of PVC pipe. 
Figure 3. Mark and drill holes for the retaining screws. 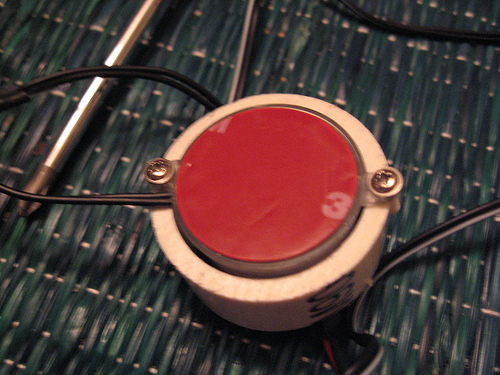
Figure 4. Install the puddle lights in the pipe pieces.
Step 3 – Install the puddle lights
- Measure out where you want to install the lights on each sill, spreading them out so the light doesn't overlap.
- Measure the side sills (around 74") and divide it out so you know where to install each light and how long each wire needs to be cut.
- Mark out your holes to be drilled, taking into account the width of the sill as well as the length, marking the center of each light.
- Once the center point of each light is marked, use your drill and hole saw to cut out the holes for the lights.
- Install the lights into the holes and use some glue or adhesive to hold them to the skirt.
- Cut the wires to length and install them between each light.
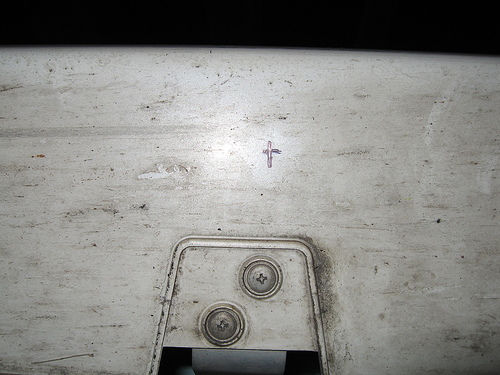
Figure 5. Measure and mark the center point of each light. 
Figure 6. Cut a hole for each light using a hole saw. 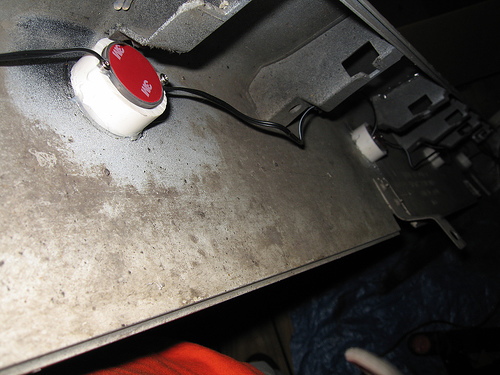
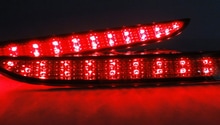
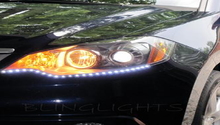
Figure 7. Install each light into the holes.
Step 4 – Wire the lights to the fuse box
- Remove the fuse box panel to access the fuse box (right below the steering wheel).
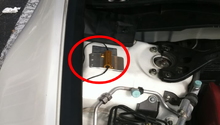
- Tap fuse #6 for power with an add-a-fuse and the green/red MICU for a ground (on the back of the fuse box at the top with 5 pins).
- Run the wiring for the right side skirt through the wheel fender liner, behind the trunk bumper cover (bumper must be removed), and through the left wheel fender for a clean installation. This can be a bit difficult because there isn't much room in the liners to run the wire through.
- You can also run the wires through the engine bay if you don't want to remove the rear bumper. The wires must be passed through the firewall in this instance, which can be pushed through a rubber grommet using a coat hanger.
- Once all the wiring is run, connect the power and ground and test the lights.
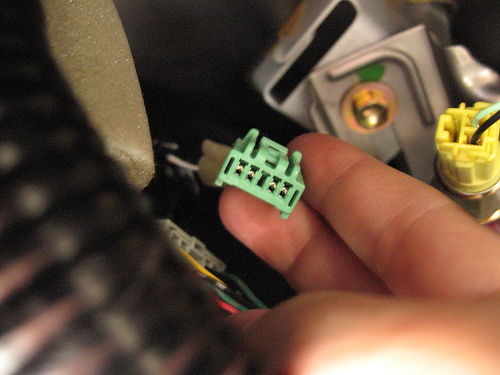
Figure 8. Locate the green connector by the MICU to tap the ground wire. 
Figure 9. Tap fuse 6 for power. 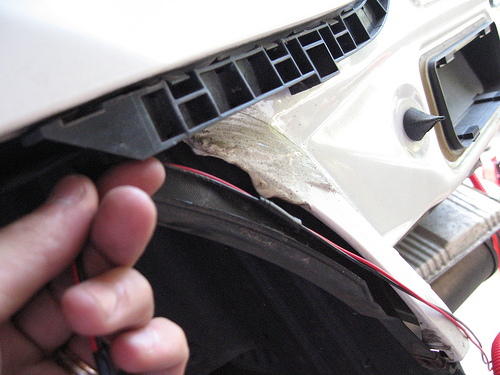
Figure 10. Run the wires up in the fender skirts to hide them. 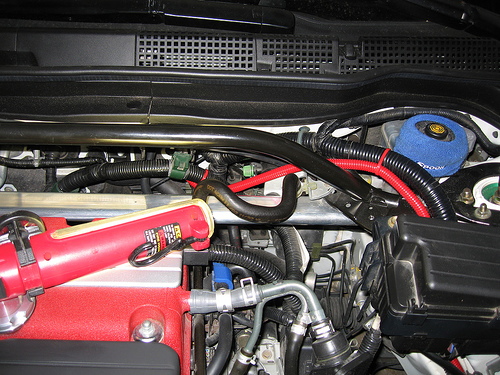
Figure 11. Wiring can also be run through the engine bay and passed through the firewall.
Step 5 – Reinstall side skirts
- Line the side skirts up with the clips on the car and slide them back on.
- Reinstall the three rear screws, two underbody clips, and twp underbody screws or 10mm bolt.
Related Discussion
- Puddle Light DIY - Acurazine.com