Acura TSX 2009-2014: How to Install Turn Signal Resistors
Installing a resistor will correct problems, like hyper flashing or burnt out bulbs, and get your turn signals working properly in your TSX again.
This article applies to the 2nd Gen Acura TSX (2009-2014).
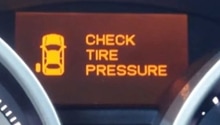
LED represents the pinnacle of current automotive lighting technology, which is why scores of people are retrofitting LED lights anywhere possible on their non-LED equipped vehicles. The reasons are simple: LED lights look cooler, take less energy to run, and are much brighter than halogen lights. But for those who have installed LED turn signals on their rides, there is a bit of a problem. If you don't also install a set of resistors, you will likely run into problems with hyper flashing, no flashing, or even burnt out bulbs. If you've experienced any of those issues after upgrading your turn signals, or if you're getting ready to install LED bulbs in yours, here's how to ensure your lights are working properly.

Materials Needed
- 10mm socket and ratchet
- Phillips screwdriver
- Flat head screwdriver
- Pliers
- Scissors
- Electrical tape
- Double-sided tape
- (2) 6 OHM 50W LED load equalizer resistors
- (4) 3M Scotchloks
This job requires removal of the front bumper. Click here for an excellent write up on how to get it done.
Step 1 – Remove the headlights
Remove the three 10mm bolts holding each headlight in place (one on the side, two on the top). Disconnect the wiring harness connected to each headlight and remove them.
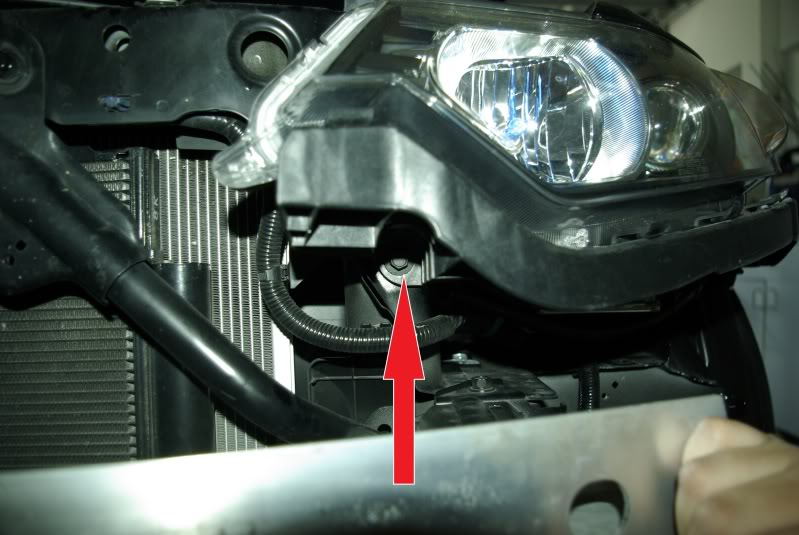
Figure 1. Remove the 10mm bolt from the side of each headlight. 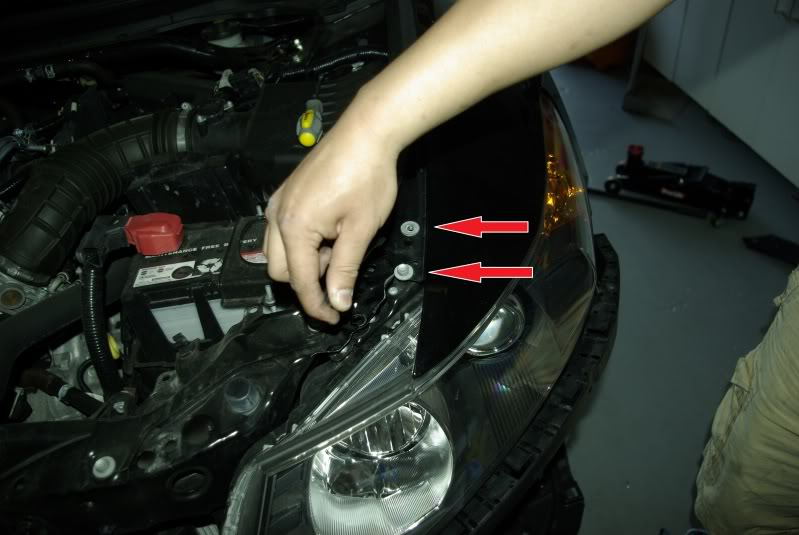
Figure 2. Remove the bolts from the top of each headlight.
Step 2 – Splice into turn signal wiring harnesses
Disconnect the wiring harness connected to each turn signal. Carefully use your scissors to cut back the plastic wiring cover and expose about two inches of wire. On the driver's side, tap into the blue, then black wires using two 3M Scotchloks. Repeat the steps on the passenger side, tapping into the green wire first, then the black wire.
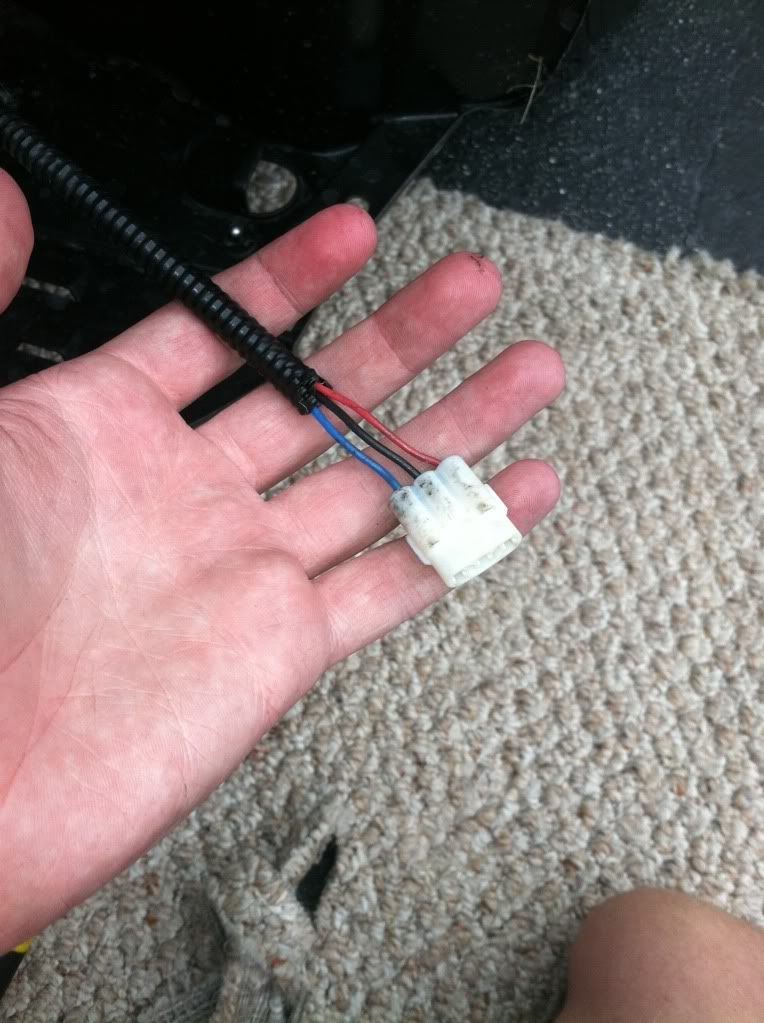
Figure 3. Cut to expose wires. 
Figure 4. Tap into the blue wire first. 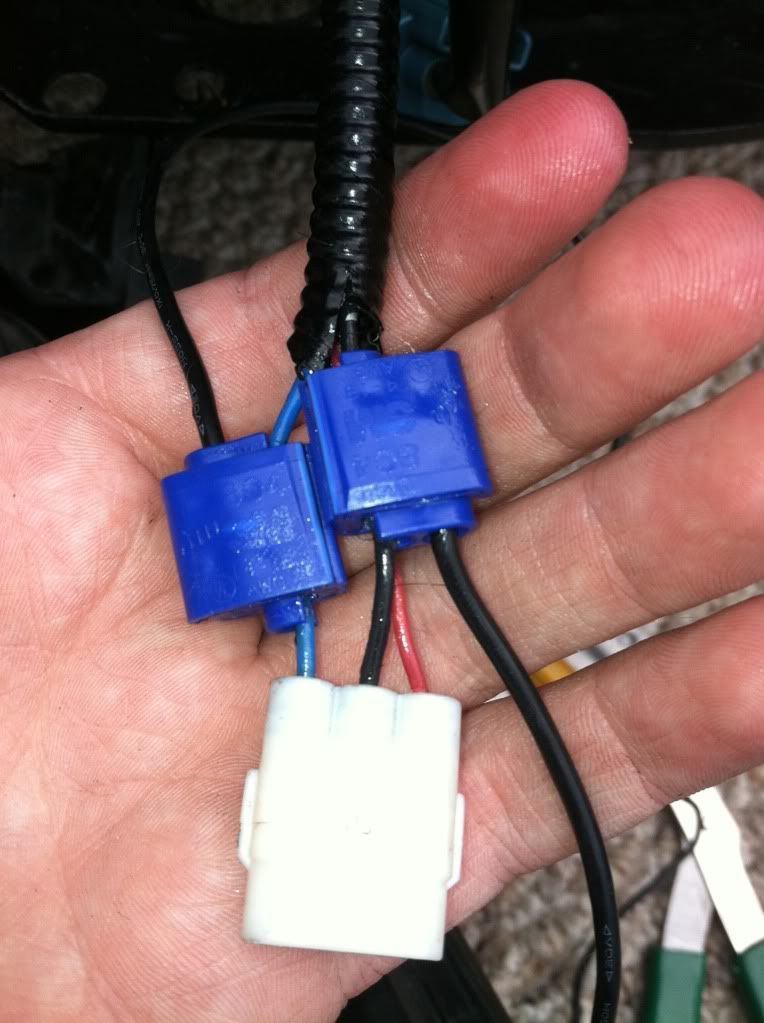
Figure 5. Tap into the black wire.
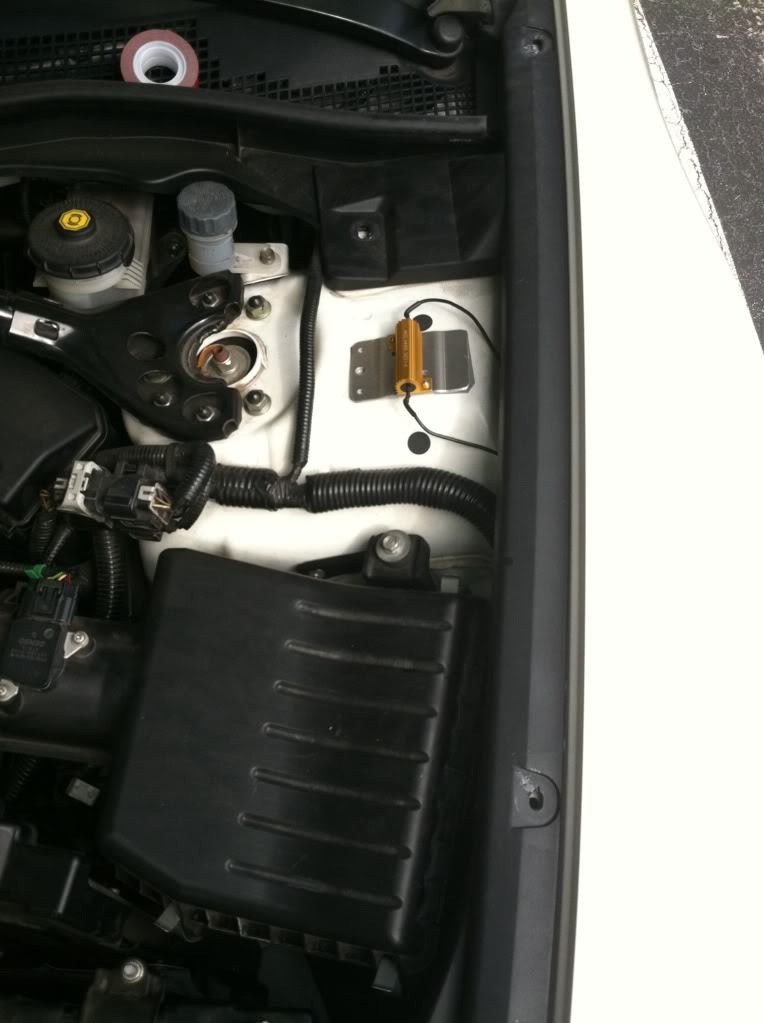
Step 3 – Mount the resistors
Feed each resistor up through the gap between each fender. Use double-sided tape to secure the resistors. Use electrical tape or zip ties to secure the wiring neatly out of the way. Reinstall the headlights and front bumper.
Related Discussions
- DIY: Install Resistors - AcuraZine.com
- DIY: Front Bumper Removal - AcuraZine.com