Acura RDX: How to Install LED Daytime Running Lights
Do you have an older RDX and envy the folks driving around with LED accents on the front for daytime running lights (DRL)? Now you can have them too and we'll show you how.
This article applies to the Acura RDX (2007-2014).
Sometimes when you're driving during the day your car may be a bit more difficult to see, especially on long, open rural roads. When this happens, it's not really necessary to turn on your headlights, but having some light coming from your car would be useful, so other people could see you. This is precisely the situation that DRLs, or Daytime Running Lights, are there for.
Many newer vehicles also have cool shaped LED daytime running light elements that announce what the car is from a mile away, like the BMW "halos." A little searching online will turn up several different universal and model specific kits for nearly any car. In this article we'll be installing a universal kit into a 1st generation RDX, but it is similar for later models. The hardest part of installing these is deciding where on the front of your RDX you want to mount them, but that is up to you.

Materials Needed
- Screwdriver
- Soldering iron
Step 1 – Run wires and install LEDs
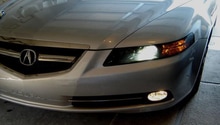
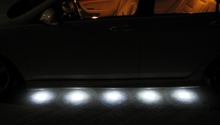
Once you decide where you are going to put the lights, begin by running the wires coming from the LED strips through the mounting bracket, while you still have easy access. Install the bracket where you plan on mounting the DRL strips. While these lights will go virtually anywhere, it is recommended you install them below the stock headlights. Some thinner, stick on LED strips can even be installed right to the surface of the headlight lens.
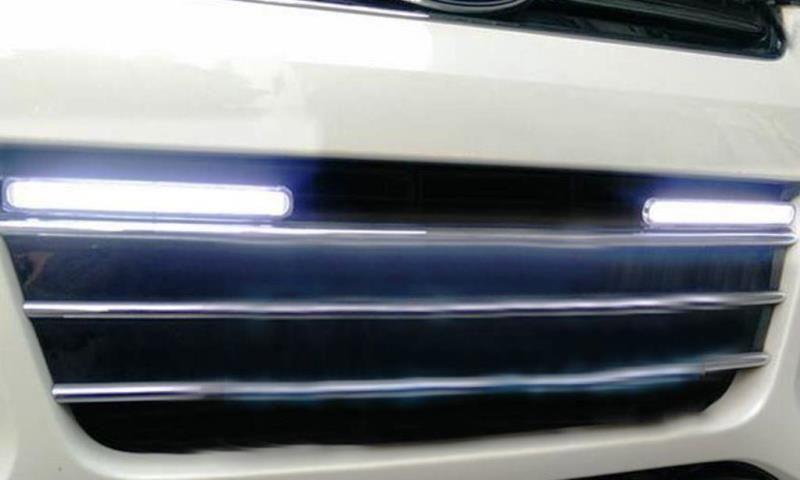
Figure 1. The center grill area is a great place to mount DRL. 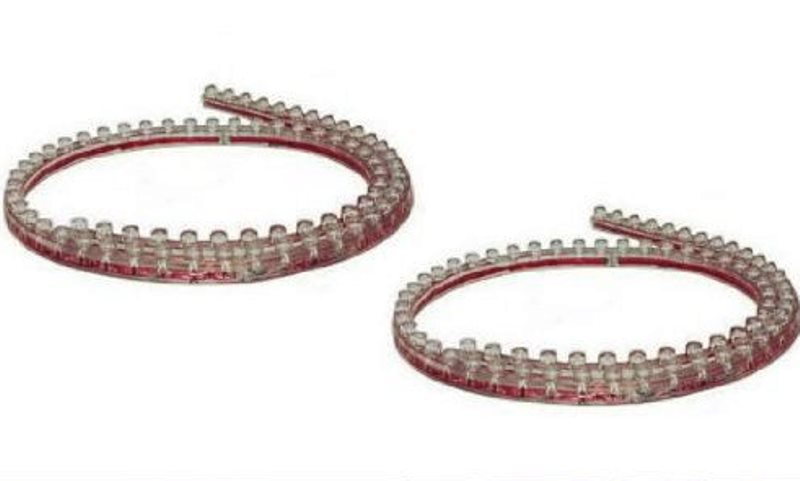
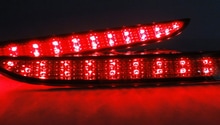
Figure 2. These flexible LED strips can be mounted anywhere.
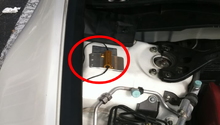
Step 2 – Wire and mount controller
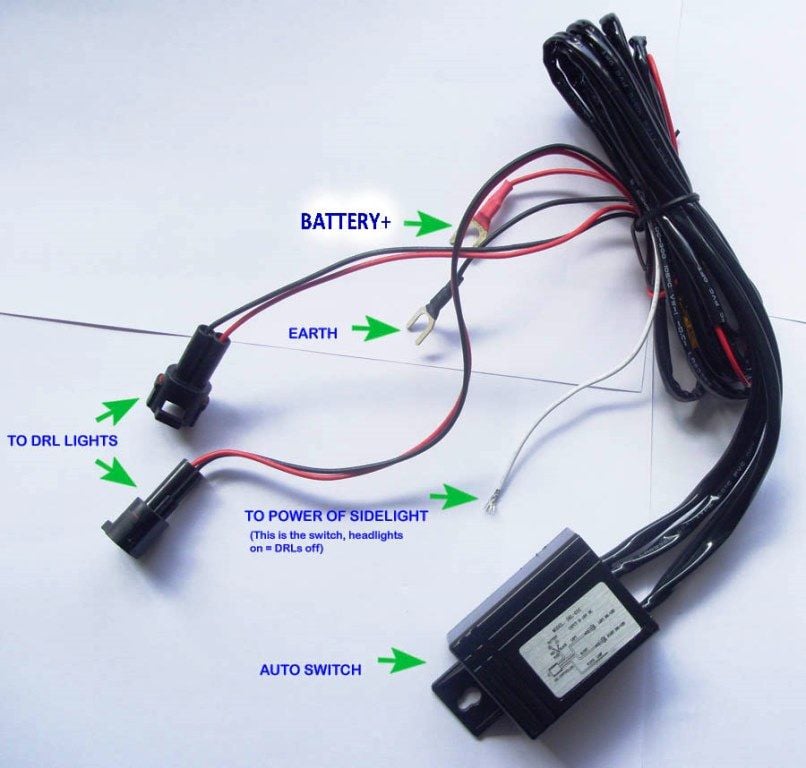
Your kit should have come with a controller that operates the DRL strips when the headlights are off, and turns them off when the headlights go on. Mount this box somewhere near the battery or fuse box and wire to the DRL, a power source, and the headlights.
Step 3 – Run your wires
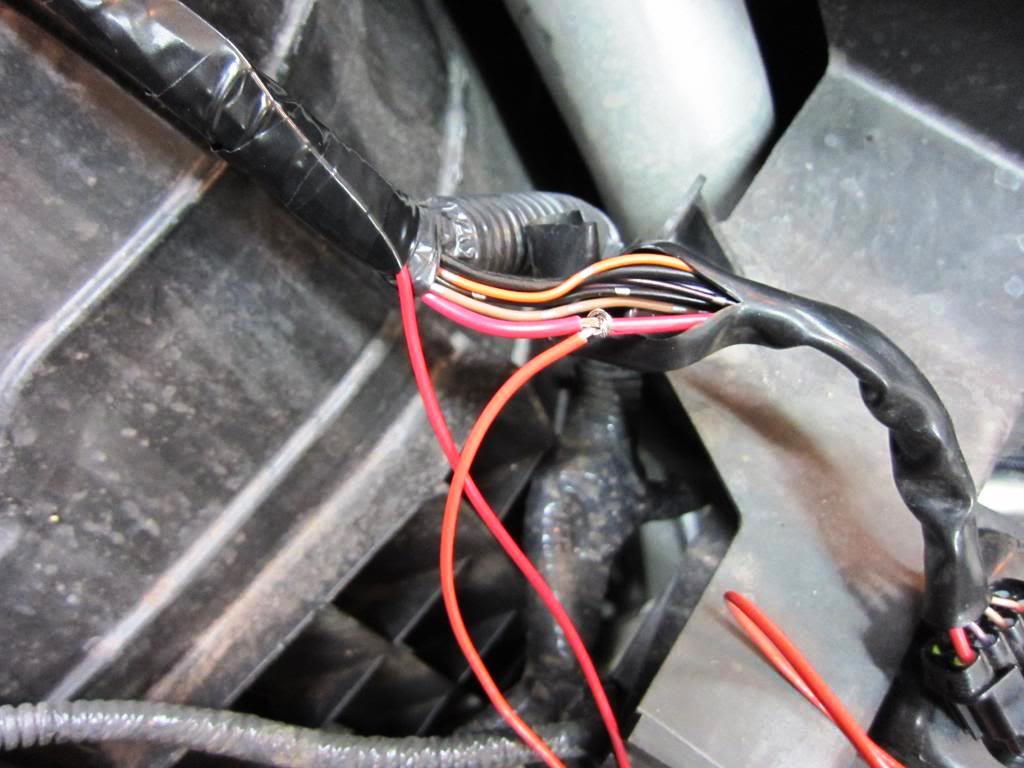
If you haven't disconnected your battery, do it now. Connect the red wire to power at the fuse box, battery terminal or other location and use the black as a ground. The third connection goes to the stock headlight wiring. When you power up your headlights, your DRLs should deactivate. Tap into the stock headlight wire and solder or splice the wire from your controller in place. Once you have done this, wrap the wires in electrical tape to prevent any kind of damage to the connection.
Pro Tip
Remember, DRLs are handy to keep you visible during the day, but are not a replacement or alternative for headlights or fog lights. At night, always use these instead of relying on your DRLs.
Featured Video: DRL Daytime Running Light Tutorial
Related Discussion
- RDX LED DRL Install - AcuraZine.com