Acura TSX 2009-2014: How to Wire Independent Fog Lights
Wiring independent fog lights is actually a pretty simple job. Check out these quick instructions.
This article applies to the 2nd Gen Acura TSX (2009-2014).
As with most cars, there are little nuisances that can either make it or break it for car owners. One of the most popular ones includes auto-enabled fog lights. This means these lights only work when the headlights are turned on, otherwise you cannot use them. Understandably, these lights are only supposed to be used for additional illumination during foggy environments, but still, who doesn't want the added ability to turns these babies on when at a show or taking pictures? If that is something that interests you, then keep reading to learn how to independently wire your fogs.

Materials Needed
- Wire cutters
- Knife
- Electrical tape
- Awl
- Needle nose pliers
- Switch
- 12v relay
- Fusible link
- 10A fuse
- Wire
Step 1 – Route the fog light button
The first thing you are going to want to do is route the fog light button, and the easiest place is behind passenger firewall. Remove the grommet and snake the new button through it. Route it through the air box assembly behind the passenger panel and mount it wherever you want.
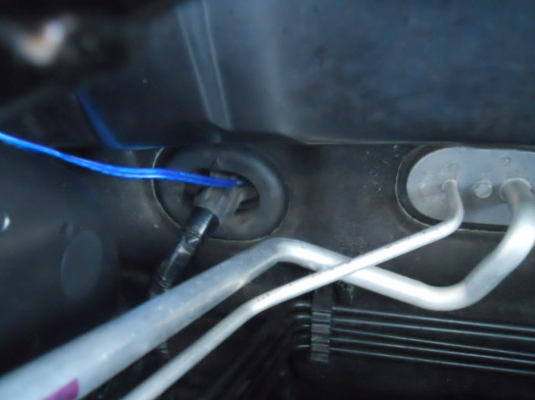
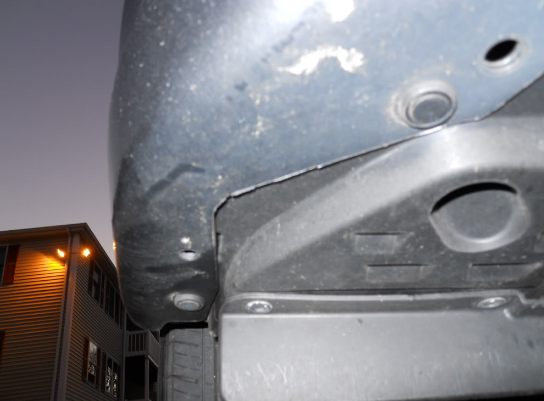
Figure 1. Route the fog light switch. 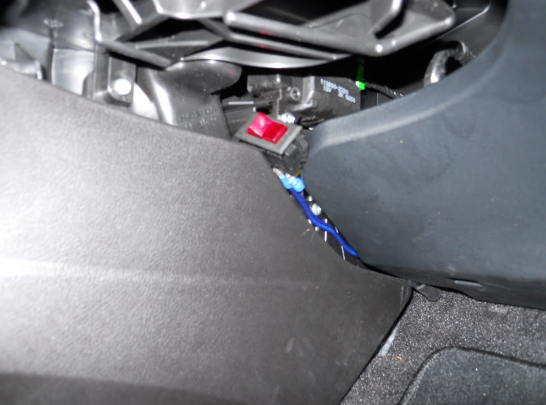
Figure 2. Fog light switch pulled through the passenger side firewall.
Step 2 – Mount the relay
It's often best to locate a ground where you can mount the relay, as it makes grounding it very easy. A good location is on the passenger inner fender, near the windshield washer fluid. Once mounted, ground the relay from prong 86 using a spade connector.
Step 3 – Run a power wire
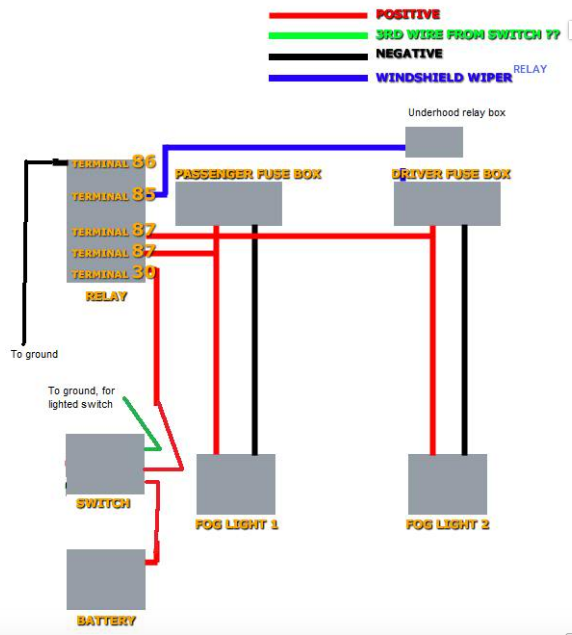
The switch will need power, so run a wire from the battery to the relay. Make sure to use the fusible link within 18" of the battery, in between the connection. Refer to Figure 4 for a clearer depiction of the wiring connections.
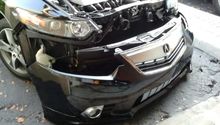
Step 4 – Wire the fog lights
Each fog light will need to be individually wired, so first you have to access them. Crawl under the car and remove the plastic trim panels. When you access the fog lights, locate the positive wire on each socket and splice it into the new wire. Route the new wire back to the relay, and use a spade to connect it into slot 87. Tape the connections back up and reinstall each fog light.
Step 5 – Wire the 12v switch
If you do not want to risk accidentally leaving the fog lights on and draining your battery, you'll need to locate a 12v switch. You can use any switch you want; for this we used the windshield wiper switch. Remove the wiper relay and connect the new wire into the upper left female terminal slot. Then run the wire back into the relay on prong 85. With everything connected, check the connections of the fogs and you are done.
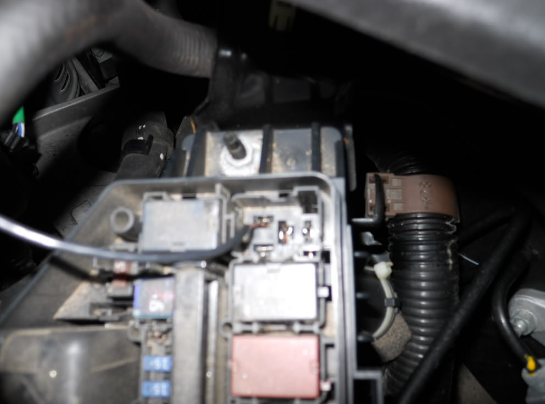
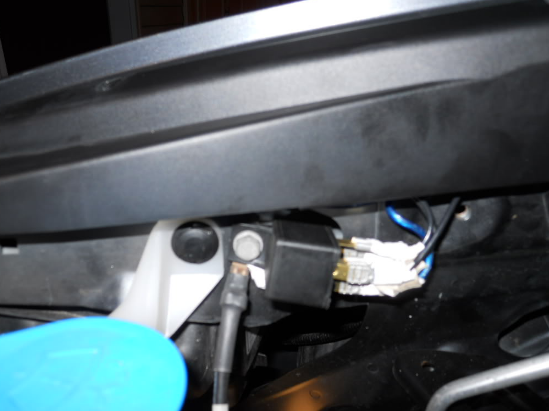
Figure 6. Wire the relay into an active 12v switch, windshield wiper depicted. 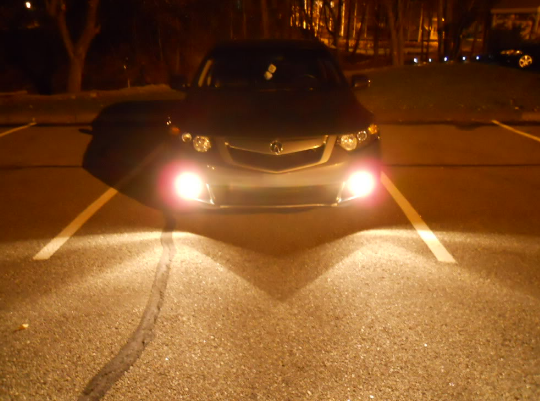
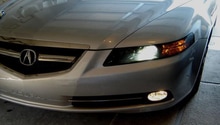
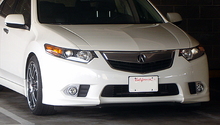
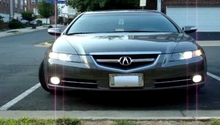
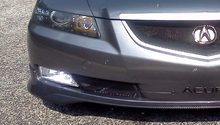
Figure 7. Enjoy your new fogs.
Related Discussion
- Independent fog lights from headlights mod -> Pictures! - Acurazine.com