Acura TSX 2004-2008: How to Remove Front Bumper
The dealership could charge you a ton of money to replace the front bumper on your Acura TSX. Learn how to replace it yourself here and save some money.
This article applies to the Acura TSX (2004-2008).
The front bumper on your Acura TSX may look like it takes a lot of work to remove, but the reality is it's much simpler than it looks. The dealership loves procedures like this because they're easy yet expensive. Removing it yourself will require simple tools, a friend to help you get it off, and basic common sense. Whether you want to install an aftermarket front bumper, or you want to repair and reinstall the old scratched up one, this guide will help you achieve removal. Gather the tools below and read on to learn how you can replace the front bumper on your Acura TSX.

Materials Needed
- Flathead screwdriver
- Phillips screwdriver
- Socket
- New bumper (optional)
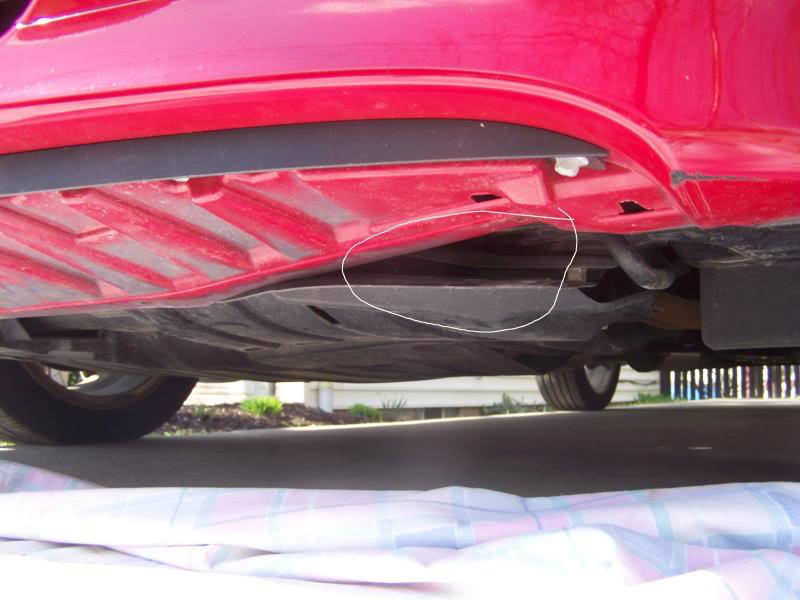
Step 1 – Remove bottom bolts and screws
Locate the four bolts on the bottom of the bumper and the two screws on the corner by the wheel well. Remove the bolts with the socket, and the screws with a Phillips screwdriver.

Step 2 – Remove grille cover
Remove the clips holding the top cover in place. Use your flathead screwdriver to pry them off, then remove the cover.
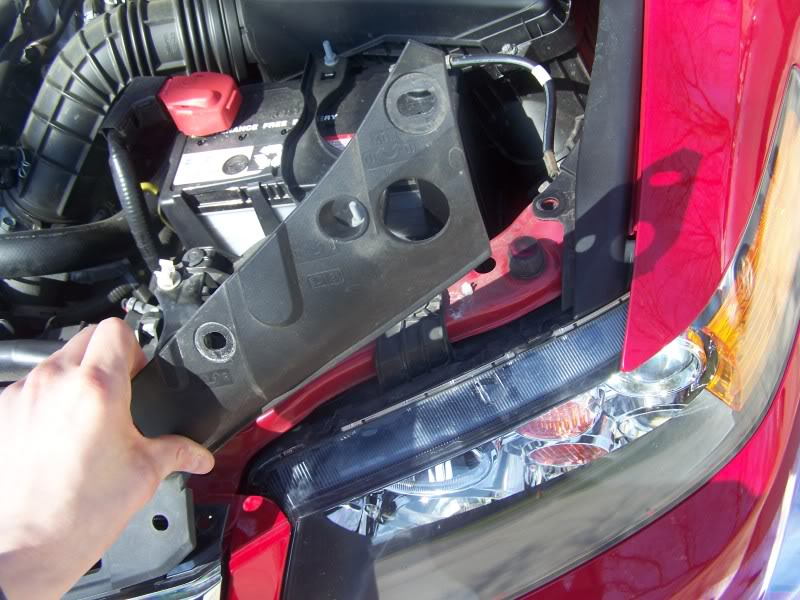
Step 3 – Unsnap the hooks
There are two hooks on the top holding your bumper in place. Simply pry them up to unhook them.

Step 4 – Remove the bumper
Start from one side and pull the bumper gently to pry off the clips. Make your way around to the other side, and once all clips are off, pull the bumper out to remove it. Don't remove it all the way, because it's still connected to the fog lights.
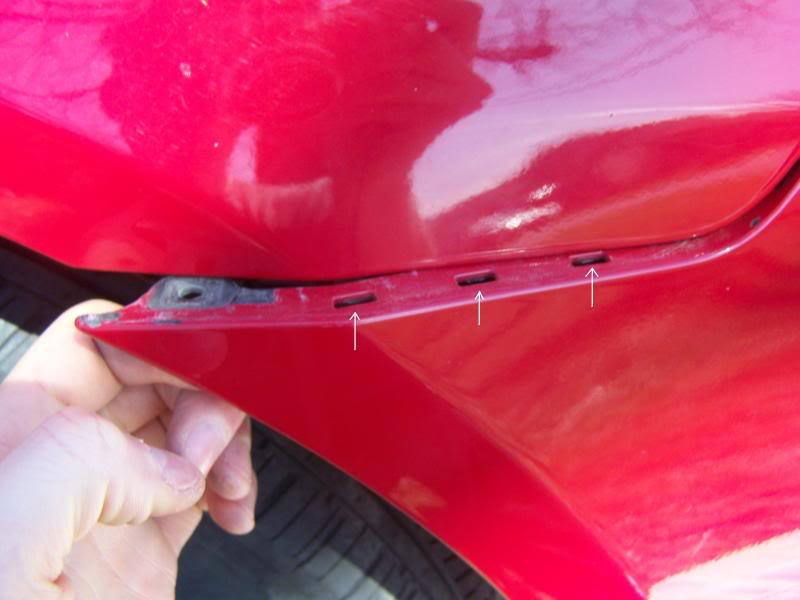
Figure 4. Pry off the clips. 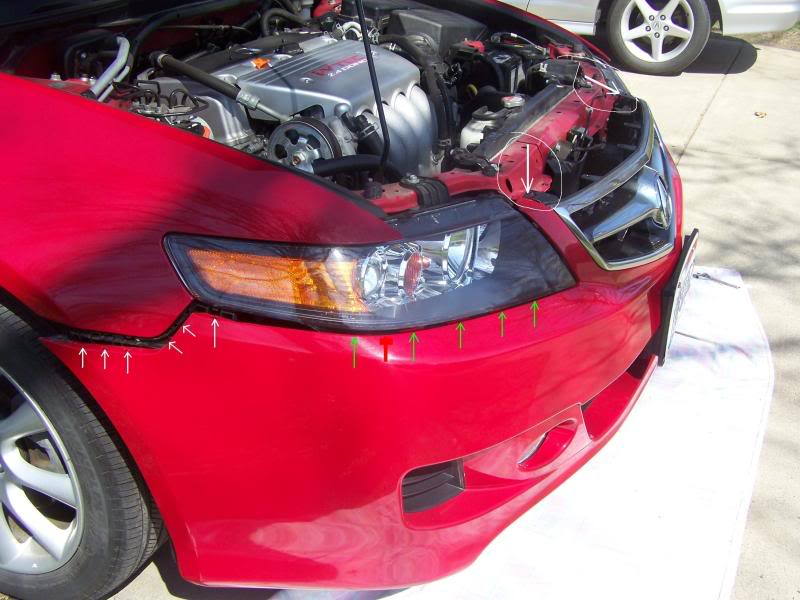
Figure 5. Pull the bumper off slowly.
Step 5 – Disconnect fog lights
Disconnect the fog lights before removing the bumper completely. Squeeze the tabs to disconnect the fog lights on both sides.

Step 6 – Install new bumper
Installation is the reverse of removal.
- Bring the new bumper close, then connect the fog lights.
- Clip the new bumper in place, making sure the bottom is going into the proper grooves.
- Snap the top hooks in place.
- Install the top cover.
- Install the four bolts on the bottom, then the two screws by the wheel wells.
Related Discussion
- Front Bumper Removal - Acurazine.com