Acura TSX 2009-2014: How to Remove the Rear Bumper
Replacing the rear bumper may seem intimidating in the Acura TSX, but the process is a bit easier than you think. Read on to learn how to do it yourself.
This article applies to the 2nd Gen Acura TSX (2009-2014).
The bumpers are designed to protect your Acura TSX, and even though it's not OK to play bumper cars with your real car, sometimes they get hit and break. The dealership can charge you tons of money just to replace the bumper, and even though the bumper can cost over a hundred dollars, replacing it shouldn't cost you anything. Whether you want to install an aftermarket bumper, or you're tired of your cracked bumper, this guide will show you how to safely remove your rear bumper and install a new one in its place. Read on to learn how to replace the rear bumper in your Acura TSX.

Materials Needed
- Flat head screwdriver
- 10mm socket
- Phillips screwdriver
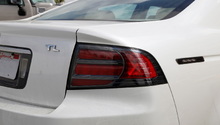
Step 1 – Remove two bolts
Open the trunk of your Acura, then locate the two bolts next to your tail lights. They each should have a small cover on them, so you can pry them off using your flat head screwdriver, then use your 10mm socket to remove the two bolts (one on each side).
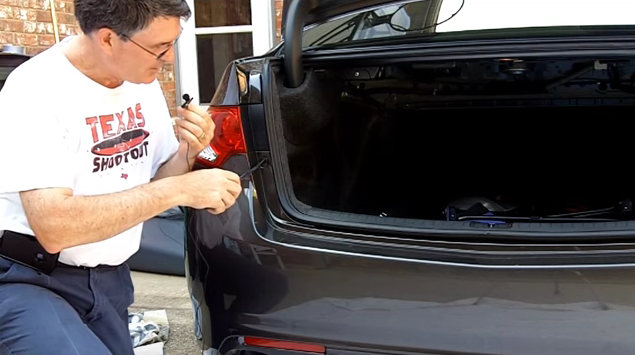
Figure 1. Remove bolts' covers. 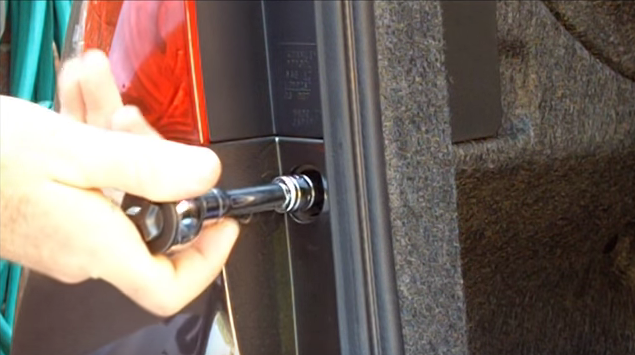
Figure 2. Remove 10mm bolts.
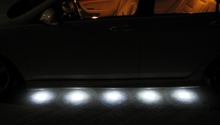
Step 2 – Remove wheel well liner
Using your Phillips screwdriver, remove the screws holding the wheel well liner in place. This should be a little tight, but if your car isn't lowered, you should be able to remove them without any hassle. There should be two screws behind the wheel, one on top of the wheel, then two along side the frame rails, in front of the rear wheels.
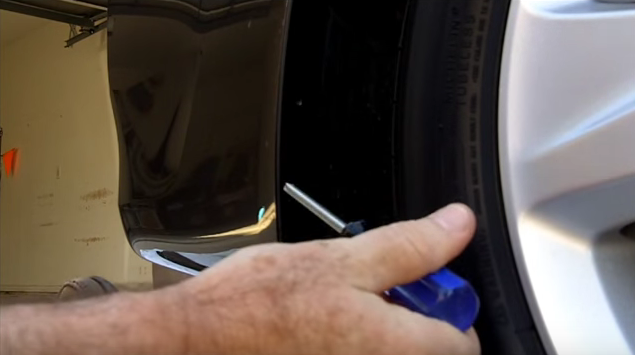
Figure 3. Remove wheel well liners' screws. 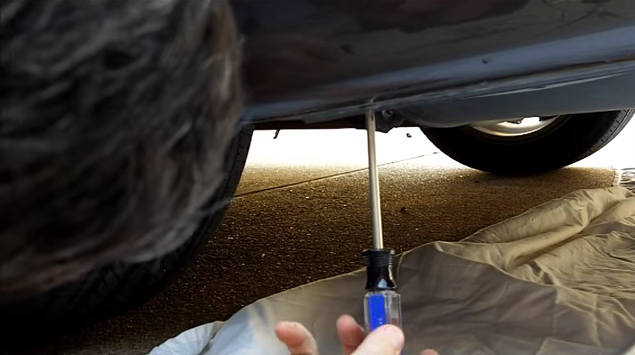
Figure 4. Remove wheel well liners' screws.
Step 3 – Remove two clips
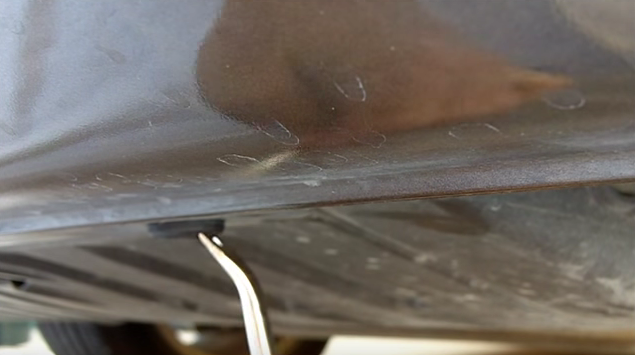
Remove the two clips on the bottom of your bumper. You can use a clip removal tool, or you can use your flat head screwdriver for this. Simply insert the flat head screwdriver between the two plastic parts, pry it off, then pull the whole clip off.
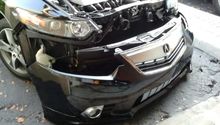
Step 4 – Remove the bumper
Now that all the screws and clips are out, start on one side of the bumper and start pulling it outwards to release it from the clamps. If you get any clamps that are stuck, you can use a flat head screwdriver, wrap it with a towel so you don't scratch the bumper, and then pry the specific clamp off. Once you remove both sides, simply pull the bumper outwards to remove.
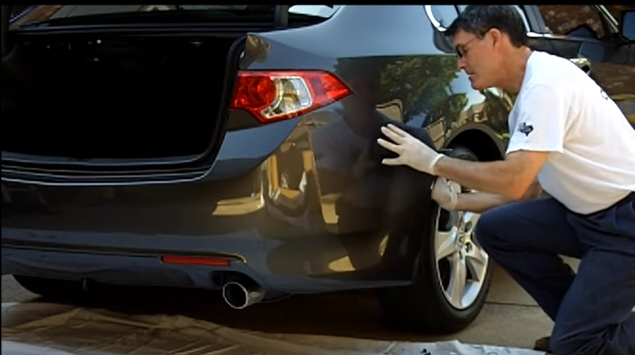
Figure 6. Gently pry the bumper off. 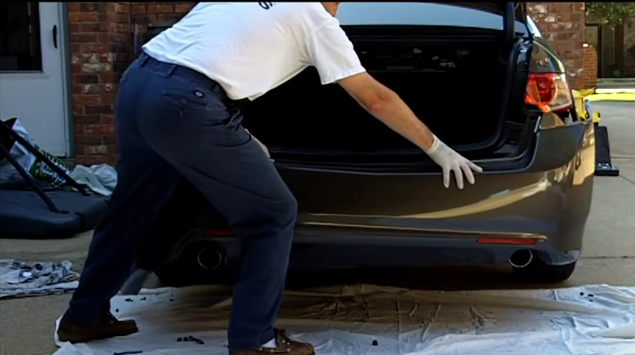
Figure 7. Remove the bumper.
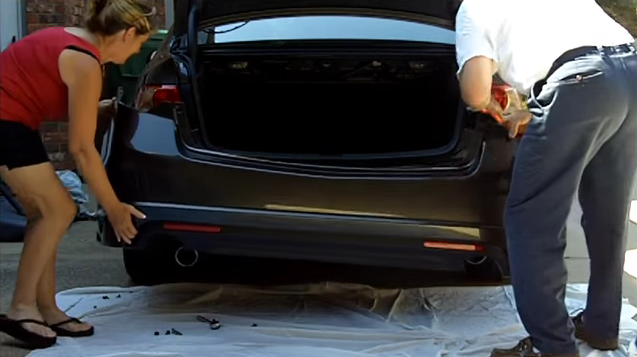
Step 5 – Install new bumper
Installation is the reverse of removal; however, it's highly recommended you ask a friend for help aligning the new bumper in place. Once you have it in place, push in on the edges to clip them in place. When all the clips connect to the bumper, install the two clamps on the bottom of the bumper, the wheel well liner, and finally install the two bolts on the outside, next to the tail lights.
Featured Video: Acura TSX Rear Bumper Replacement
Related Discussions
- Rear Bumper Options - AcuraZine.com
- How to Remove Rear Bumper - AcuraZine.com