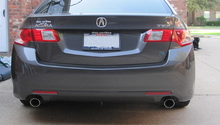
Acura TL 2004-2008: How to Replace Tail Light Assembly
It's important to replace a broken tail light assembly as soon as possible. This guide will show you how to replace the tail light assembly in the 3rd generation Acura TL.
This article applies to the 3rd Gen Acura TL (2004-2008).
A broken tail light assembly not only ruins the look of your car, but can lead to potential legal ramifications. If that still hasn't deterred you, a busted tail light makes your car much less visible/noticeable in the dark; you're basically asking to get in an accident. The instructions below will explain everything you need to know to replace a tail light on your Acura TL.

Materials Needed
- Replacement tail light assembly
- Ratchet with 8mm and 10mm socket and extension
- Flat head screwdriver
- Phillips screwdriver
Step 1 – Pull back the trunk lining
Unscrew the cargo net hooks on the side of the trunk. On the sides of the trunk opening there should be another clip you can pry loose. Pull up the black plastic trim in the back of the trunk. Then pull back the side trunk lining to uncover the back of the tail light assembly.
Step 2 – Remove the rear bumper
Pry off the round plastic clips on the bottom of the bumper. These can be pried with a flat head screwdriver. Next you'll need to disconnect the mud flaps from the bumper. These are held by three screws along where the mud flaps and bumper intersect. Return to the top of the bumper and locate the two covers right below the trunk lid frame. Remove the covers and then remove the 10mm bolts underneath. Then, inside the trunk there should be another pair of bolts on either side. Once all the screws, bolts and clips are removed, lower the bumper from the vehicle and move it aside.
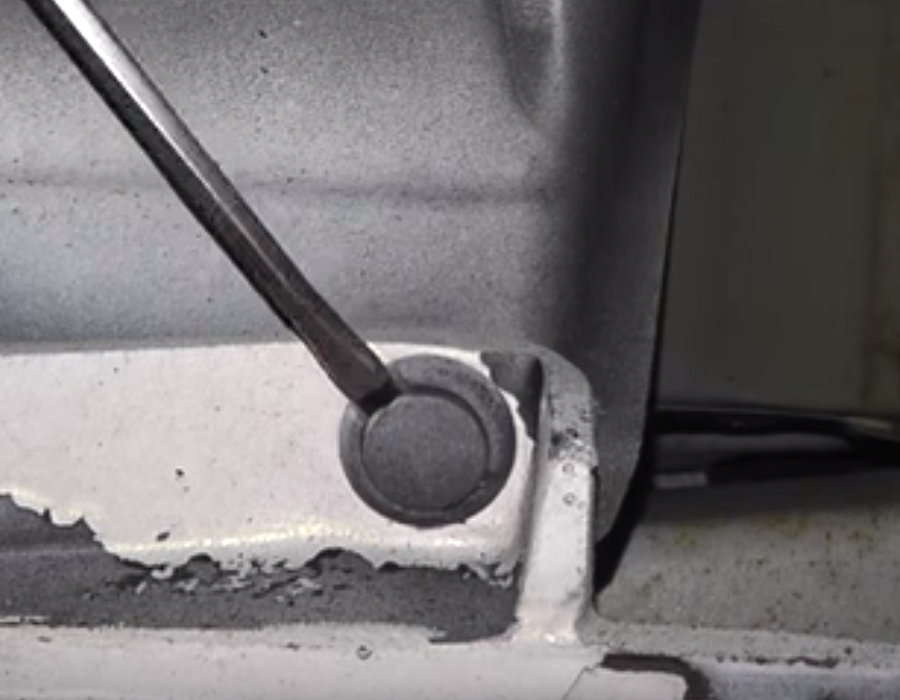
Figure 2. Remove the plastic clips. 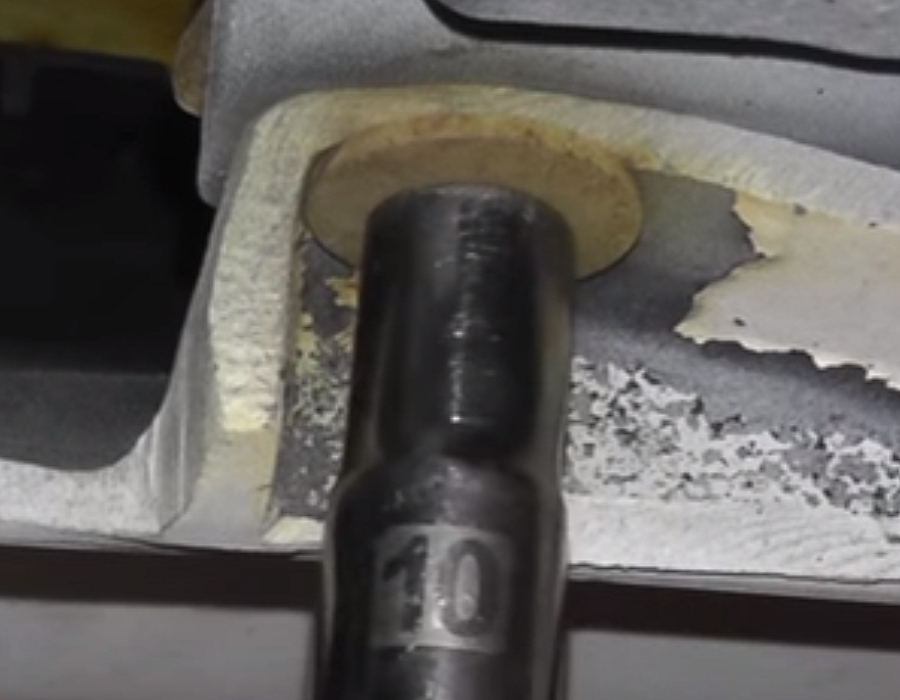
Figure 3. Remove bolts on bottom of rear bumper. 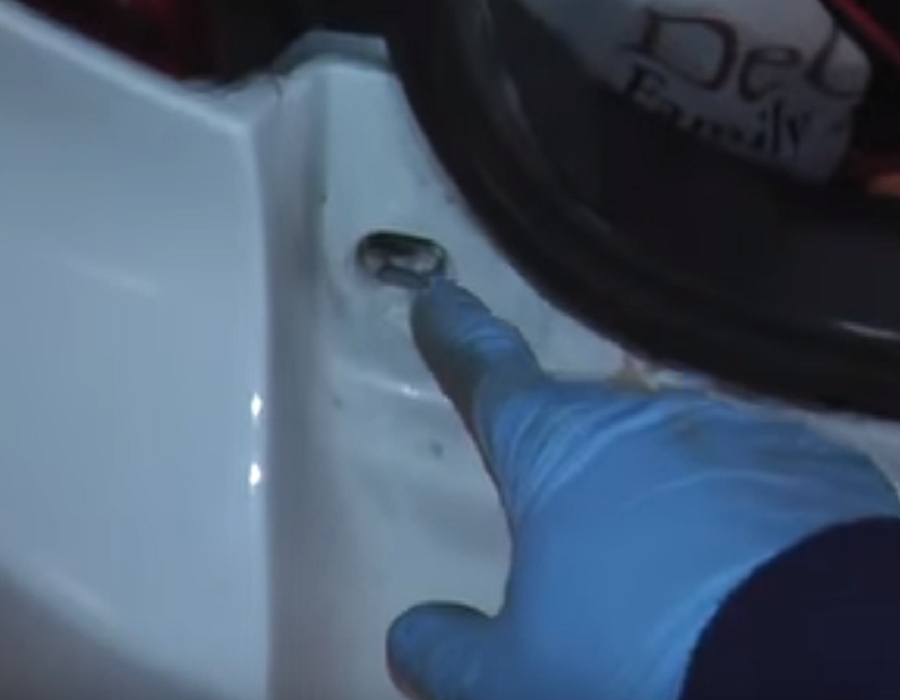
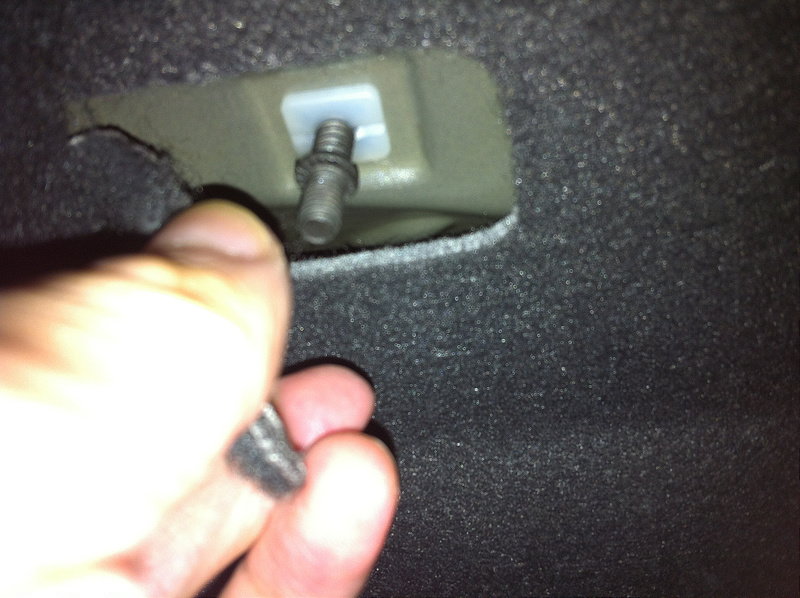
Figure 4. Remove the covers and bolts at the top of the rear bumper. 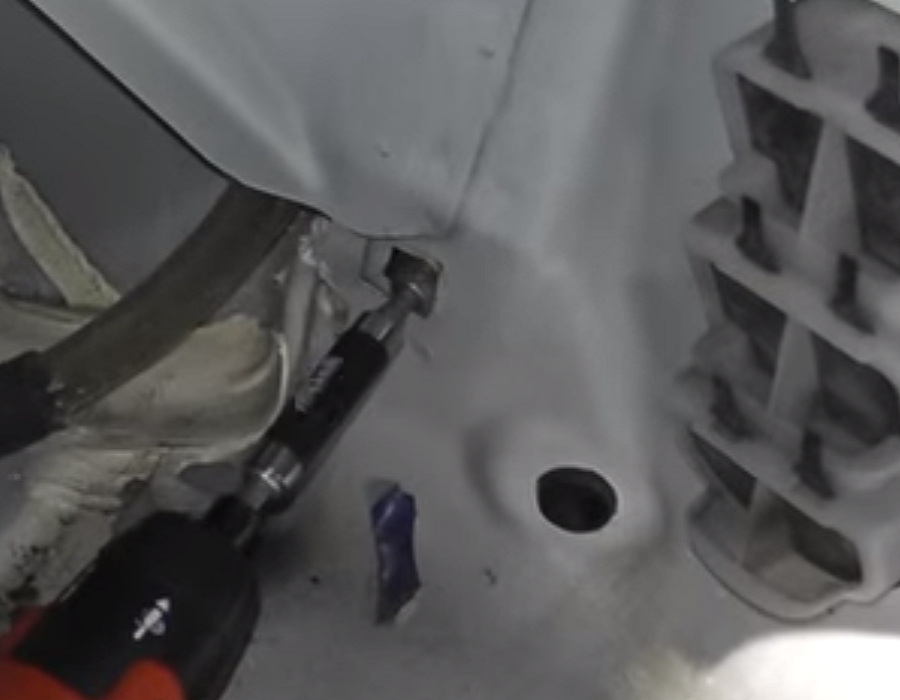
Figure 5. Remove the rear bumper mounting bolts inside the trunk.
Pro Tip
If you have the A-Spec kit installed, your rear bumper removal may be a little different, but the same instructions will apply.
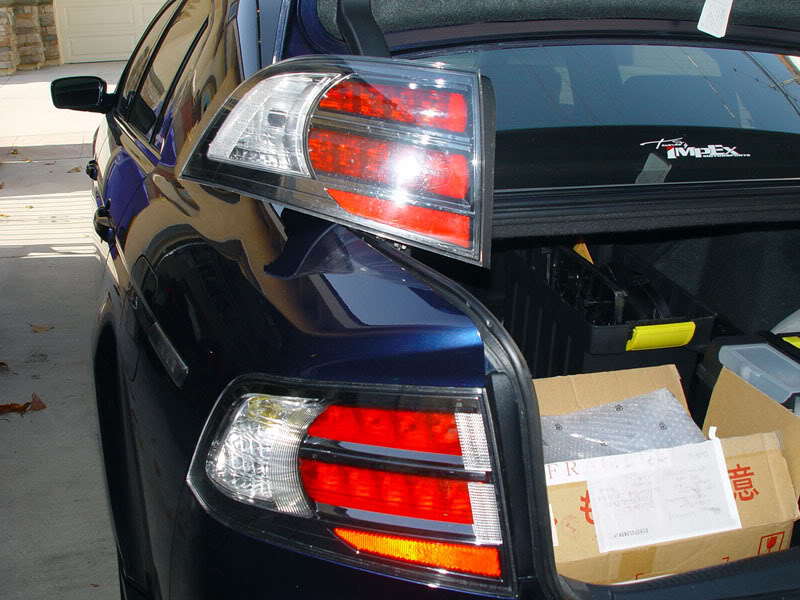
Step 3 – Remove tail light assembly
Inside the trunk, with the lining pulled away, disconnect the electrical connector for the tail light assembly. Then remove the four nuts attached to the mounting bolts for the tail light assembly. Outside the trunk, remove the two mounting bolts at the bottom of the tail light assembly. After that just pull out tail light assembly.
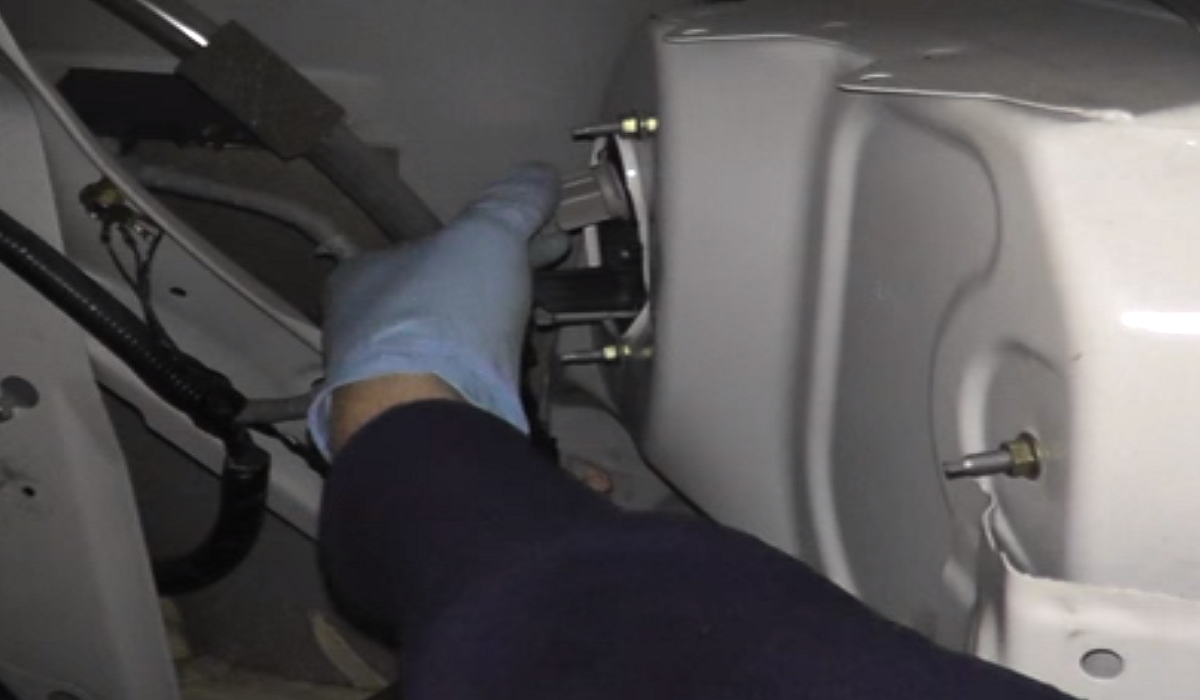
Figure 6. Disconnect electrical connector and remove the four nuts on the mounting bolts. 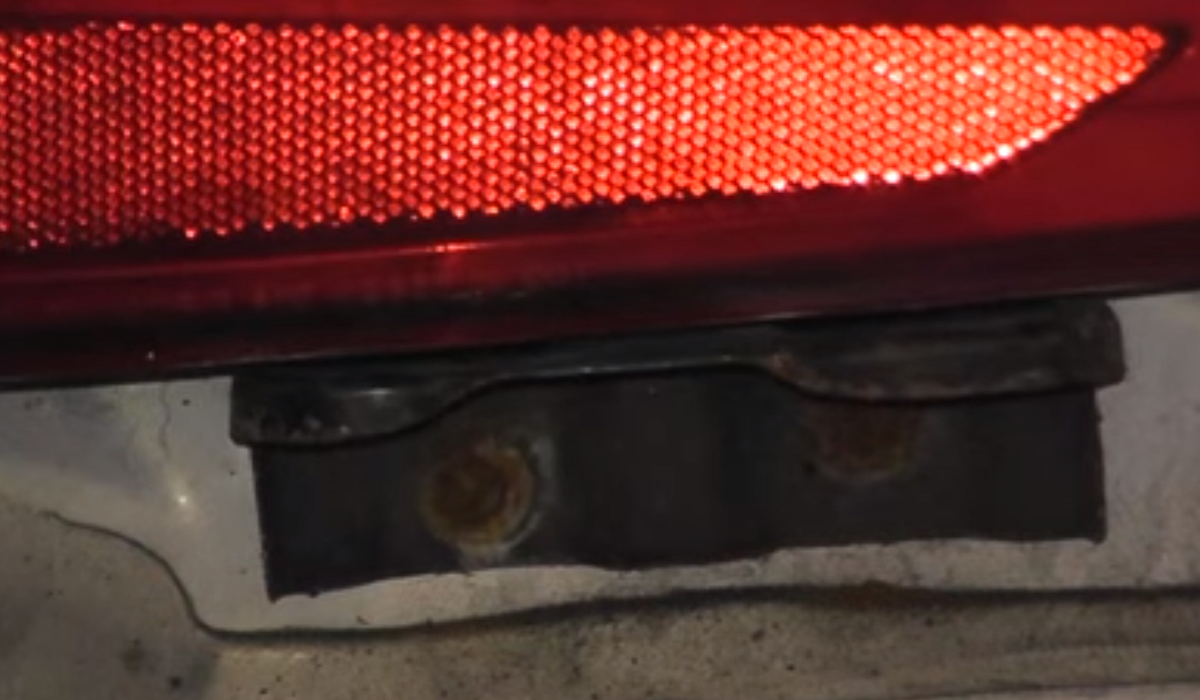
Figure 7. Remove the two outside mounting bolts.
Step 4 – Install new tail light assembly
To install a new tail light assembly, reverse the previous steps.
- Line up the new tail light assembly so that the bolts fit into the inserts in the car.
- Tighten down the mounting bolts on the bottom of the tail light assembly.
- Tighten down the four nuts to the back of the assembly.
- Reconnect the electrical connector.
- Line up the rear bumper.
- Tighten down the mounting bolts inside the trunk.
- Tighten the mounting bolts below the trunk lid frame.
- Reattach rear bumper to mud flaps.
- Return screws and clips to the bottom of the rear bumper.
- Return trunk lining.
- Return trunk lid trim.
- Return clips and cargo hooks.
Featured Video: Acura TL Tail Light Replacement
Related Discussions
- Changing Taillight Assembly - AcuraZine.com
- Taillight Cover Replacement 3G Garage - AcuraZine.com