Acura MDX: How to Replace Tail Light Assembly
Whether it’s a blown bulb, faulty light, or cracked assembly, a broken tail light is both annoying to deal with and illegal to drive. Fortunately, Acura made it super simple to fix in the MDX.
This article applies to the Acura MDX.
In need of a new tail light assembly for your Acura MDX? There are a bunch of reasons why this might be – maybe the bulb’s blown out, or the assembly cracked. It could even be something as simple as not liking how dim the tail light is. Whatever the reason, the good news is that accessing the bulbs—that is, actually removing the tail light assembly—is super simple. Here's how to get the job done.

Materials Needed
- Flathead screwdriver
- Phillips head screwdriver
- Plastic wedge tool
- New bulb / tail light assembly
Step 1 – Remove caps, grommets, and screws
With the trunk open, locate the two grommet caps located next to the tail light assembly, on the interior portion. Pop them out with a flathead screwdriver. This will reveal two plastic screw grommets – loosen with a Phillips head screw driver, and remove. This will reveal two screws – remove them with a Phillips head screw driver.
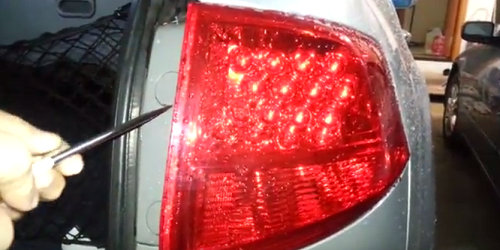
Figure 1. Pop off the grommet caps. 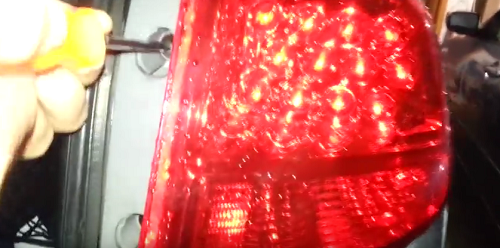
Figure 2. Remove grommet screws.
Step 2 – Remove the tail light assembly
With both screws removed, use a soft wedge (preferably one made of plastic, though a covered flathead screwdriver should suffice) in between the assembly and the body of the car; wedge the assembly loose. Now pull the tail light assembly out.

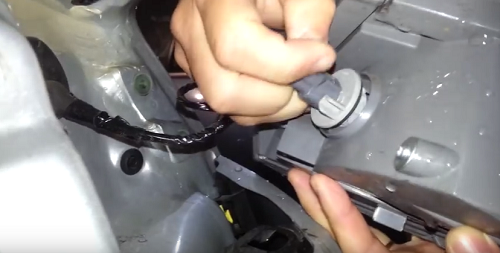
Step 3 – Remove all bulbs before replacing the assembly
Unscrew all of the light bulbs from the back of the tail light assembly; when they’re all removed, you can discard the old tail light assembly. Replace with new assembly by inserting the light bulbs in to their appropriately assigned holes; twist to secure in place.
Step 4 – Replace tail light assembly
Once all of the bulbs are in place, move the assembly back into its location within the body of the vehicle. Line the assembly hole up so the screw holes match up. Insert screws and tighten. Place grommet caps over and tighten. Finally, replace grommet covers.

Figure 5. Insert the new assembly. 
Figure 6. Screw in the assembly. 
Figure 7. Replace the grommet covers.
To watch a video on how to replace the tail light assembly in your Acura MDX, check out the clip below:
Featured Video: MDX Tail Light Assembly Replacement
Related Discussion
- How do you remove tail lights 2007 MDX - Acurazine.com