Acura TL 2009-2014: How to Convert License Plate and Courtesy Step Lights to LEDs
Replacing the license plate light as well as the interior courtesy step lights with LED bulbs is a simple, straightforward process. Here's how to accomplish this lighting upgrade in the 4th gen Acura TL.
This article applies to the 4th Gen Acura TL (2009-2014).
Replacing various lighting components with LEDs is a popular modification car owners make nowadays, and the license plate and courtesy step lights are no exception. Replacing these lights is comparable to changing an interior dome light in terms of the skill level required. Set aside some time and complete this subtle yet noticeable lighting upgrade for your 4th gen Acura TL with help from this guide.

Materials Needed
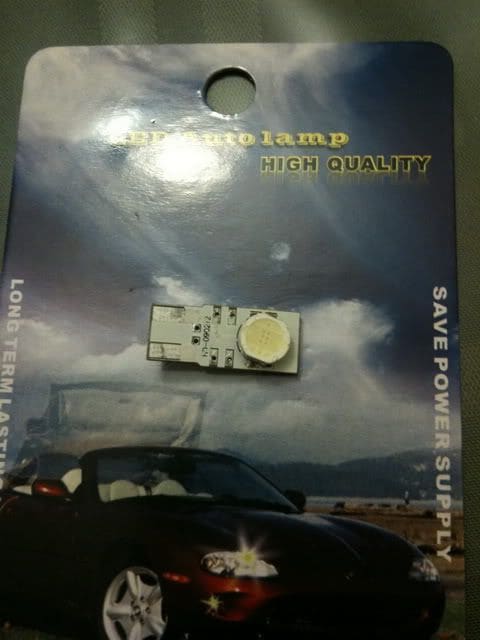
- LED license plate bulb
- LED courtesy step bulbs
- Flat head screwdriver
- Gloves
This article contains two step-by-step guides. First, we'll tackle the courtesy step lights. Replacing the license plate light will follow.
Courtesy Step Lights
Step 1 – Purchase the LEDs
Do an online search in eBay's motor section for "flank LED," and you should see a variety of LED lights to purchase. You can also visit your local auto parts store to obtain these LEDs.
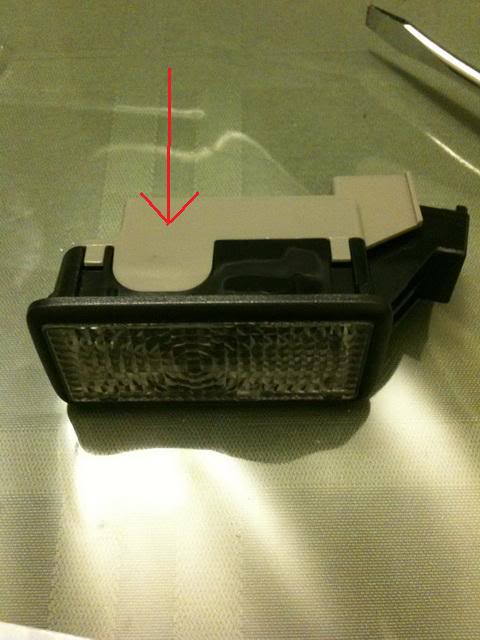
Step 2 – Pop off the light housing
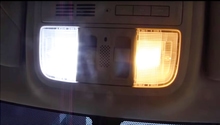
Look underneath the front doors and you should see the courtesy step light housing. Using a flat head screwdriver, pry open the gap near the edge of the housing (where the red arrow is pointing in Figure 2). The assembly should come out without much force.

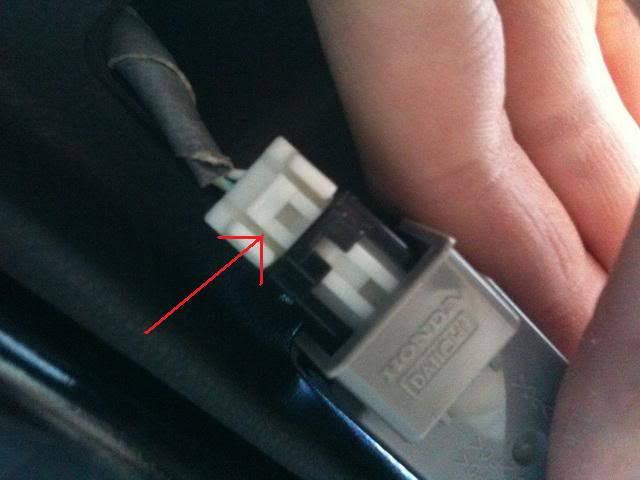
Step 3 – Disconnect the clip
Once you've removed the light housing, you'll see a small white clip attached to it. Press on this clip, and the connector to the wire will come out.
Step 4 – Disassemble the housing
Once the wire is disconnected, simply pull apart the gray piece from the black housing to disassemble it.
Step 5 – Remove the bulb
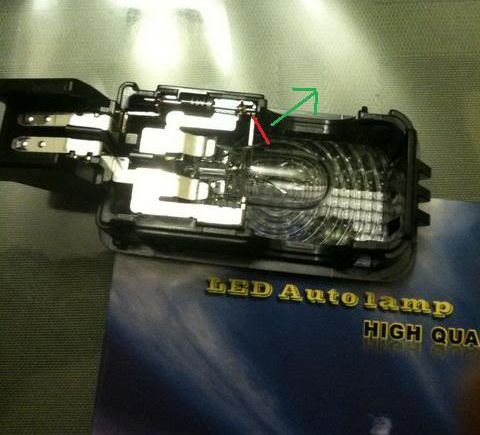
Hold the old bulb using two fingers (where the green arrows point in Figure 5), and pull it outward away from the base (towards the direction the yellow arrow points). Work slowly to remove the bulb; you shouldn't need to use much force here.
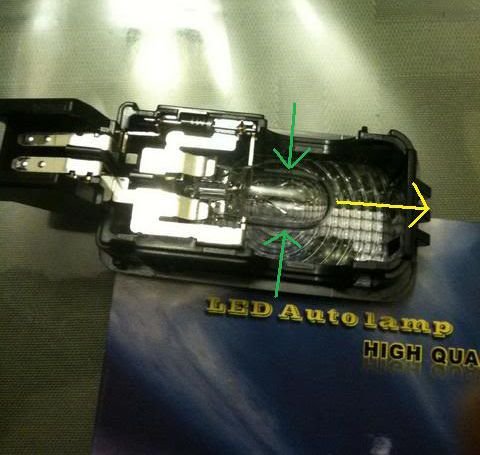
Step 6 – Replace the bulb
Wearing your gloves, insert the new bulb into the base. If the new bulb is too big to fit between the metal plates that hold it, use your screwdriver to pry the plate outward as indicated in Figure 6. You're essentially making the opening a little bit wider to adequately fit the new bulb.
Pro Tip
Why is wearing gloves recommended? You don't want to contaminate the bulb with oil from your skin, which can cause the bulb to burn out prematurely.
Step 7 – Reassemble and re-install the courtesy step light
Simply reverse the previous steps to finish the installation process.
- Reattach the gray piece to the black housing.
- Reattach the white clip/wire.
- Snap the courtesy step light back into place.
License Plate Light
Step 1 – Purchase the LED
Perform another search on eBay, this time for license plate LEDs. The search results should show a variety of inexpensive choices for your Acura TL.

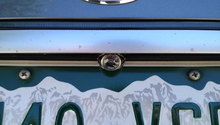
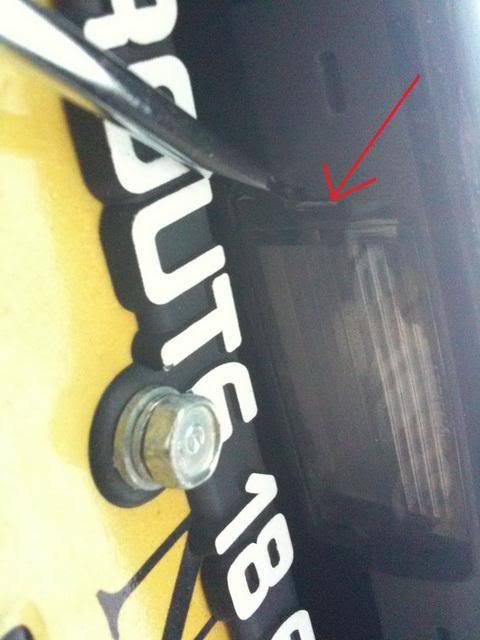
Step 2 – Pop off the clear plastic lens
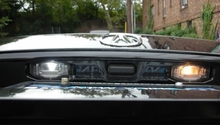
Look underneath the ridge above the license plate where you will see the license plate light. Using your screwdriver, insert it at the edge of the plastic cover and pop the cover off.
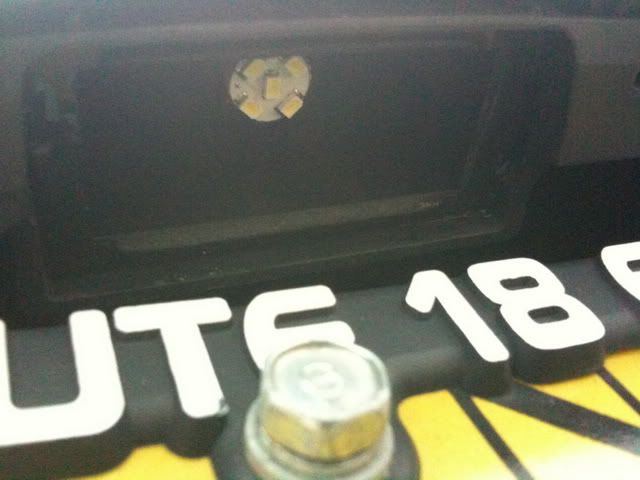
Step 3 – Remove and replace the bulb
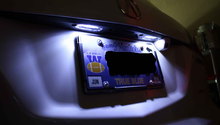
Removing the plastic cover will reveal the license plate light bulb. Pull the old bulb out of the housing. Similar to the courtesy step lights, this bulb should slide out with ease.
Put on your gloves and insert the new LED bulb into the housing. Test the new light before snapping the plastic cover back into place.
Pro Tip
If the light does not come on when you first test it, pull the LED out, flip it around, and slide it back in.
Related Discussion
- DIY LED License Plate Lights and Courtesy Step Lights - Acurazine.com