Acura TL: How to Replace Dome Light
The dome light is an oft-forgotten about component in your vehicle; that is, until it goes. Fortunately, it's cheap and easy to replace.
This article applies to the 3rd/4th Gen Acura TL (2004-2014).
Is the dome light in your Acura TL burned out or otherwise malfunctioning? Chances are, it's time to replace the oft-relied upon, oft-forgotten about component in your vehicle. Fortunately, it's a quick and easy fix, as well as something that you could do, at home, in about 10 minutes time.

Materials Needed
- Flat head screwdriver
- New dome light bulb
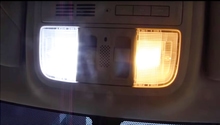
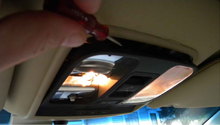
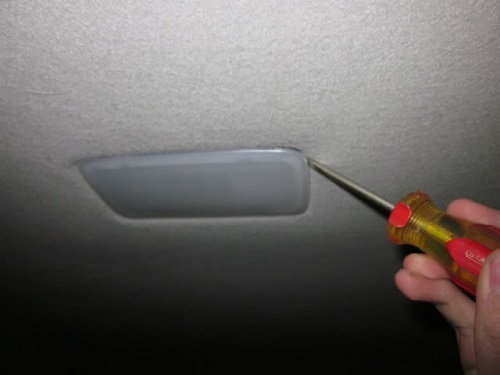
Step 1 – Pry dome light case off
Using a flat head screwdriver, pry the case off the dome light by inserting it through the crack between the case and the dome light console.
Once the screwdriver is in, pry the case off.
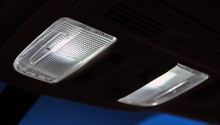
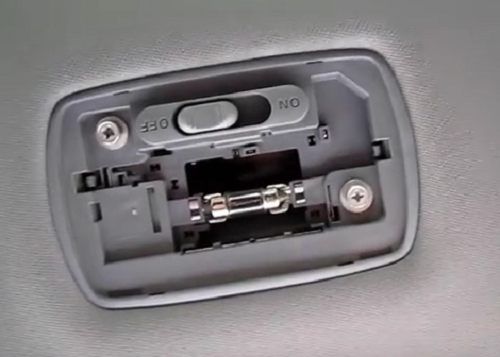
Step 2 – Remove the bulb
You now have access to the dome light bulb. Pry it out of its housing unit and discard. Using gloved hands, remove the new light bulb from its packaging and insert into the housing unit. Test the bulb to ensure it works.
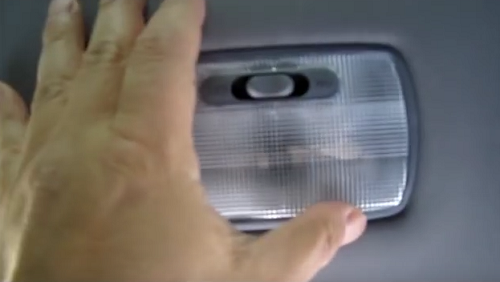
Step 3 – Replace the dome case
Assuming the dome light works, replace the case atop the light bulb and snap into place.
Featured Video: How to Replace the Dome Light
Related Discussions and Video
- 3G TL interior LED Questions - AcuraZine.com
- 4th Generation TL Dome Light Bulbs- AcuraZine.com
- How to Remove Dome Light Cover - YouTube.com