Acura TL 2004-2008: How to Install LED Interior Lighting
LED lights are brighter, better looking, and last longer than incandescent lights. This article shows you how to install LED interior lights.
This article applies to the 3rd Gen Acura TL (2004-2008).
It seems that interior lighting is often an afterthought to car manufacturers. The Acura TL is no exception with its plain yellow incandescent lighting. It does the job, so why go to the trouble? Well, it turns out LED lighting is not all that expensive, and it's easy to install on your own. When you're finished you'll be impressed at what a difference they can make.

Materials Needed
- LED wedge type bulbs (7x size 2825 bulbs and 2x size 194 bulbs)
- Soft prying tool or flathead screwdriver
- Tape
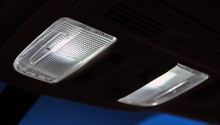
Step 1 – Replace the dome lights, door lights, and map lights
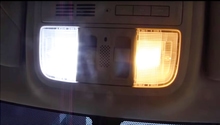
Use your prying tool to pry up the dome light cover from the front. It will pop right off. Then, reach in and pull out the bulbs. You may need to wiggle them to get them to come out. If that doesn't work you can also wrap a piece of tape around the bulb leaving a small overhang. If you pull on the overhang, it should give you enough leverage to pull out the bulb.
Insert your new LED bulbs. Test the light to make sure they turn on. If they don't turn on at first, try turning the bulbs around. LEDs are sensitive to polarity so they need to be plugged in the correct way. When you're finished, snap the dome light cover back into place.
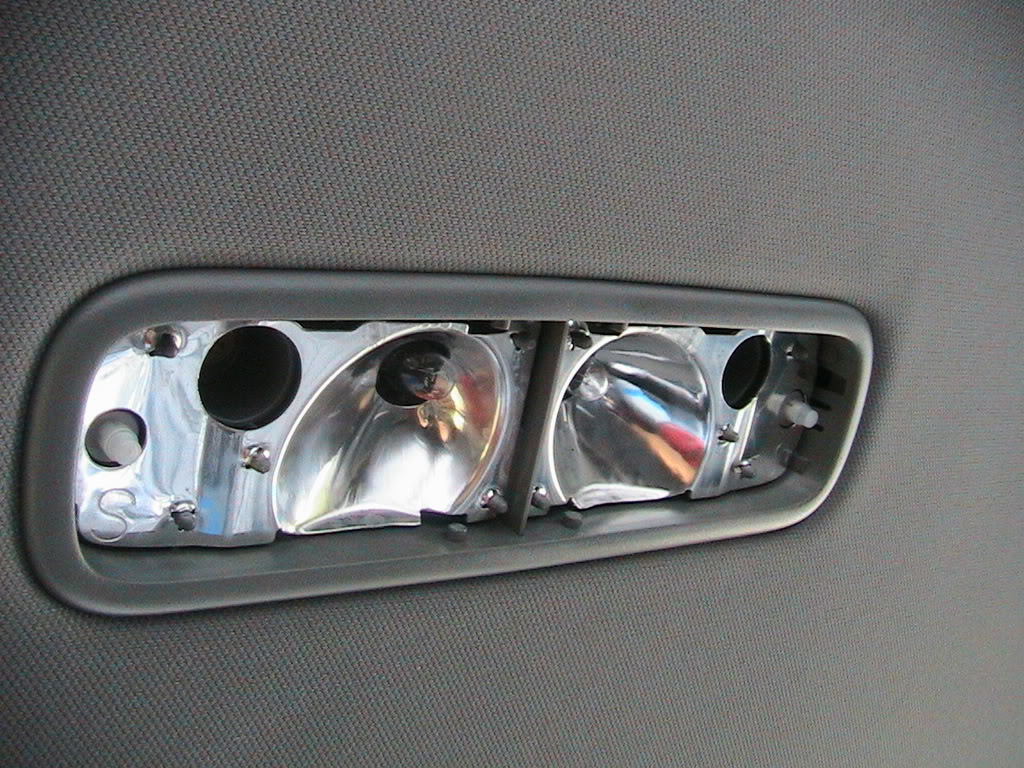
Figure 1. Remove the dome light cover. 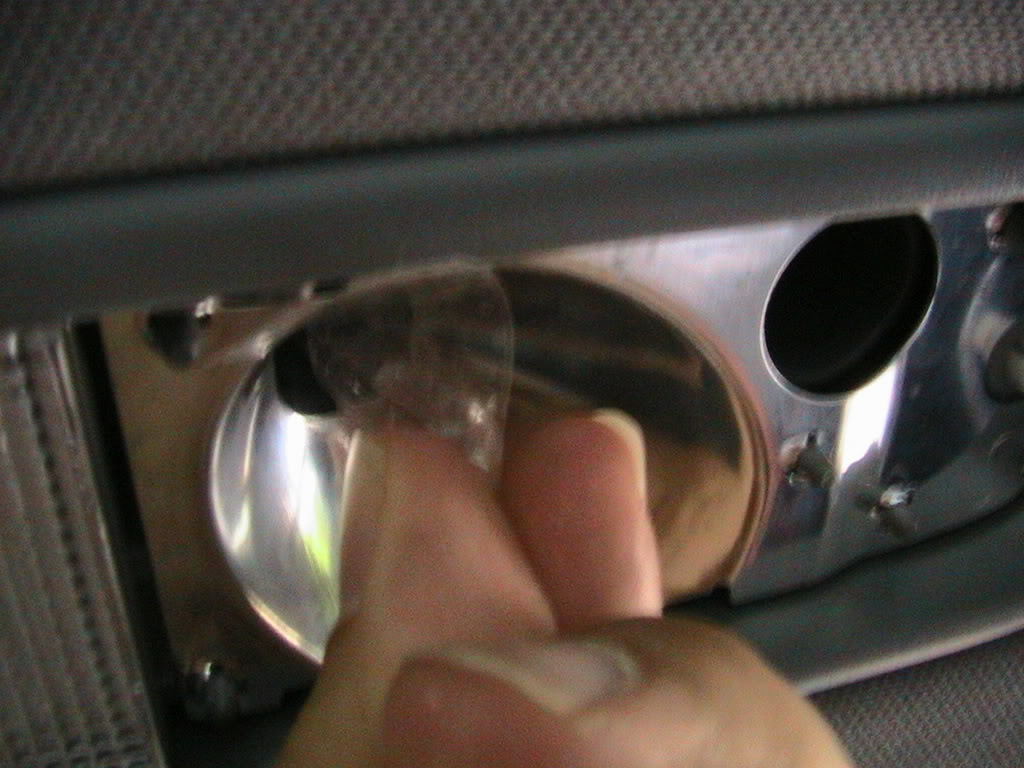
Figure 2. Remove the dome light bulb.
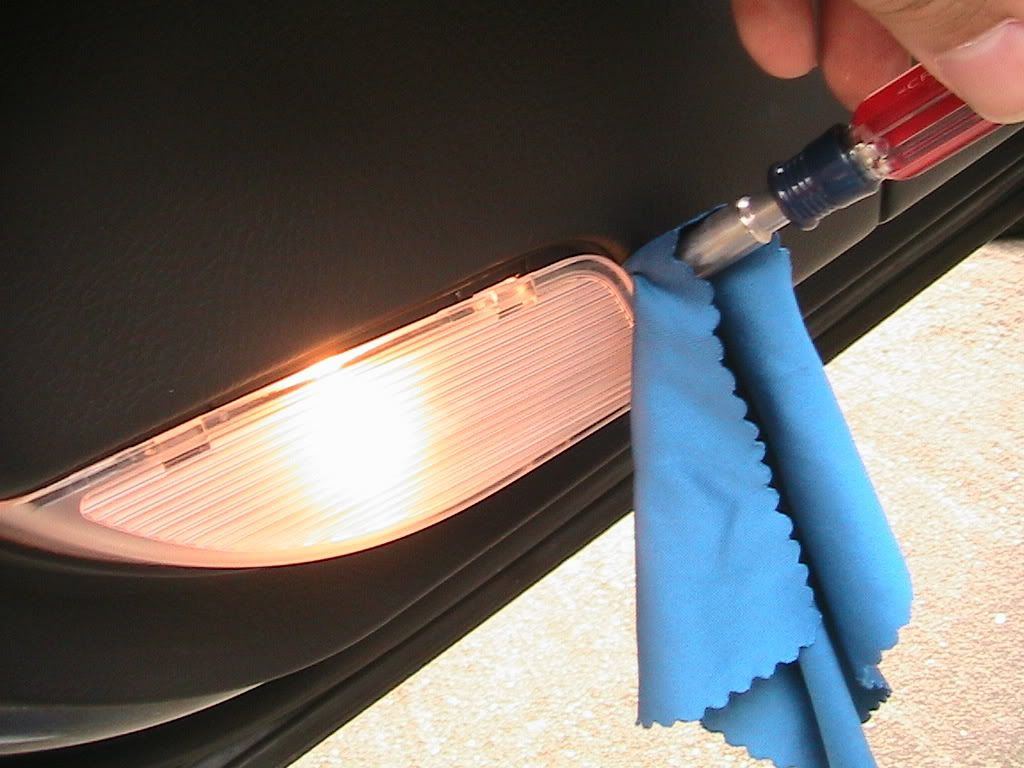
The door lights are even easier. Just open the door and pry off the cover from the top or the side. Pull out the bulb, then insert the new bulb. Test the light, then snap the cover back into place.
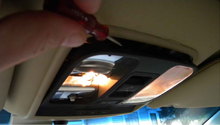
Moving on to the map lights; like the others, the cover simply pops off when you pry at it. Disconnect the old bulbs, then insert the new bulbs. Test the lights, then return the cover.

Pro Tip
If you find that the lights are still not turning on, try bending the leads on the bulbs out a little. It will make more contact with the plugs.
Step 2 – Replace the vanity mirror lights
These are a bit trickier to install due to the difficulty in removing the light cover. You'll want to take your time when prying off the light cover because it's thin and might break.
On the driver's side, pry it from the right side facing the mirror, and for the passenger's side, pry from the left side. Once you get the pry tool under the cover, carefully wiggle it until the cover comes loose. Once it does, take out the factory bulb and install your new bulb. Test the lights, then return the light cover.
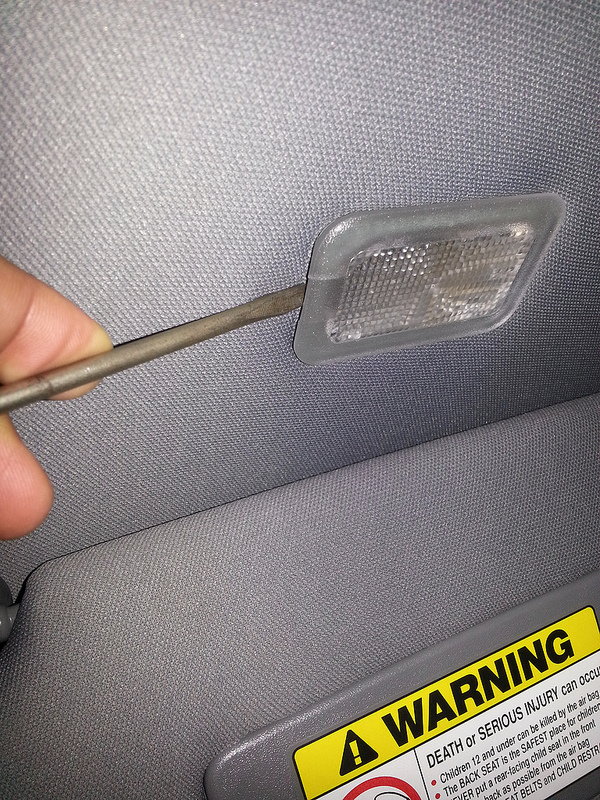
Figure 5. Pry on the outside of the light housing. 
Figure 6. Replace the vanity mirror bulb.
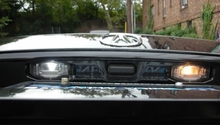
Step 3 – Replace the trunk lights
The trunk light is a bit different. Open the trunk and look at the light cover. You should see a small indentation on one side. Pry it out from that side, then pull it out at an angle. Disconnect the factory bulb and insert your replacement bulb. Test the light, then return the light cover.

Related Discussions
- Interior LED install with pictures - AcuraZine.com
- 3G Acura TL bulb sizes list - AcuraZine.com
- Visor light removal - AcuraZine.com