Acura TL 2004-2008: How to Install an Aftermarket Amplifier
An aftermarket amplifier could vastly improve the quality of the stereo in your TL. This article shows you how to install one.
This article applies to the 3rd Gen Acura TL (2004-2008).
There's only so much you can do to improve the stereo quality of your factory stereo system. But one accessory that is sure to have an impact is an aftermarket amplifier. An aftermarket amplifier gives you more control over your stereo system and can allow you to upgrade even further with higher quality speakers.

Materials Needed
- Aftermarket amplifier
- Line driver
- Multicolor wires
- Speaker wire
- RCA cables
- In-line fuse holder and fuse
- Ring terminals
- Ratchet and socket set
- Plastic trim tool
- Wire cutters
- Wire crimpers
- Wire strippers
- Soldering iron and solder
- Heat shrink
- Hair dryer
The power and ground wire sizes and fuse size you'll need will depend on the wattage of your amplifier. Check out these calculators if you need help figuring out the correct sizes. Whenever you're working on something electrical, it's always safest to disconnect the battery beforehand.
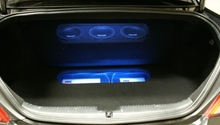
Step 1 – Decide on where to mount the amplifier
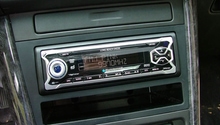
Whenever you're installing a significant upgrade like an amplifier, it will require some planning. Most people like to install their amplifier to the trunk while others will install it under the seats. It should go wherever you have room and you can move your wires to. You'll likely need a mounting bracket to hold the amplifier steady. Keep in mind that if you're using the factory head unit, you'll also need a line driver to boost the signal from the head unit to the amplifier. The rest of this article will be covering a trunk installation.
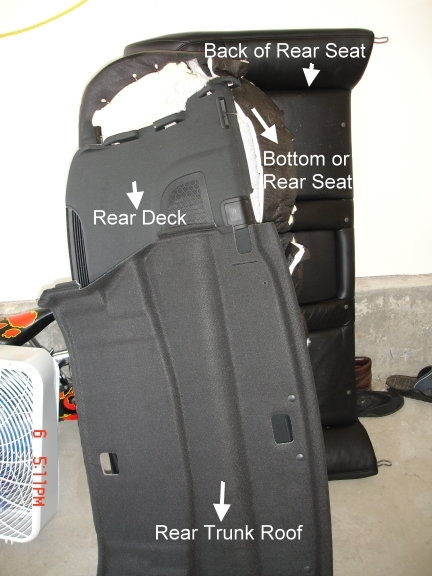
Step 2 – Remove rear seats, rear shelf and side trim
These are the components you need to remove before you route the wires.
For the rear seats, remove the bolt hidden in the back of the cushion then pull the two tabs at the bottom to release the seat cushion. There are two bolts at the bottom of the seat and two more hidden under the head rests. Remove the bolts then remove the rear seats.
Pry up the clips on the rear shelf then pull it towards the front of the car to remove it. The pillar trim and bottom side trim can all be pried up using a trim tool.
Step 3 – Route power wire
To get the power wire from the battery to the trunk you'll need to go through the firewall. There is a grommet in the center of the firewall which you can route the power wire through.
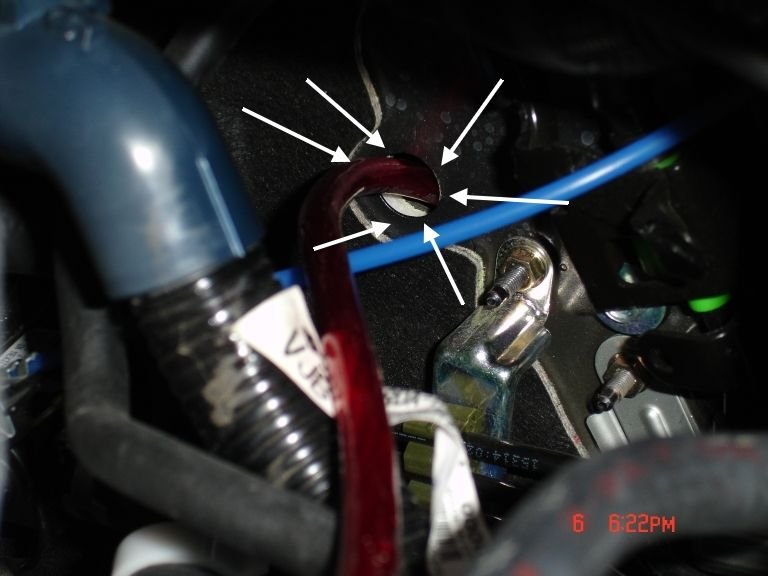
After that you'll need to move it under the trim up to where the rear seats used to be. Then, route it into the trunk to your amplifier.

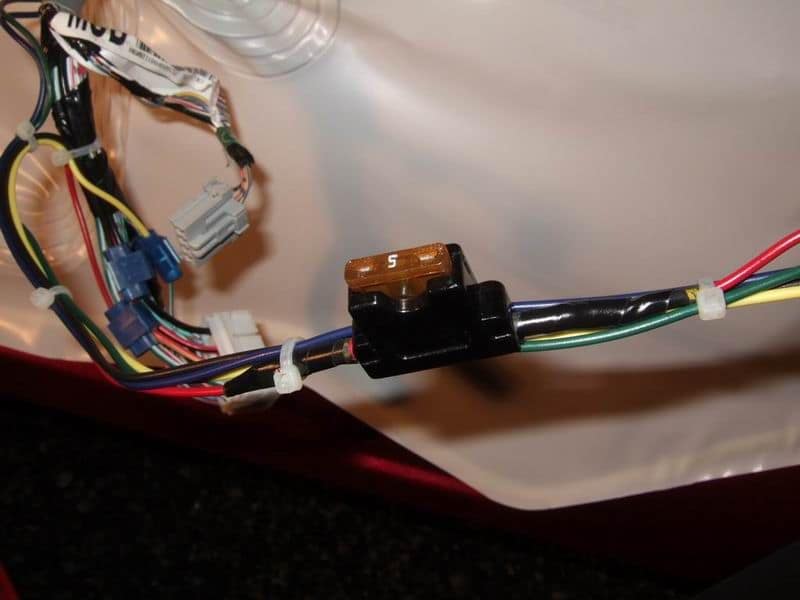
Step 4 – Install fuse to power wire
Solder a fuse holder to the end of the power wire facing the battery and insert a fuse. Then, crimp a ring terminal to the other end of the fuse holder. Bolt the power wire and fuse holder to the positive battery cable, but make sure that the battery cable is disconnected from the battery first.
Step 5 – Route ground wire
Pull up the trunk lining and look for a ground point in the back of the trunk. Take your ground wire and crimp on a ring terminal. Wrap the connection in heat shrink then route the wire to your amplifier.

Pro Tip
Make sure that the ground point connects directly to the chassis and that the connector is touching clean, unpainted metal.
Step 6 – Route speaker wires
If you're using the factory speakers, then you can use the factory speaker wires. Cut the factory speaker wire harnesses then crimp on your new speaker wire to the end of the factory wire. Route the new speaker wire to the amplifier.

Step 7 – Install line driver
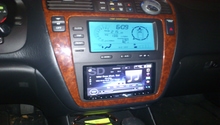
Take out the glove box by detaching the hooks on the sides then swinging it down and removing the two bolts in the back. This should reveal the factory amplifier. Unplug the electrical harnesses connecting to the factory amplifier. All you really need are the wires. You can leave the amplifier if you want.
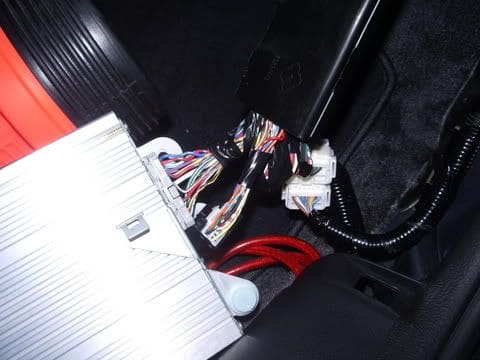
Cut off the ends of the wire harnesses then unbundle the wires. You'll need to look up the color coding for the wires in order to properly connect them to your line driver. Solder the RCA wires to the factory radio harness wires. Route the RCA wires to the line driver and plug them in.

Pro Tip
It's best to keep the stereo and radio wires away from the power and ground wires to reduce noise.
Step 8 – Install amplifier
Now you can mount your amplifier and connect the appropriate wires from the line driver to the amplifier. Connect the speaker wires to the amplifier and the ground wire to the amplifier. Then, finally, connect the power wire to the amplifier. When you're ready to test and configure the amplifier, reconnect the battery cables.

Related Discussions
- DIY: aftermarket amp install, speaker install, AudioControl Matrix install - AcuraZine.com
- Mounting amps and still using the trunk? - AcuraZine.com