Acura: Car Stereo Sound Diagnostic
Diagnosing a problematic stereo system is not as hard as you may think. Here are some steps to take.
This article applies to the Acura MDX, RDX, TL, and TSX.
Its amazing how much longer your commute feels when you are unable to listen to the radio. Besides listening to your favorite artist, newscasts and commercials, the radio provides a platform to let drivers safely create their own personal oasis. So when the stereo fails, its easy to see why people become irate. If any sort of problem occurs in the system, the quality of sound is usually the first thing to go. Sometimes the sound quality gets progressively worse, resulting in annoying buzzing sounds, random moments of silence, and even issues with power. To help you locate the source of the issue, we've compiled a list of common problems that can cause your radio to malfunction.

Materials Needed
- Screwdriver
- Trim removal tool
- Ratchet set
- Wrench set
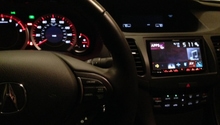
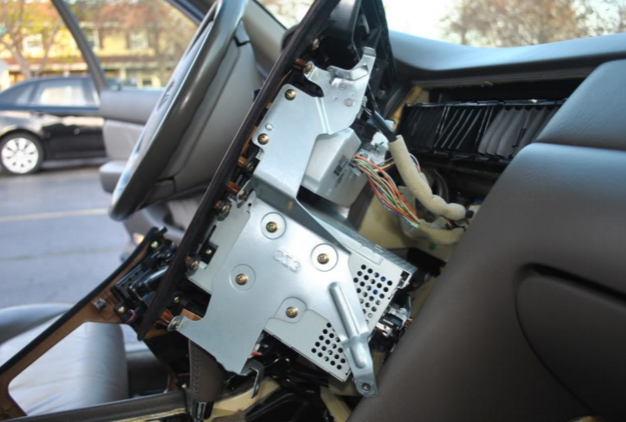
Step 1 – Check the cables
They might be loose.
What if all the problems you have been experiencing, from random sound outages to problematic head units, were only due to a couple loose cables? Fortunately, this is a very common problem that occurs on all types of vehicles, where the head unit may have been mishandled, resulting in the cables being loosely installed. To check the cables, remove the head unit from the center console and push each cable into place, then test the radio system.
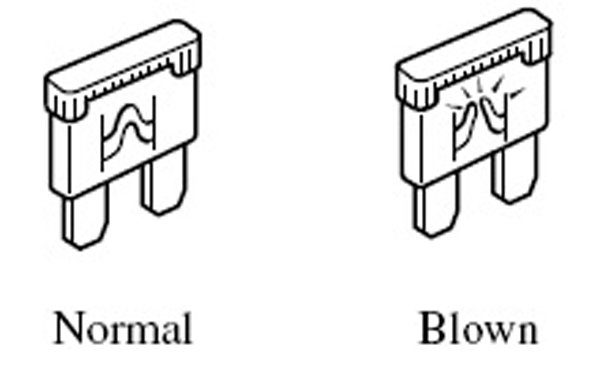
Step 2 – Check the radio fuse
A fuse might be blown.
It should be noted that although this will fix the power problem, you still may need to find out what caused the short circuit in the first place. Every single electronic accessory in your car is protected by the fuse block. So whenever there is a short, the fuse gets blown as opposed to the actual head unit. Locate the 15 ACC fuse in your fuse panel and check it using a spark tester. Replace it if necessary.
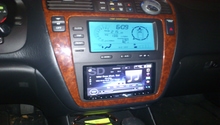
Step 3 – Check the speaker covers
The trim might be loose.
Do you experience a weird buzzing noise when the speakers are NOT turned on? Although it may sound odd, some people always have their radio on, so the buzzing noise may get mistaken for the actual speaker as opposed to the cover itself. There have been many complaints regarding the rear speaker cover on MDXs, where it constantly vibrates while the vehicle is in motion. To fix it, take some foam, and place it between the speaker and cover face.
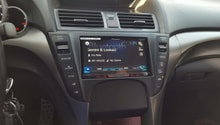
Step 4 – Check the speakers
They may be worn out.
If the speaker is still creating a slight buzzing noise that tends to get worse as the volume increases, the unit itself may just be going bad. Make sure it's the speaker by check the cables that connect to it, ensuring they are sending the proper signals. If everything checks out, remove the affiliated door panels and trim pieces to access and replace each speaker.
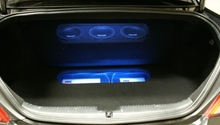
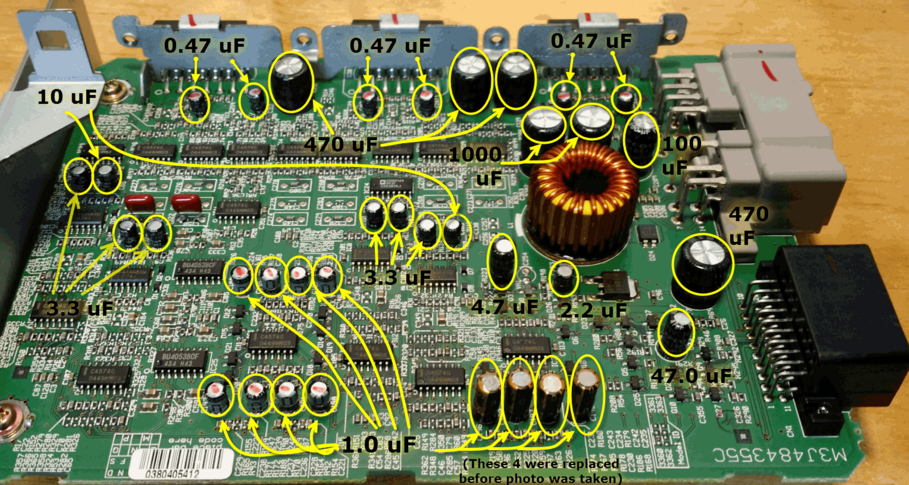
Step 5 – Check the amplifier
The amplifier might be toast.
If the buzzing noise is coming from every speaker, then there's a chance that it is not every unit that's faulty, but rather the amplifier. The amplifier is located under the passenger side footwell. Instead of spending up to $400 to purchase a replacement unit, many owners have opted to just replace the capacitors on the amplifier board itself. Remove all of the old capacitors shown in Figure. 5, and solder in the replacements.
Related Discussions
- Radio not working/ no music coming out - Acurazine.com
- High pitch sound from stereo - Acurazine.com
- Radio/Handsfree link/CD player noise/static/buzzing - Acurazine.com
- HOW TO: OEM Audio Amp Repair - fix buzzing/noise/no volume! - Acurazine.com