Acura TSX 2009-2014: How to Install an Aftermarket Stereo
Installing a new radio system is not as hard as you may think. Here's what you need to know.
This article applies to the 2nd Gen Acura TSX (2009-2014).
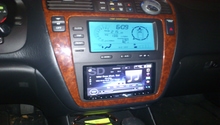
Music has been appreciated since the dawn of man, so it's no wonder a car owner wants better ways to listen to their favorite genres. Aftermarket head units offer chances to upgrade an audio system in a number of ways, such as adding in special components like Bluetooth compatibility, extra ports of additional audio equipment, satellite radio and more. Head units are also available in a variety of different styles that allow you to fully customize the visual appeal of your center console. Check out how easy it is to install an aftermarket head unit into your TSX.

Materials Needed
- Screwdriver
- Trim remover tool
- Aftermarket head unit harness (Metra 70-1730)
- Double-din center trim
Step 1 – Remove the center console trim
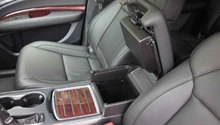
The first thing you need to do is access and remove the original radio system. Grab the ashtray panel and pull it upwards; it's held by clips, so it should easily pop off. Pull out the buckle on either side of the console assembly. Remove the two screws holding the side center console trim pieces in place, then pry off each panel.
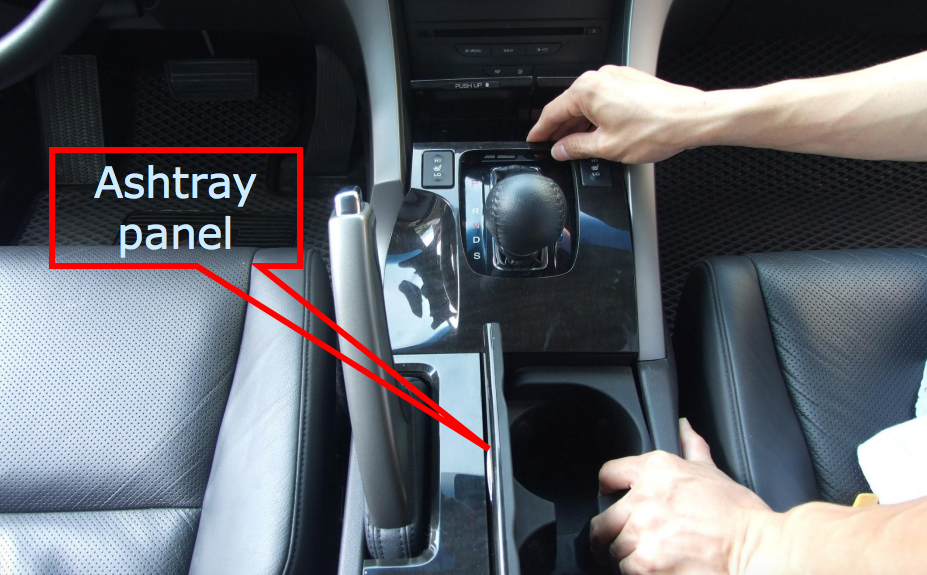
Figure 1. Pry up the ashtray panel. 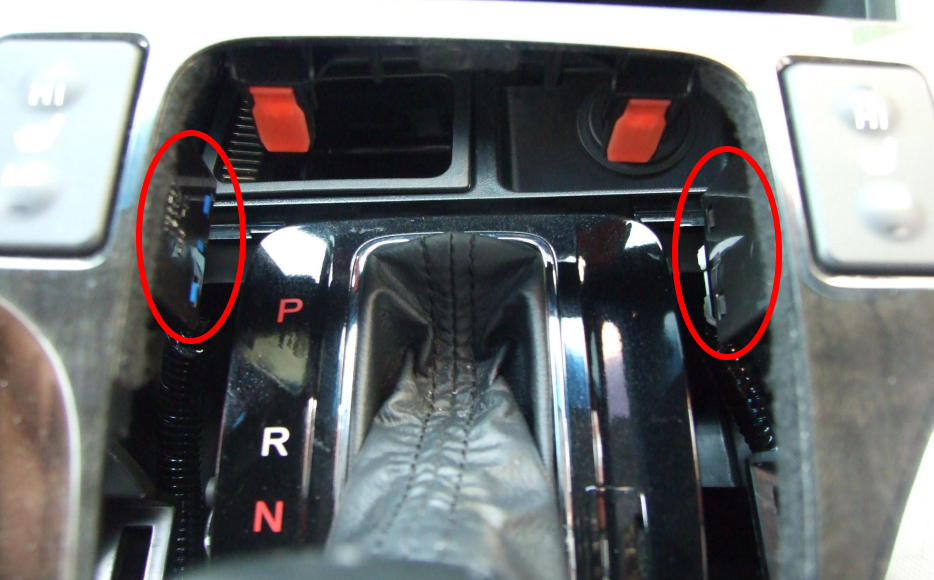
Figure 2. Pull out each buckle. 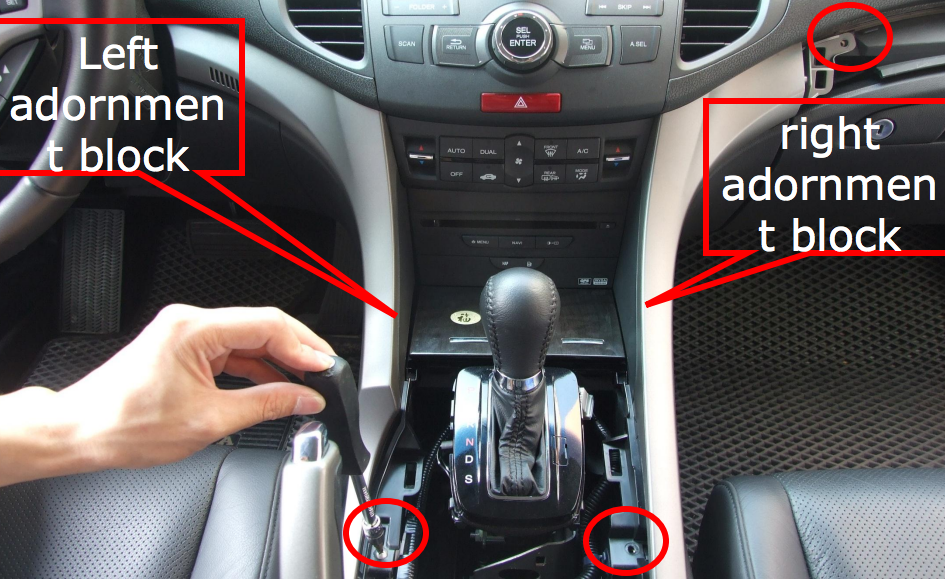
Figure 3. Loosen both center console screws.
Step 2 – Access the old radio
- Loosen the bolt holding the ashtray in place.
- Remove the ashtray and disconnect its connector.
- Loosen the four screws holding the climate control panel.
- Remove the climate control panel and unplug the connectors.
- Remove the DVD box by loosening the four bolts holding it in place.
- Loosen the last two bolts holding the radio in place.
- Remove the old radio panel by pulling it out of its place, and unplug all of its connectors.

Figure 4. Remove the ashtray. 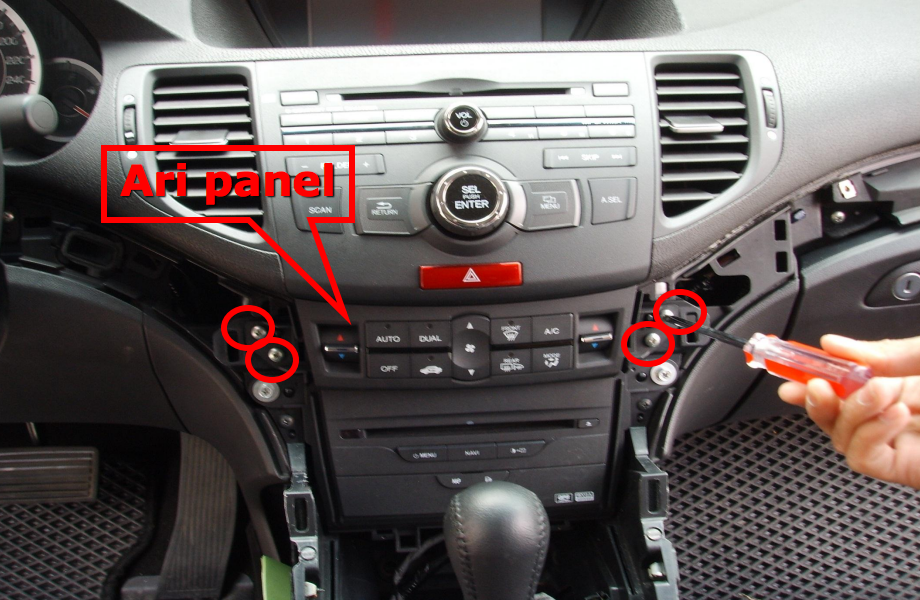
Figure 5. Remove the climate control panel. 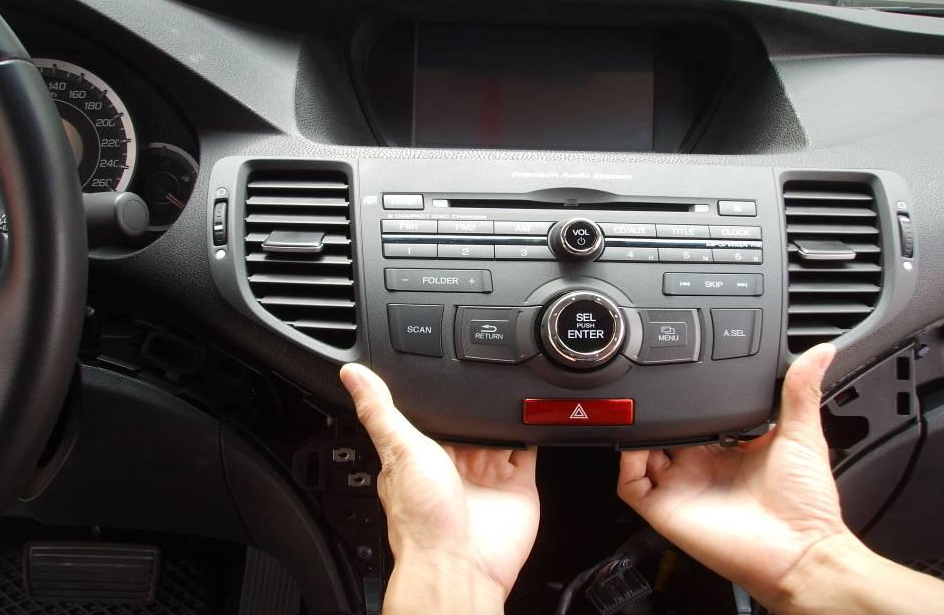
Figure 6. Remove and disconnect the old head unit.
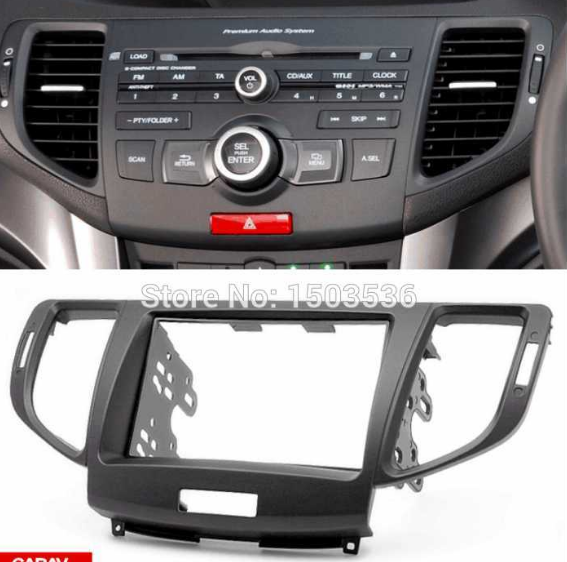
Step 3 – Install the double din panel
Aftermarket head units require a special double din panel in order to fit snug into the center bezel. Transfer over the hazard light button and vents into the new panel, then clip it into place.
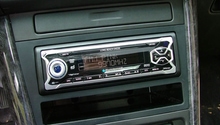
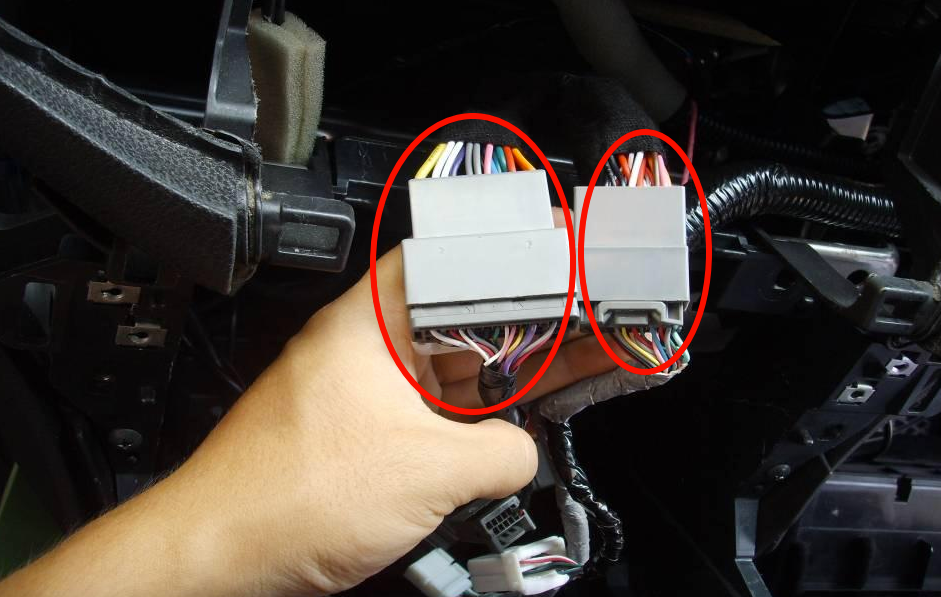
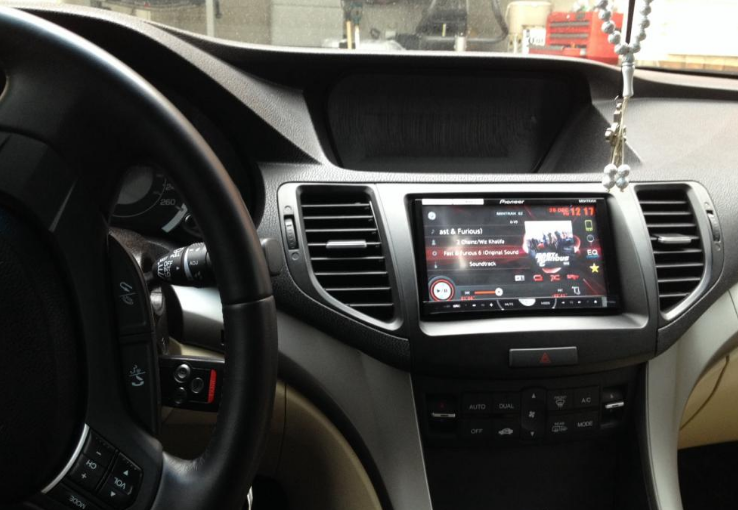
Step 4 – Install your new radio
Grab your new harness adapter and plug it into the stock connectors. Your harness will actually come with a pinout so you know where exactly to plug each wire into.
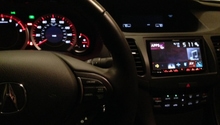
Now, if the radio is Bluetooth compatible, route the mic through the headliner and down one of the A-pillars. Connect it to the radio and install the head unit into the center console. Reassemble the center console and enjoy your new radio.
Pro Tip
If you want to retain steering wheel controls, you'll need to splice in a steering wheel adapter harness. We recommend the PAC SWI-RC.
Related Discussion
- Aftermarket stereo Install. DIY/Guide. - Acurazine.com