Acura MDX: How to Remove Center Console
There are a bunch of components underneath the center console in your Acura MDX. In order to access them, you will need to remove the console itself.
This article applies to the Acura MDX.
If you need to update or fix a piece of technology in your Acura MDX, chances are, you will need to remove your center console in order to access the system fully. Doing this might seem straightforward, but it’s actually a bit of a pain because in addition to the screws and bolts that hold the consoles in place, there are a million hidden clips too. To learn how to remove the center console in your Acura MDX, read on.

Materials Needed
- Flat- and Phillips-head screwdrivers
- Socket wrench set
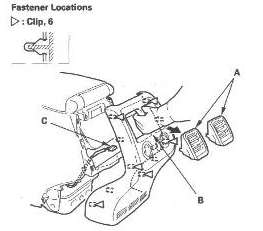
Step 1 – Remove shift console panel
- Pull the beverage holder up, and then remove it in order to fully detach the clips.
- Remove the shift indicator trim ring, and gently detach the clips. Doing this will remove the console panel.
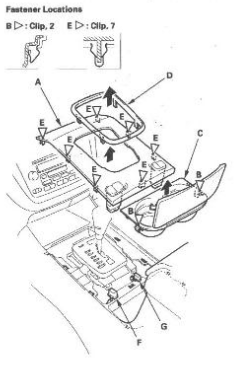
Step 2 – Remove trim, covers, and clips
Locate the center panel’s lower trim and detach the clips by hand. Locate both front seat riser covers – detach the clip and release hooks. When complete, remove driver’s side console trim first, then the passenger’s side console trim.

Step 3 – Remove rear vents
Reach into the air vent holes, grab the console rear trim, and pull. Disconnect the rear heater A/C passenger’s control panel-unit connector.
Step 4 – Remove center console
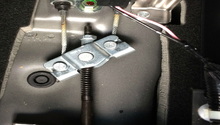
On both sides, remove the exposed bolts and screws. Place on the side for safekeeping. Now detach the console’s harness clip and pull the console back to detach the clips. Lift the console up, disconnect the accessory socket sub-harness connector, and remove the console.
When you’re ready to re-install the center console, reverse the order of what’s described above. You may want to replace all damaged clips, double-check to ensure all connectors are plugged in the corrector, and take extra care to push clips into place.
Related Discussion
- Removing Center Console - Acurazine.com