Acura TL 2004-2008: How to Install a Dash Camera
Dash cams can record your trip and can provide witness to accidents. This article will show you how to install the dash camera so that the wires are hidden, and it doesn't require hardwiring.
This article applies to the 3rd Gen Acura TL (2004-2008).
When you're out on the road, anything can happen. A car can come out of nowhere and clip you, and unless you have a witness it's going to be difficult to prove who's at fault. That's where dash cameras come in. A dash cam is a small device that mounts to your windshield, often behind the rear view mirror. It can be used to record performance driving, or to record a collision if you need it for an insurance claim.

Materials Needed
- Dash camera
- Plastic trim tool
- Phillips screwdriver
- Modified coat hanger
- Tape
This article assumes that your dash camera, like most, uses a cigarette lighter adapter. If yours does not, then you'll need to hardwire it to an existing wire in the car.
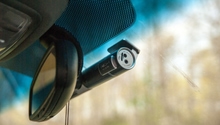
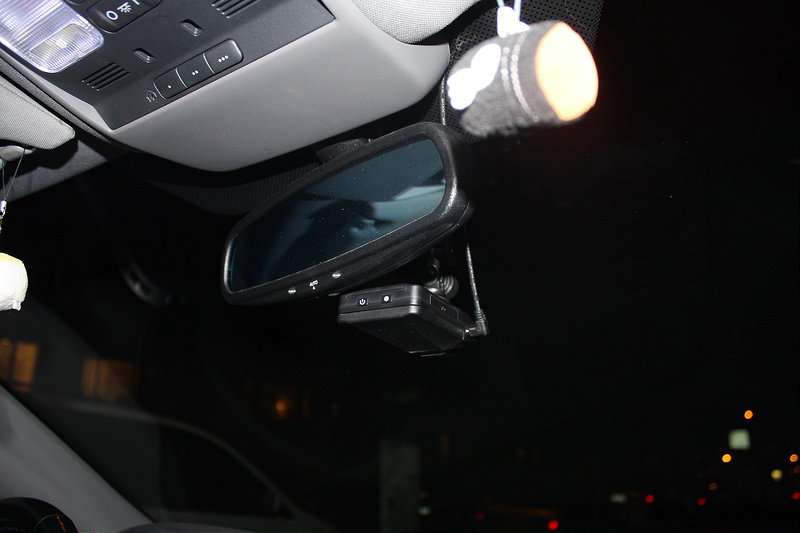
Step 1 – Mount the camera
Most kits use a suction cup to mount the camera onto the windshield. Some models also allow you to mount to the shaft of the rearview mirror. Tilt the camera so that the entire front of the vehicle is in its view range.
Step 2 – Route camera wire down the passenger side A-pillar
Push the wire up into headliner towards the passenger side A-pillar. Then, tuck it in along the outside of the A-pillar down to the passenger kick panel. If you're having trouble getting the wire properly hidden, use a trim tool to push it farther in. Pry off the passenger kick panel and route the wire behind the panel.
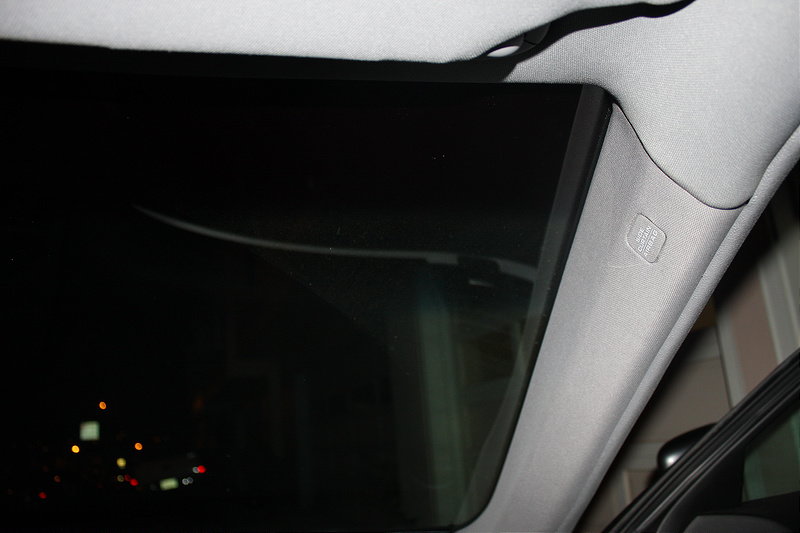
Figure 2. Route camera wire above the headliner and along the outside corner of the A-pillar. 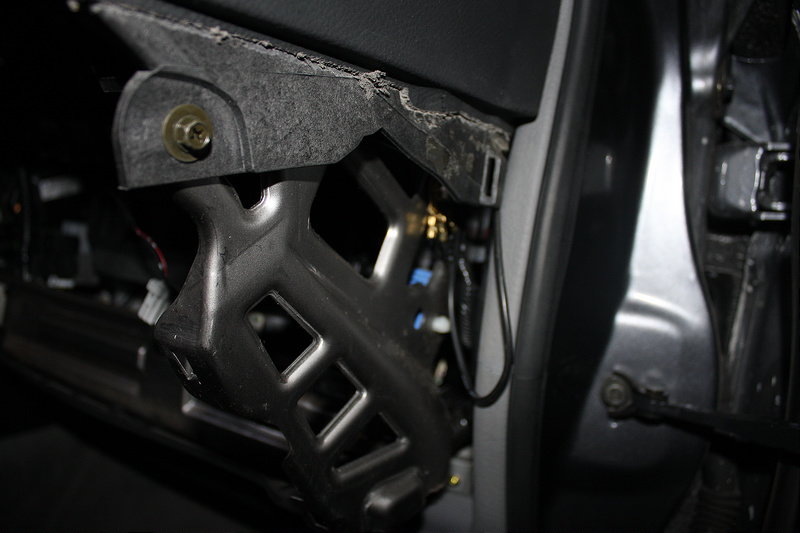
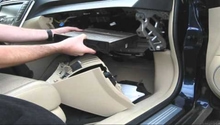
Figure 3. Route wire behind the passenger kick panel.
Step 3 – Remove glove box
Open the glove box and remove the two hooks that latch to the side of the glove box. Remove the two stoppers on either side. Then, drop the glove box down and remove the two screws in the back. Set the glove box aside.

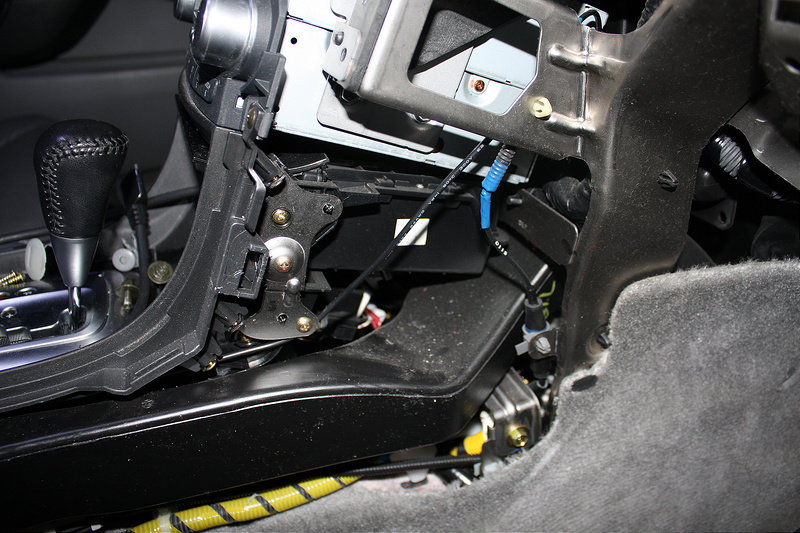
Step 4 – Remove center console trim and side panel
On the passenger's side of the center console, remove the trim along the corner using your trim tool. Then, remove the screws along the side of the center console. There will be one screw at the back near the armrest, another next to the radio, and two more at the front edge. Pry the side panel loose from the top to disconnect the clips, then set the panel aside.
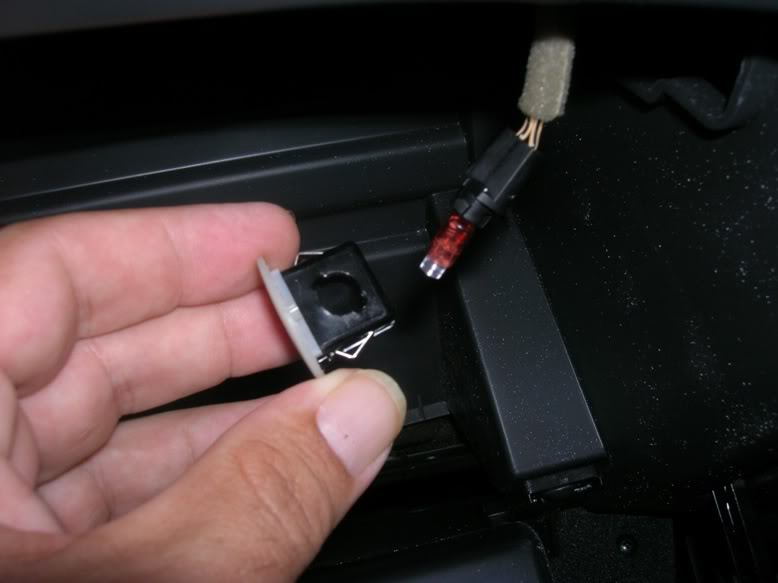
Step 5 – Remove the armrest compartment light
You may have noticed that small white circle inside your armrest compartment. Pry it out with your trim tool until you can see the rest of the light assembly. Disconnect the light and set it aside.
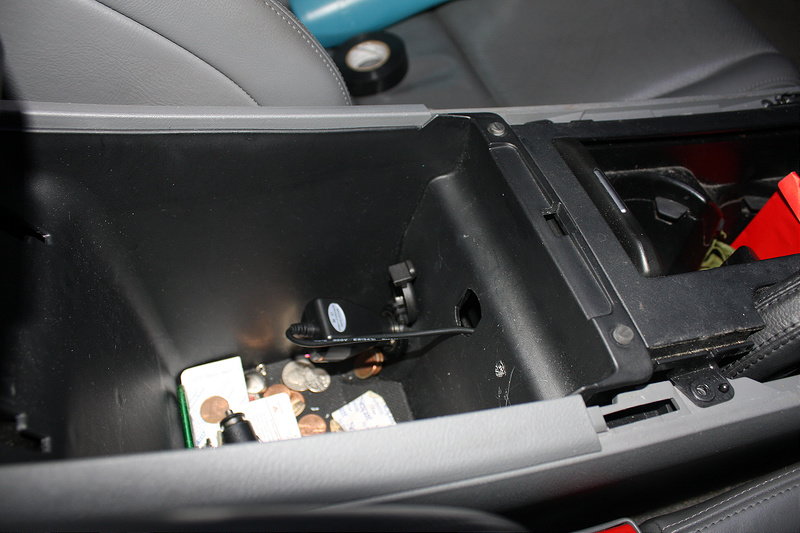
Step 6 – Connect the dash cam wire
Continue routing the dash cam wire behind where the glove box sits. Use zip ties to hold it up. Then, route it down the side of the center console. To get the wire the rest of the way inside the armrest compartment, tape the wire to a modified coat hanger then fish it up from under the center console. Once you get it inside, plug it into the cigarette lighter plug in the armrest compartment.
When you're finished, return the center console side panel and trim. Then, return the glove box and passenger kick panel.
Related Discussion
- DIY: installed a digital dash camera onto the car, aka DVR - AcuraZine.com