Acura TSX 2009-2014: How to Install JDM Hazard Button
Installing a JDM hazard button in place of your current OEM hazard button definitely gives your Acura TSX a bit more flair. Installing one is easy enough and can be done at home, saving you a decent amount of cash.
This article applies to the 2nd Gen Acura TSX (2009-2014).
Installing a JDM hazard button is a nice interior mod that you can make to your Acura TSX.

Fairly inexpensive, adding this particular button gives the cabin a bit more flair, and certainly draws interest to the center of the car’s dash. It’s an easy to do project, that takes hardly any time at all. Here’s how:

Materials Needed
- JDM hazard button
- Phillips-head screwdriver; flat-head screwdriver
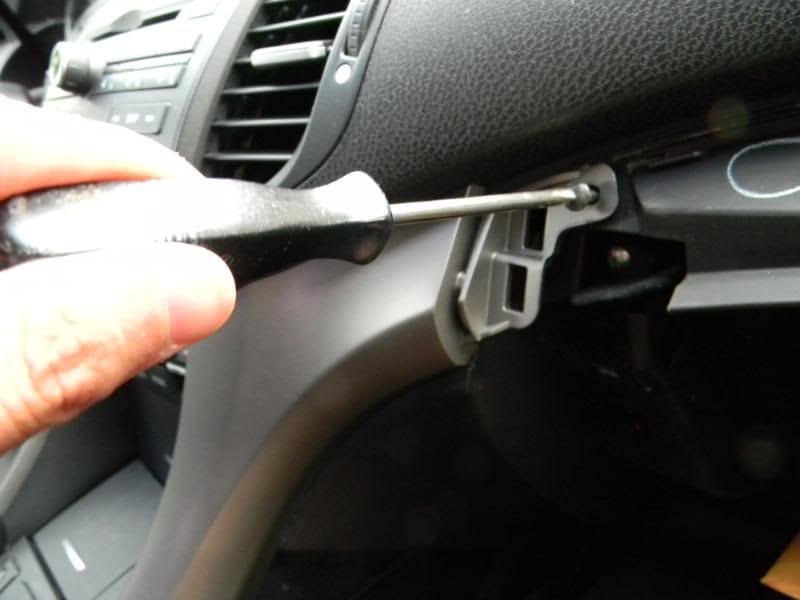
Step 1 – Remove the trim
Begin by removing the grey dash trim right above the glove box (it’s held in by a few clips). Start by using a flat-head screwdriver to carefully get underneath the trim, and then move on to pull it up from the bottom and to the right side.
You’ll feel a bit of resistance on the right corner of the passenger side. This is because there’s a screw there, so undo it and remove.
Now go ahead and pull the trim up and around the shift knob area. It’s recommended you open up the outlet and ashtray prior to doing this. Pull up far back enough that the cup holders come loose.
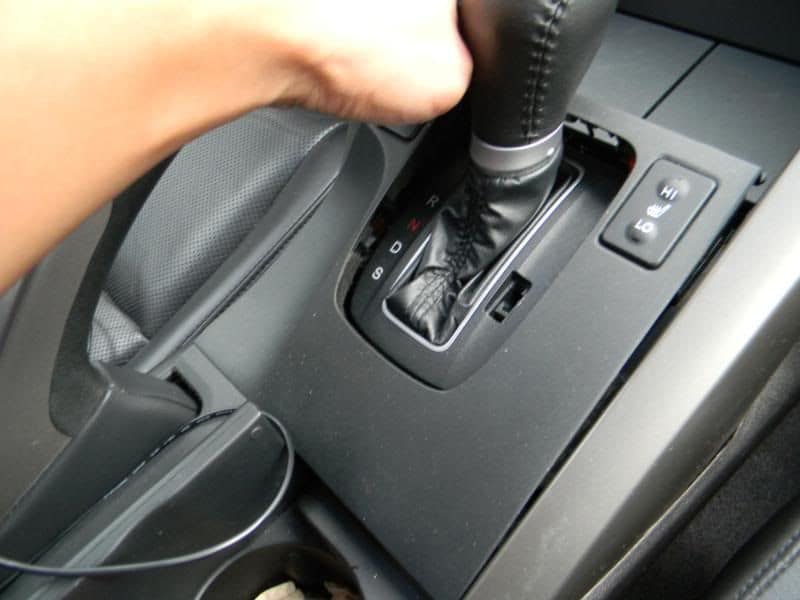
There’s one screw on each side of the trim still holding it in place—they’re both underneath the shift knob trim. Remove both trims.
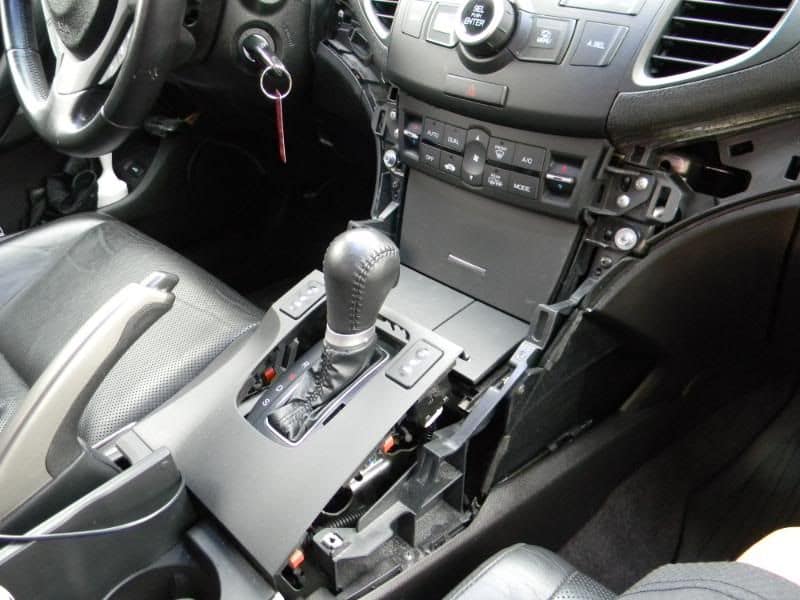
Step 2 – Remove the A/C unit
There are four screws holding the A/C unit in place, undo them and pull them out. Doing this allows for greater working area to pull out the OEM deck.
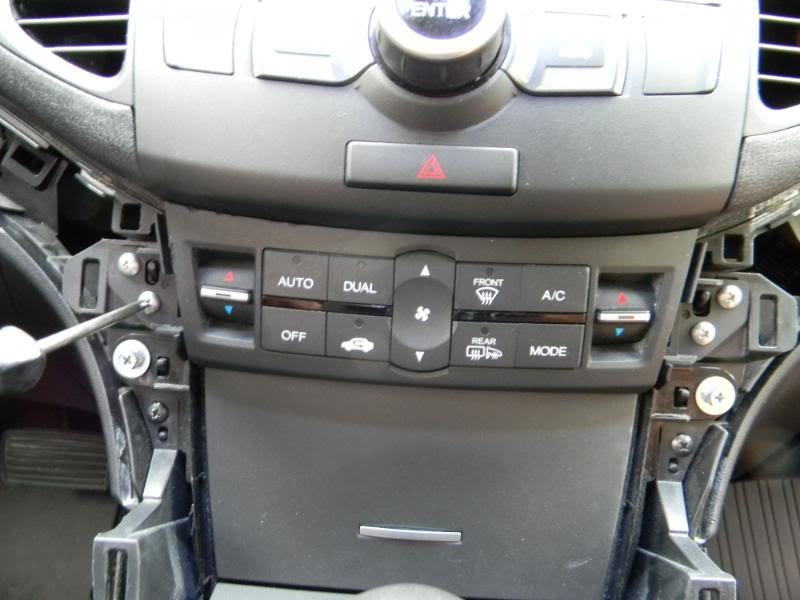
Figure 6. Remove the A/C set screws. 
Figure 7. Pull up the A/C control unit.
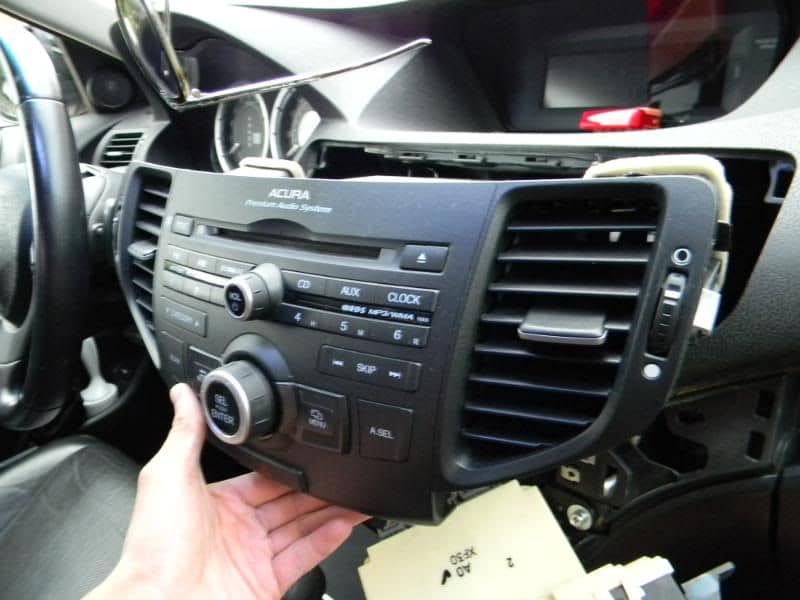
Step 3 – Remove the OEM deck
Pull at the bottom of them OEM deck gently. It’s recommended to pull at an upward angle instead of pulling straight forward.
Disconnect the wire harness from the old hazard button—it’s held by a white clip. There is the option to disconnect all the wires to make it easier to unscrew the hazard button out. It’s an option to make things easier, but not necessary. Everything’s held in by only two screws.
Step 4 – Put in the JDM hazard button and reinstall
With the center stack removed, you now have back-facing access to the hazard button. Unscrew it and pop it out. Slip the new one in, refit the set screws and reconnect the electrical connectors.
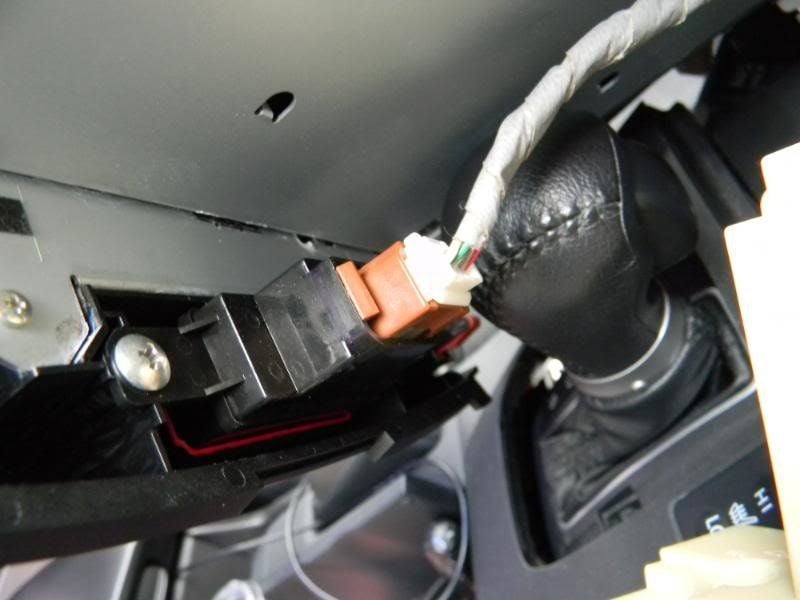
Figure 9. Remove mounting screws and connector. 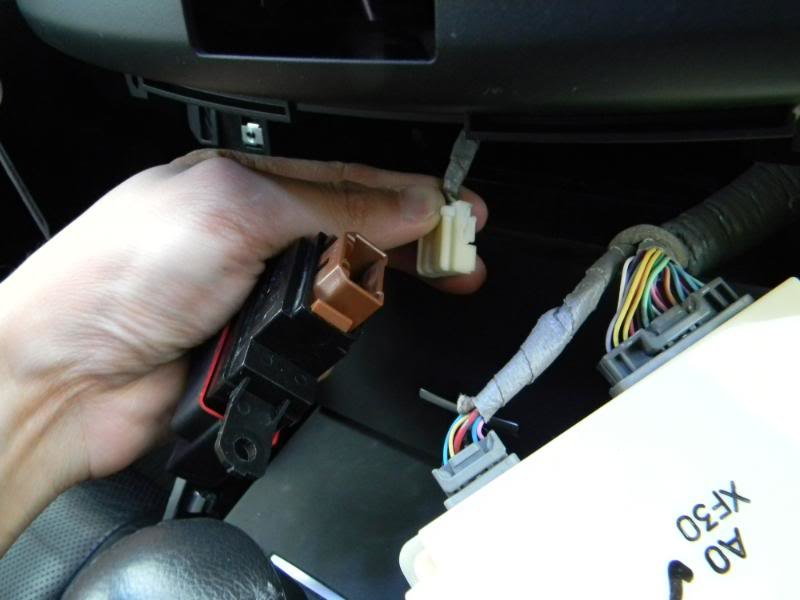
Figure 10. With new button in place, reconnect the connectors.
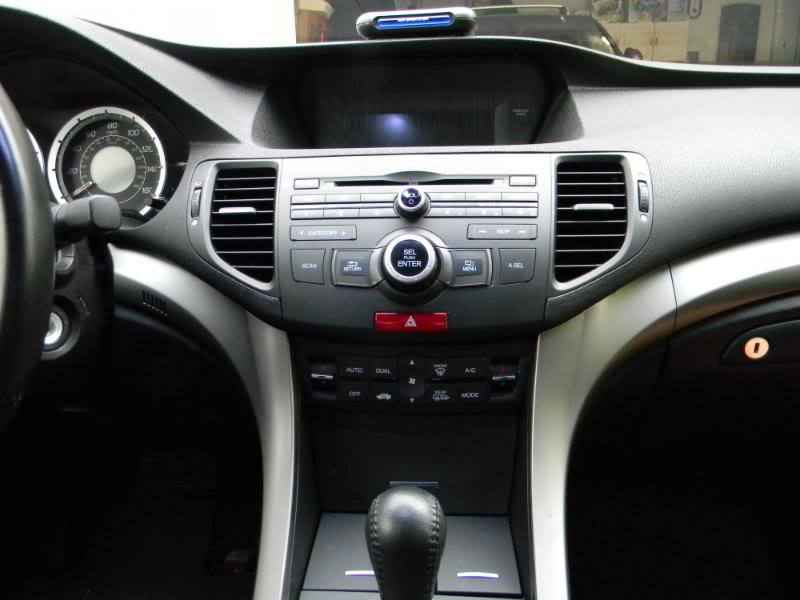
All that remains is reassembly.
- Secure the button in to the OEM deck and replace the deck. Secure with the screws.
- Replace the A/C unit and secure with screws.
- Replace side trim and secure in place with screws.
- Refit the shifter surround.
- Reinstall the upper glove box trim.
Related Discussion
- DIY JDM CU2 Hazard Button Install - AcuraZine.com