Acura MDX: How to Remove HFL Module
If you want to disconnect it or replace it, this article will walk you through the process of removing the HFL module.
This article applies to the Acura MDX.
Acura's HandsFree Link (HFL) system is controlled by a module that resides in the center console of the MDX. While HFL provides a host of useful options, including steering wheel controls and cell phone functionality, it also creates a parasitic draw on your battery by running even when the car is off. This draw is not enough to cause any issues when the module is in good shape, but a faulty module can draw enough juice to repeatedly drain the battery. If you need to replace your HFL module or simply want to disconnect it, keep reading and we'll walk you through the process of removing it.

Materials Needed
- Acura trim removal tool or trim removal set (optional)
- Multimeter
- Replacement HFL module (optional)
To test your HFL to see if it is the cause of your battery drain issue, switch your multimeter to DC amps. Disconnect the positive battery terminal and connect the negative lead from the multimeter to the positive battery terminal. The readout will tell you the current drain. Disconnect the HFL as noted below, then check your drain again. Normal drain should be around 24mA, so if you spot a significant difference you might want to continue below.
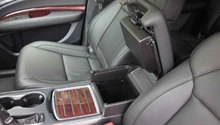
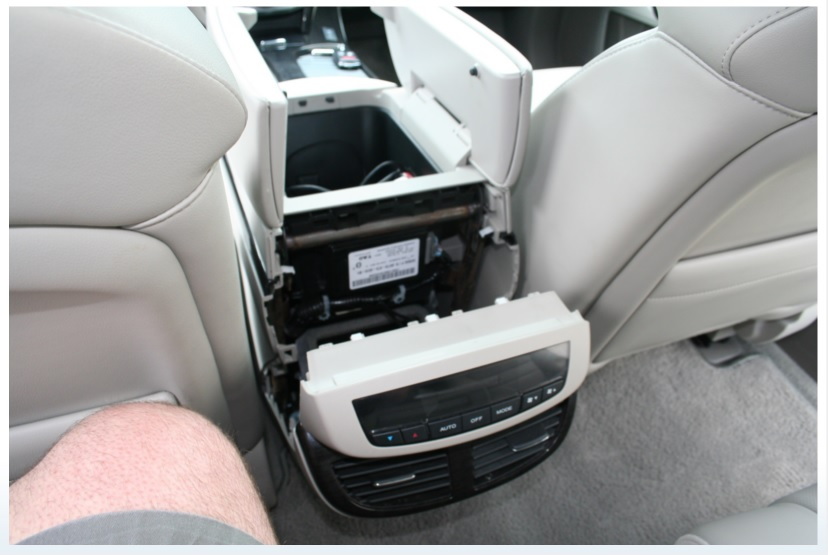
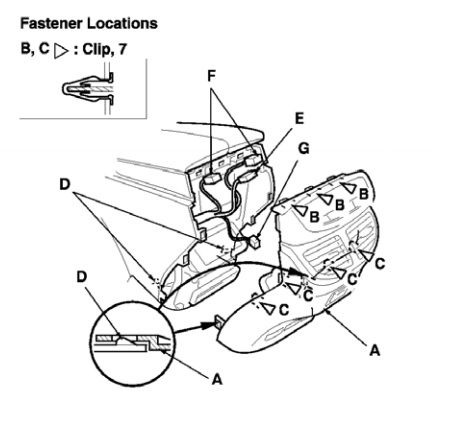
Step 1 – Remove center console trim
Starting at the top, gently pull out on the rear center console trim to release the clips. Next, pull out the trim to release the remaining clips and lower tabs. Disconnect the connectors plugged into the trim and remove the trim piece.
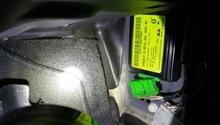
Step 2 – Disconnect and replace the HFL module (optional)
Disconnect the connector plugged into the HFL. Remove the console If you aren't replacing the HFL, you can simply reconnect the connectors and firmly push the center console trim back in place to secure it.
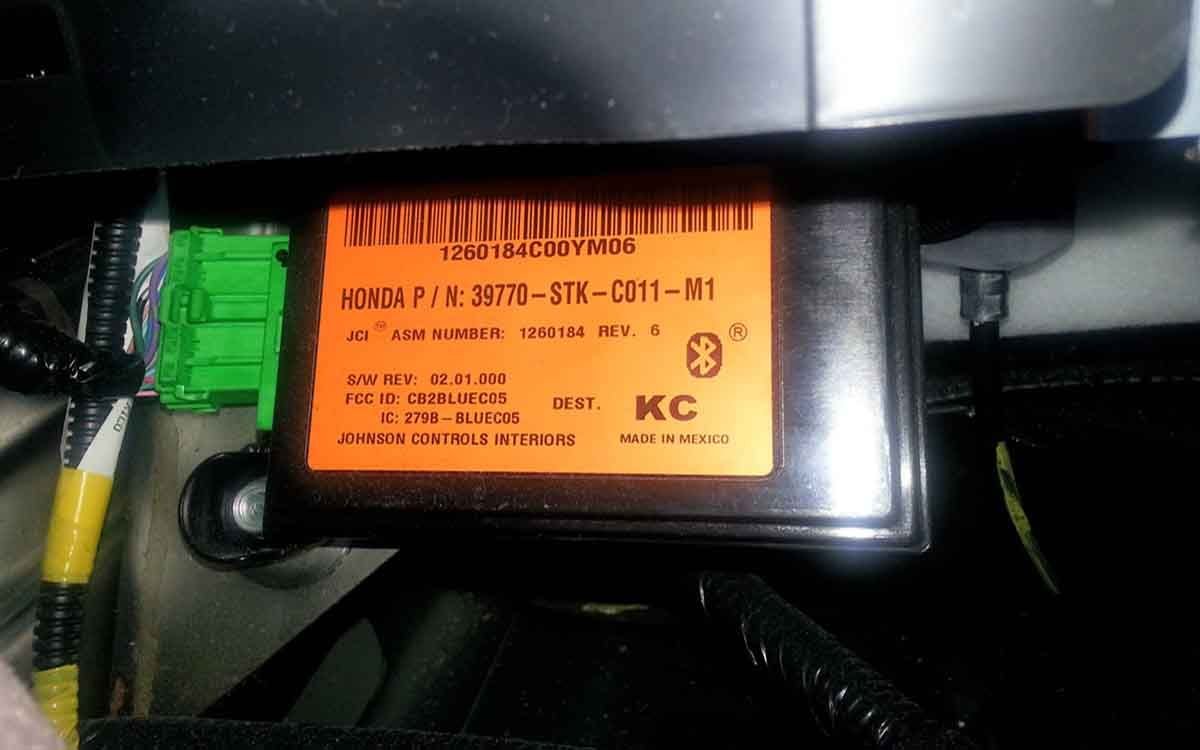
If you are replacing the HFL, pull it out and install the new unit in its place and reconnect the connector. Reinstall the connectors for the rear center console trim piece and push it back into the clips until it locks into place.
Related Discussions
- Where is the HFL module on a 2007 MDX - AcuraZine.com
- HFL and battery died in my MDX - AcuraZine.com