Acura TL 2004-2014: How to Black Out Headlights
Blacking out your Acura TL can give it a slick look. Read on to learn how to accomplish this.
This article applies to the 3rd and 4th Gen Acura TL (2004-2014).
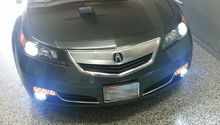
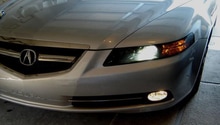
Blacking out the headlights on your Acura TL can give it a unique, aftermarket look. The process takes a bit of work, but it can be done at home. There are two ways to black out your headlights. The first way is to remove the headlight and take it apart; the process will require you to put the headlight in an oven. The second and more recommended process is to purchase black-out film, and install it onto the headlight. This article covers the second option, so read on to learn how to get this look in the Acura TL.

Materials Needed
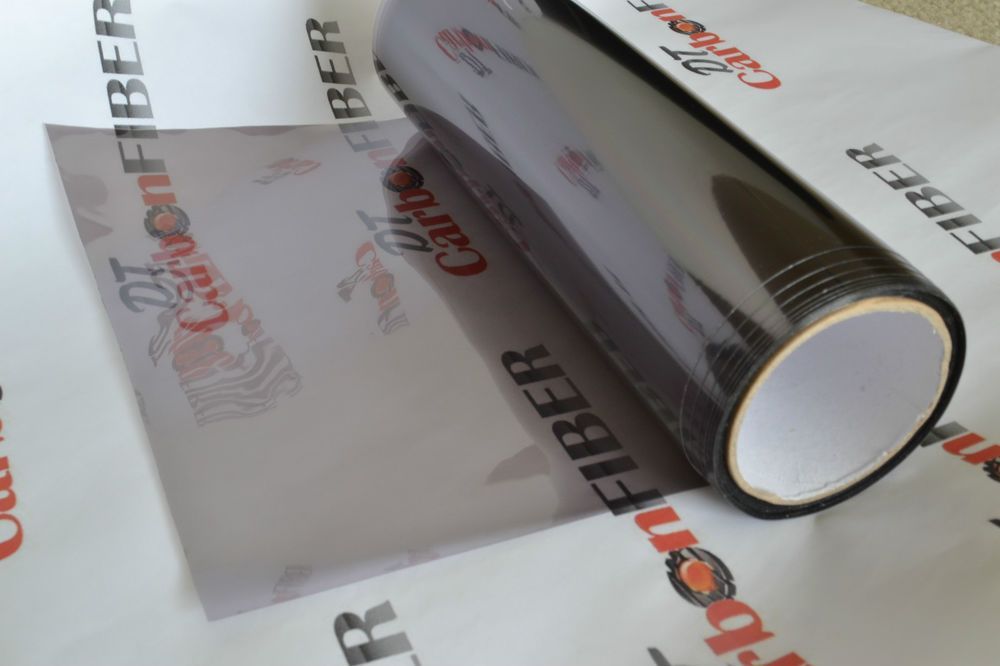
- Black-out film
- Masking tape
- Pen
- Blow dryer
- Box cutter
- Credit card
Step 1 – Mark the film
Take the roll of black-out film and tape a piece onto the headlight. Mark an outline of the headlight with a pen so you know where to cut the film.
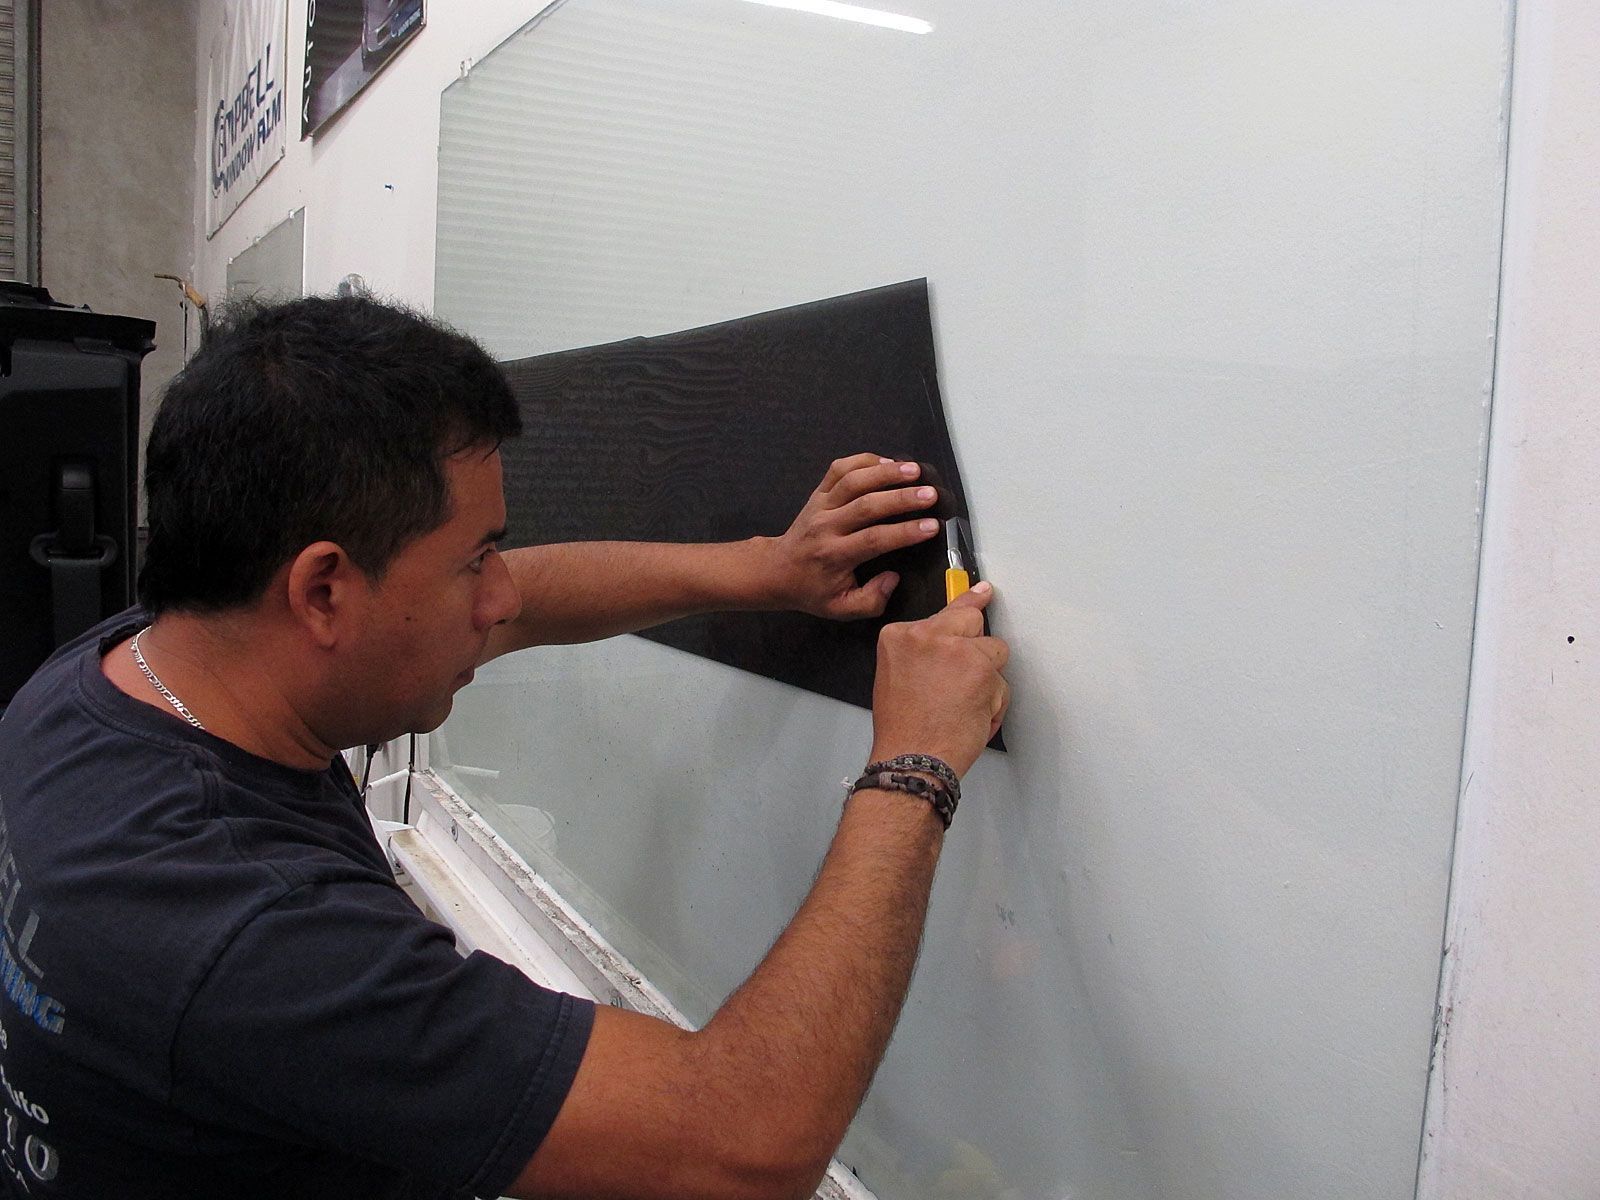
Step 2 – Cut the film
Remove the film piece that you marked from the headlight and place it on a flat surface. Using your box cutter, cut the film to create a replica of the headlight where you traced the outline. Take your time and be very accurate so it fits as close as possible on the headlights.
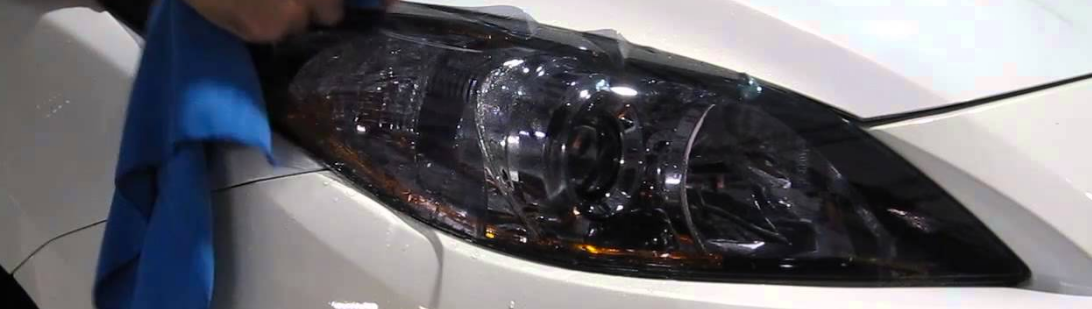
Step 3 – Install film on headlight
Install the cut piece of film onto the headlight, then start blow drying it from one side to the other. Go over it with the credit card as you're blow drying it, which will ensure you remove any air bubbles trapped under the film.
Related Discussions
- Headlight Sealant - Acurazine.com
- Blacked Out Headlights - Acurazine.com