Acura TSX: How to Flush Radiator Coolant
Honda/Acura suggests you change out the coolant around 105k for the first time. While Honda Type 2 blue coolant is known to be good for a while longer, it only makes sense to change it on time, especially knowing how easy it is on the TSX. Read through this short how-to and get an idea what you're in for, as this article can save you the money in the long run.
This article applies to the Acura TSX (2004-2014).
The coolant provides the means by which the engine can stay at a temperature that it can survive without having thermonuclear meltdown. It runs through the engine and out to the radiator where excess heat is dissipated. While most of the key ingredients in coolant do not break down, impurities, minerals, and gunk can buildup in the system, causing the coolant to lose its cooling abilities. Changing the coolant is important, so as to allow the cooling system to run optimally. Having it flushed at the dealership can be comparatively expensive. Flushing it yourself is not only easy, but can be done inside an hour without issue.

Materials Needed
- Drain bucket
- Adjustable wrench
- Funnel
- Nitrile gloves
- 3 gallons distilled water
- 1 gallon Honda Type 2 coolant
- Empty resealable 1 gallon jug
Step 1 – Drain the coolant system
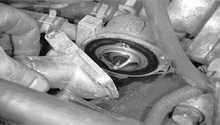
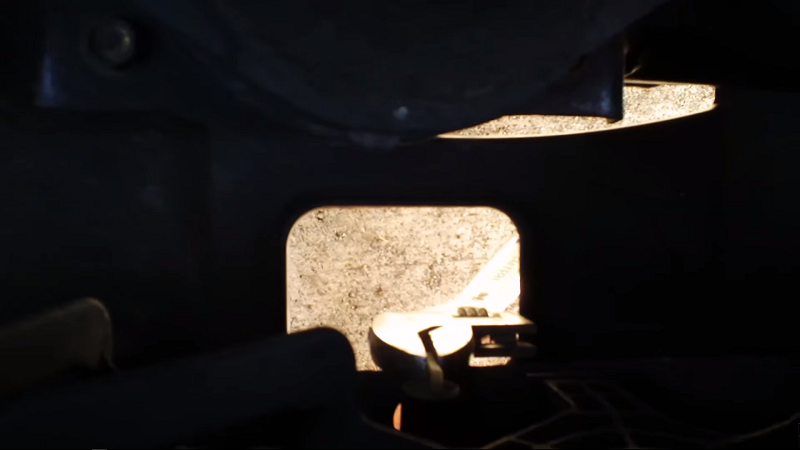
Start the engine and turn the heater control to full maximum temperature. Do not allow the engine to heat up. Turn off the engine before it does. Lift and support the hood. After waiting a little bit for the engine to cool down, carefully remove the radiator cap. Place the drain bucket below the center of the radiator. Remove the drain plug (Figure 1) to allow the radiator to drain. Once flow stops from drain, replace the drain plug. Pull the over flow jug and pour its contents into the drain pan as well. Pour old coolant into empty container to judge the amount removed. The proper amount to remove, including the overflow is 1.4 gallons. You are good as long as you get something close to this. If you don't get near this amount, replace the radiator cap and pull the drain plug back out. Then try squeezing the lower radiator hose and upper radiator hose, which may force more out of the system. Replace the drain plug and pull the cap when you've removed as much as you believe you are going to get.
Step 2 – Flush the coolant system
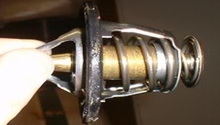
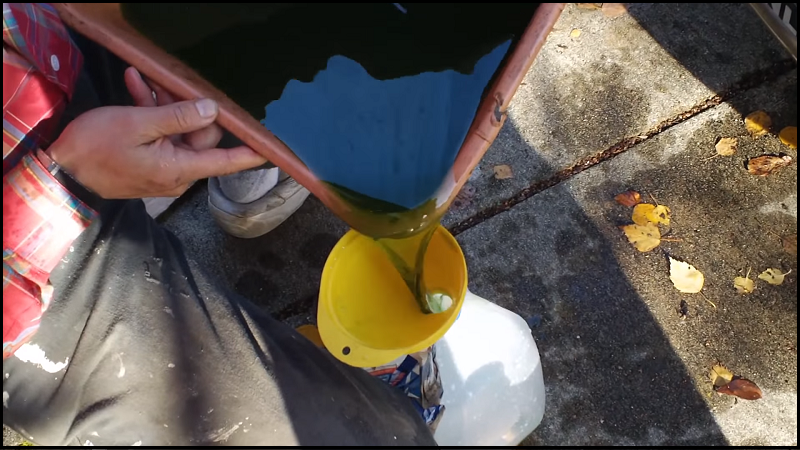
Place the funnel into the radiator neck. Using the distilled water, slowly pour one gallon into the radiator or until full. Once full, leaving the radiator cap off, start the engine and allow it to heat up. The thermostat needs to open so the water will flush through the system. You'll know when the thermostat has opened, as the coolant level will drop or you may also see coolant flow through the radiator itself (strong coolant movement). Once it has opened, allow the engine to run for several more minutes. Replace the drain pan under the radiator and remove the drain plug again, being careful not to splash warm/hot coolant onto yourself. Allow it to completely drain. Once flow has stopped, fill the now empty distilled water jug with the flushed coolant. Fill and drain the system one more time as explained above.
Step 3 – Refill coolant system
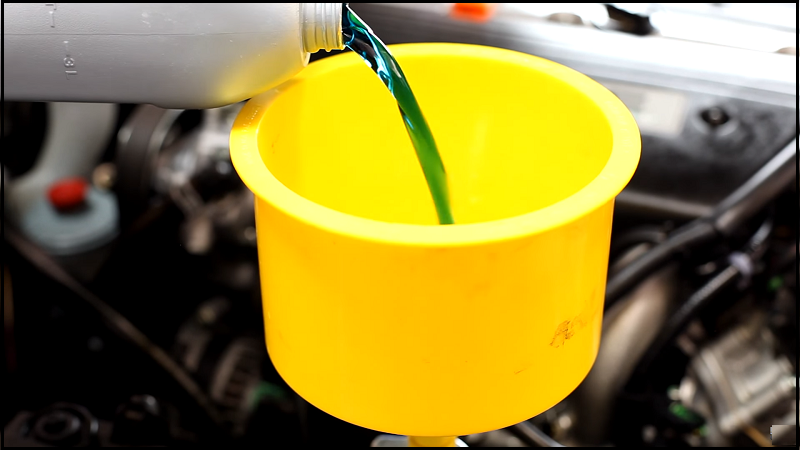
With the drain plug in place and funnel in place in the radiator, start pouring in new coolant until you've used ~3/4 gallon of coolant. Fill the rest of the way with distilled water if there is any room left. Start the engine and allow the thermostat to open, filling as needed with water to maintain a full radiator. When the system is fully warmed, put the cap onto the radiator and shut the engine off. Using what is left of the coolant, pour some water into the bottle to create a 50/50 mix. Pour this into the overflow bottle up to the hot line. Ensure you close the overflow tightly. Allow the system to fully cool, then recheck the system to ensure it is full. Double check the system everyday for the next week to ensure coolant has remained topped off. Fill as needed to ensure it remains filled to level.
Pro Tip
You can purchase the type of funnel shown in Figure 3, which will attach directly to the radiator fill. When you fill from there directly, it's a lot easier to purge the system of air. As soon as air escapes, it is replaced by coolant, so the radiator becomes completely full. Don't put too much in, though, as then you'd be dealing with an overflow mess when you take the funnel off!
Featured Video: How to Replace Coolant on Accord/TSX
Related Discussions
- Coolant Replacement DIY - AcuraZine.com
- Engine Overheating - AcuraZine.com
- Car Doesn't Heat Up Right Away - AcuraZine.com
- Cooling System Issues - AcuraZine.com