Acura TSX: How to Replace Thermostat
The thermostat controls the heat as coolant sloshes about the engine. It can stay open or closed if not working correctly. Changing it out isn't too bad, just takes a little time and patience. Read this article to see how the TSX may require a little different take than you're used to in order to get it changed.
This article applies to the Acura TSX (2004-2014).
The thermostat is the part of the cooling system, which keeps the engine running at the proper temperature. A functional thermostat does a few things for you: it allows you to have heat inside the cabin of your vehicle, ensures that the engine runs at the proper temperature and not overheat, as well as helps burn off any condensation within the engine by getting everything up to proper operating temperature. Under-heating is almost as bad as overheating, and an errant thermostat can also cause that. Changing the thermostat out is an easy job for just about any DIYer. Take care of this at home so you don't have to pay the dealership easy money to pad their books.

Materials Needed
- 10mm socket and ratchet
- 6" extension
- Torque wrench
- Drain pan
- Nitrile Gloves
- Funnel
- Honda blue Type 2 50/50 mix coolant
If your TSX is anywhere around the 100k mile mark, you should consider doing a coolant flush. If not, reusing the old coolant is completely doable as long as the drain pan you use to catch the fluid in is perfectly clean.
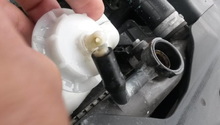
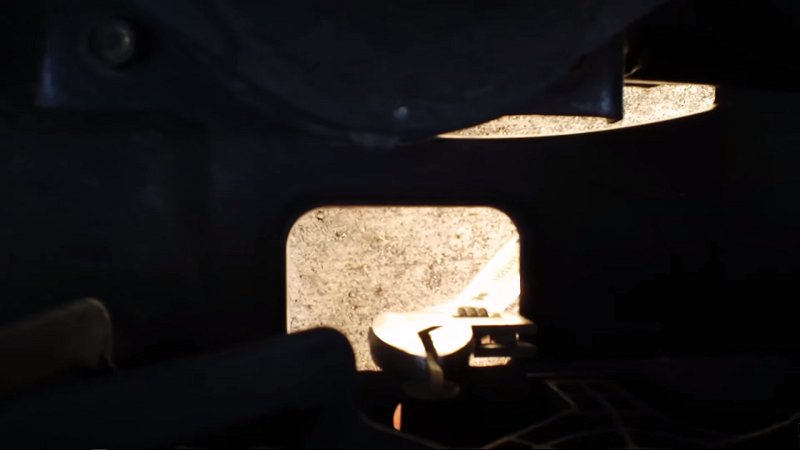
Step 1 – Drain coolant
(Related Article: How to Flush Radiator Coolant - AcuraZine.com)
Place the drain bucket under the center of the radiator. On a cool engine, remove the radiator cap, then unscrew the radiator drain plug from the bottom of the radiator at the middle. Allow to drain until it stops, then replace drain plug. Carefully move the bucket back under the engine.
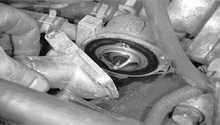
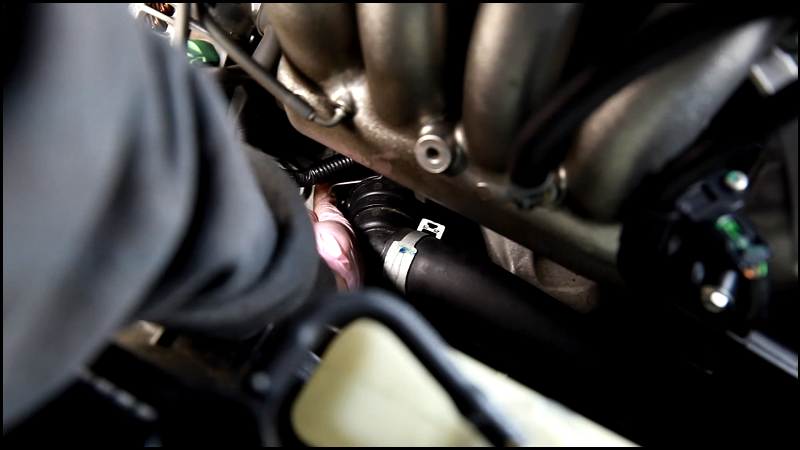
Step 2 – Replace old thermostat
Check the new thermostat to ensure the seal is properly seated. On the engine, pull the retaining clip on the radiator hose at the thermostat housing (Figure 2). Remove the hose from the thermostat housing by gently twisting and pulling the radiator hose. Pull the radiator hose out of the way and hook it behind something so it is out of the way. Detach the wiring harness that is clipped to the thermostat. Remove the three 10mm bolts, which attaches the thermostat housing to the block. Gently pull and twist on the housing to remove it. Some coolant may leak from the block. Ensure the old seal was removed with the thermostat. Place the new thermostat onto the block, securing it with the three bolts. Snug the bolts tightly, torquing them to 86 in-lbs (7 ft./lb). Replace the wiring harness. Push the radiator hose back into place. Push the retaining clip back into place.
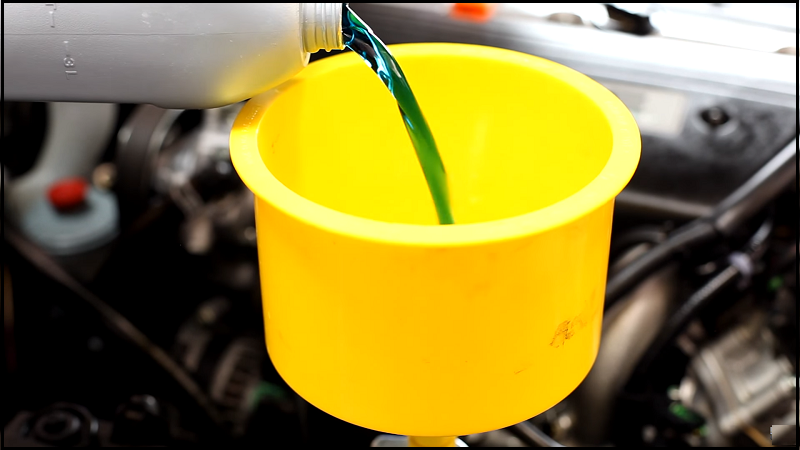
Step 3 – Refill the radiator
Ensure the radiator drain plug is snugly in place. Place funnel into radiator fill. If reusing coolant, use it to fill the radiator and fill until full. Check under the car for leaks. Start the engine with the radiator cap off. Check again for leaks. If no leaks are found, wait for thermostat to open and fill the radiator with the remaining fluid. If needed, use the additional fluid to fill the radiator back up to full if any fluid was lost. Replace radiator cap. Ensure overflow reservoir is filled up. Double check the coolant level every day for a week to ensure it is properly filled.
Featured Video: Honda Accord/Acura TSX Thermostat Replacement
Related Discussions
- Time to Reach Normal Engine Temperature - AcuraZine.com
- 2004 Acura TSX Engine Cold - AcuraZine.com
- Engine Overheating - AcuraZine.com
- Engine Running Too Cold - AcuraZine.com