Acura TSX: How to Replace Radiator Cooling Fan
Replacing the cooling fans, on whichever side, is no big deal. The hardest part is draining the coolant. Follow along as we give you the scoop on how to change them out.
This article applies to the Acura TSX (2004-2014).
The cooling fans serve two purposes: removing unwanted heat from the radiator and for cooling the condenser down so you can utilize all that wonderful A/C cooling within the passenger cabin. Without the fans, there is next to no airflow going through the radiator while trundling along in traffic, which can lead to overheating. The hardest part of changing the fan is paying the bill to purchase them.

Materials Needed
- Drain pan
- Pliers (of Vice-Grips)
- Metric socket set
- Funnel
- Nitrile gloves
Step 1 – Drain coolant
(Related Article: How to Flush Radiator Coolant - AcuraZine.com)
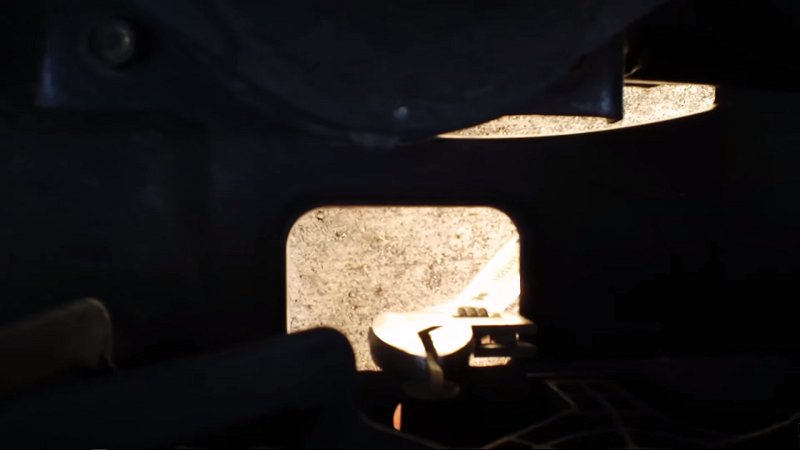
Place the drain bucket under the center of the radiator. On a cool engine, remove the radiator cap, then unscrew the radiator drain plug from the bottom of the radiator at the middle. Allow it to drain until it stops, then replace drain plug.
Pro Tip
If you are only replacing the fan on the passenger side, you can most likely get away without draining the cooling system.
Step 2 – Replace fan assembly
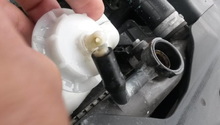
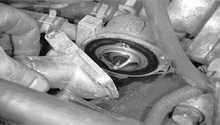
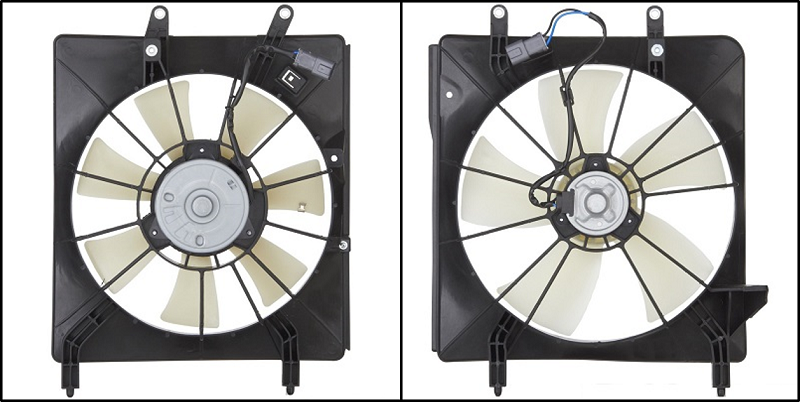
As you can see in Figure 2, the driver's side and passenger side fans are pretty much the same. Removal and replacement procedures are the same for either. Loosen the upper radiator hose clamp at the radiator and slide it back onto the hose. Loosen and remove the upper radiator hose from the radiator, placing the end of the hose back up under something to keep it out of the way. Unscrew the cap to the overflow reservoir and lay it over the top and front of the radiator. Remove the overflow reservoir. Remove the two bolts at the top of the fan assembly where it attaches to the radiator. Unplug the fan electrical connector. Remove the fan assembly. Place new fan assembly into place. Replace and tighten the two bolts at the top of the assembly. Connect the electrical connector. Replace the overflow reservoir and reinsert the hose, tightening the cap.
Step 3 – Refill the coolant
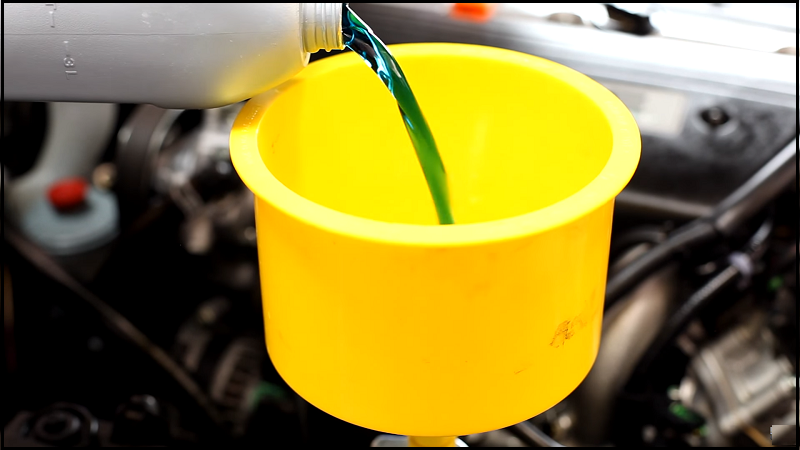
Place the upper radiator hose back into position on the radiator. Replace the clamp back into the same position it was taken off. Refill the radiator with the drained coolant. If all of the coolant will not go back, start the engine and allow the thermostat to open, then fill as needed. If needed, add more coolant to ensure the system is completely full of Honda blue Type 2 50/50 premix. Replace radiator cap. Check for leaks. Check the coolant every day for the next week to ensure it remains up to the full level.
Featured Video: Accord/TSX Fan Assembly Removal and Install
Related Discussions
- Fans Not Spinning - AcuraZine.com
- Does Engine Fan Blow Condensor Fan AC - AcruaZine.com
- Need Advice Replacing Radiator - AcruaZine.com
- Radiator Fans Causing Car to Shake - AcuraZine.com